Showing posts with label Vintage Bedroom. Show all posts

Monday, April 4, 2016

Parasol Ladies Vintage Quilt Story

This quilt top has quite the long and traveled story.
It was made by my great-grandma, Gertrude Cooper, back before my parents were married in 1965. 
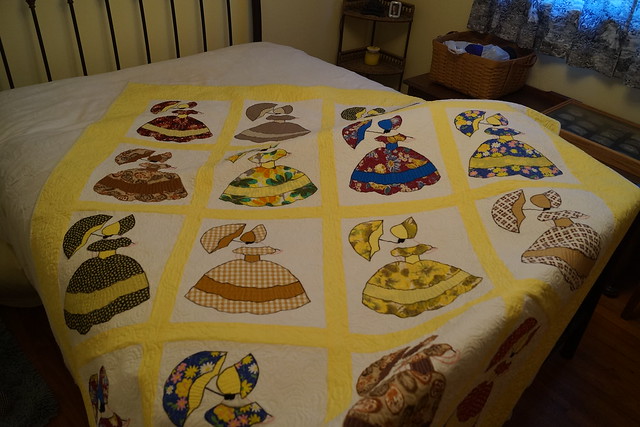


Grandma Cooper gave it to my mom as an unfinished top and big enough to be a bedspread.
She never did anything with it and then somehow I ended up with it. It sat in my cedar chest unfinished, and I hauled it around for who knows how long, before my sisters, mom and I were trying to decide what to do with it. Here we had kept it for 50+ years as just a quilt top and nothing had been done.


We contemplated cutting it up into pieces and quilting it as individual wall hangings and still no one was thrilled about it.  As a bedspread, for sure no one wanted it.  Finally our mom decided that she would use it as a quilt in one of her spare bedrooms.
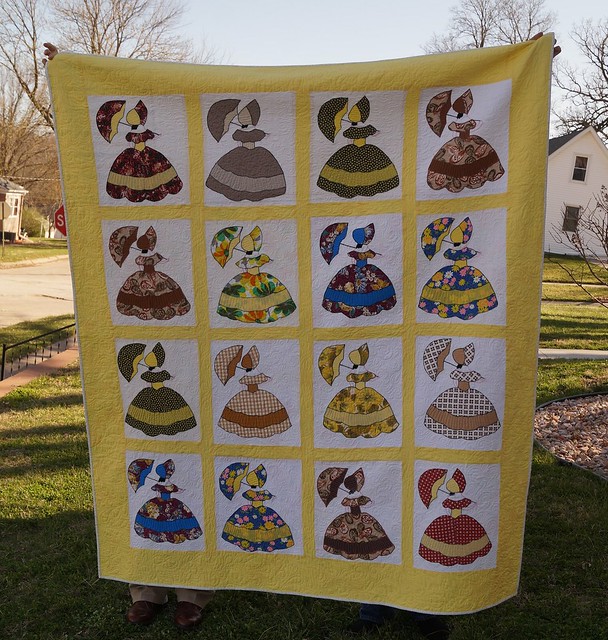


We cut off all the excess border that would be the bedspread and Emily found some cute vintage sheet material and had our favorite Lynn quilt it for us.
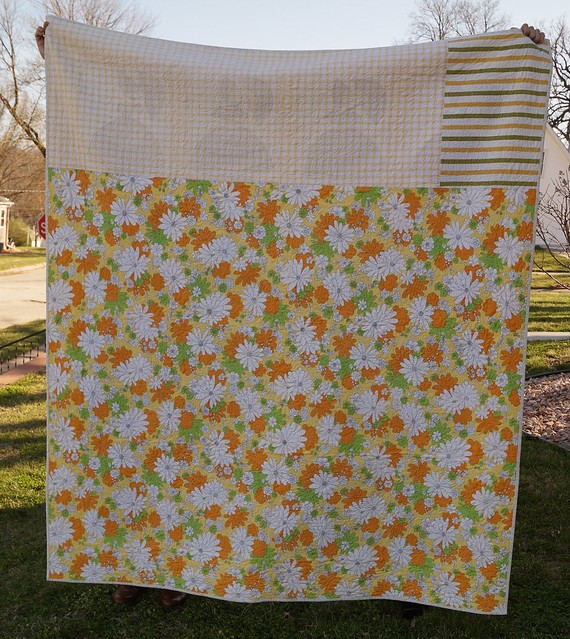
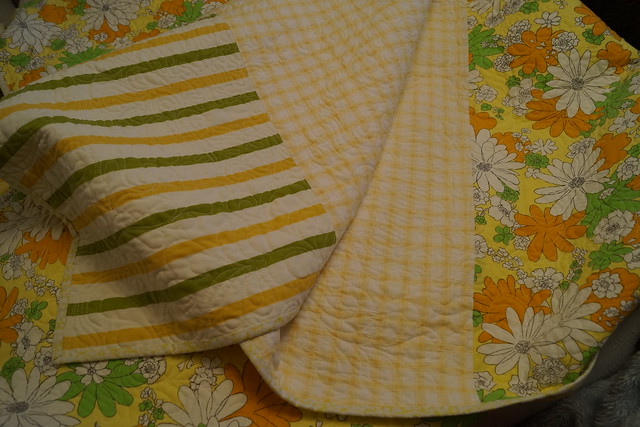


I think that Emily bound it up and off it went to our mom.
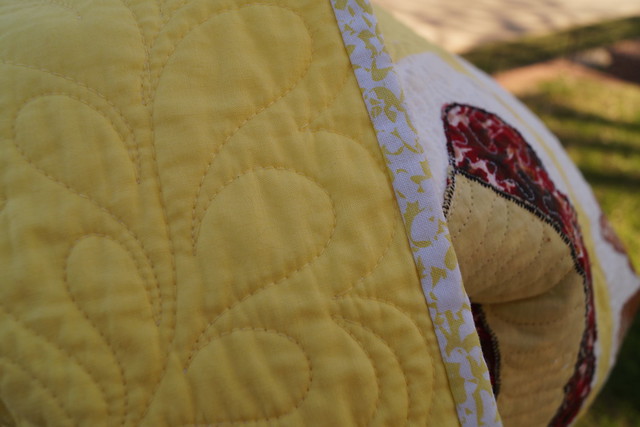


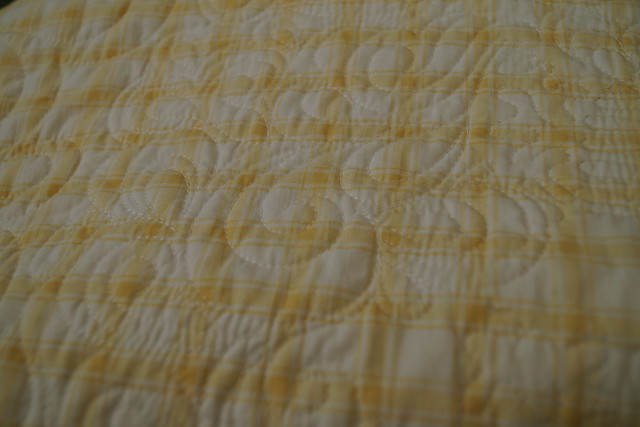
Detail of the quilting.
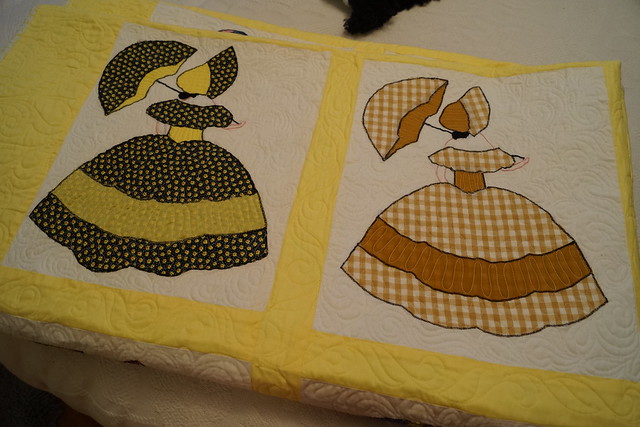


Some up close and personal pictures of the parasol ladies.
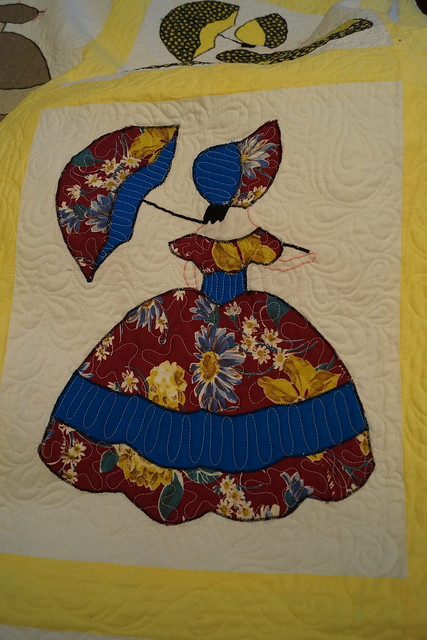


Since it is so old Lynn quilted it pretty densely everywhere.
Also, Grandma Cooper had just done a topstitch zigzag that wasn't too tight and pretty small.  We didn't want anything to come apart.
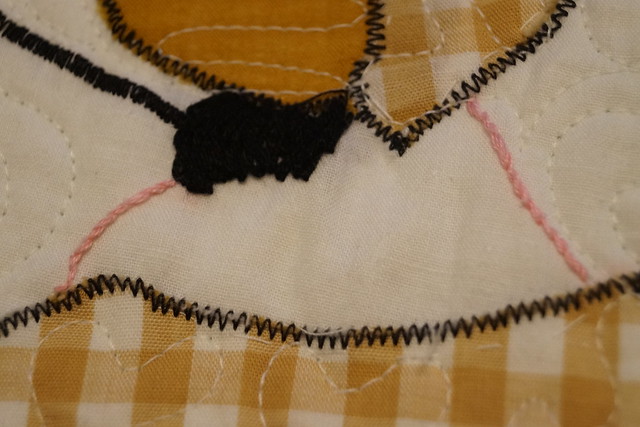


Close detail of her embroidery and applique.
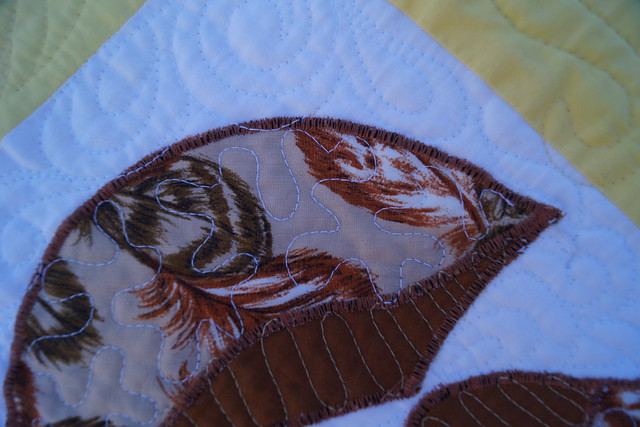


I had actually started to re-applique the ladies, but after one I stopped because I didn't like how it was turning out.  Unfortunately I also couldn't pick it out without wrecking her applique.


I'm glad that we got this quilt top completely put together as an actual quilt.
It is a fun little piece of our ancestry and heritage and probably one of the few things that we have that belonged to great-grandma Cooper.

Monday, July 22, 2013

{Vintage Style} Bedroom Redo -- Decorative Pillows

NOTE:
Even though Emily has moved to a new blog, this was left in the draft pile and I decided to go ahead and post it while I am figuring out how to pull the pictures off my new camera.

Awhile back my MIL gave my girls these lovely heart pillows straight out of the 80's.  They loved 'em... me, not so much.  


When we started talking about redecorating, the girls wanted to incorporate the pillows along with everything else we were doing.  I told them the pillows could stay only if I could recover them.  Reluctantly they agreed.  

 To do this, I basically cut the seem open on the pillows, detached the ruffle, and used the old fabric as my pattern.   I even reused the pillow stuffing inside.   Worked perfectly.   

I think they are greatly improved!


This post is part of an ongoing series of posts about my adventures in room redecorating.  Follow along with me as I attempt to transform my girls' room into a vintage inspired beauty.

Wednesday, January 9, 2013

Vintage Dresdens {Finished}

Over Christmas break I was able to finish up my dresden quilt.  
It was made with the help of the lovely ladies in my Bee Vintage VQB group and it only took me from September 'til now for it to get finished.  It's a miracle! :)

 Isn't it so pretty? I made it a twin size, so it will reside on my daughter's bed after her big sister moves out of their shared room.  Oh, happy day!  I have visions of a girly, vintage-y, pink and white cottage-y room for her.  In my head it's going to be fabulous...

I chose to add grey sashing as opposed to white because I wanted to give it a bit of a modern flair.  While I'm fully aware this is not a "modern" quilt, I felt like the grey updated the sheets a bit while still retaining the vintage charm.  Thus, modern.  In my eyes it worked out perfect. 

Once again, our quilter worked her magic and quilted the heck out of this one. 
I love what she chose to do.


The binding came from my LQS.  I bought it as a stash piece not realizing it worked with the quilt until it sat on my cutting table for a few days.  Then...light-bulb! (name that movie)

The back is a vintage sheet I thrifted awhile ago.
I think it has a Monet look to it, don't you?!
For some reason I think I might have had this sheet as a kid.  Mom, Renae??

Have a great week!
Emily


Quilt Stats
Dimensions: 70" by 90" (twin)
Sashing: Kona Ash
Dresdens: Reclaimed Vintage Sheets
Backing: Reclaimed Vintage Sheet
Binding: Sweet Flirtations by Exclusively Quilters

Monday, September 24, 2012

{Vintage Style} Bedroom Redo -- Curtains (a 5 minute project!)

This post is part of an ongoing series of posts about my adventures in room redecorating.  Follow along with me as I attempt to transform my girls' room into a vintage inspired beauty.

I posted awhile back about finding the elusive sheet I needed for my girls' bedroom curtains.  I failed to mention that the sheet I found was a full size, while the sheet I had was a twin size.  
 

Well, I'm here to say that I used them both without doing one.single.adjustment to either.  Ok, that's not exactly true... I did have to cut off the excess length (about 6-8 inches) on both of them so they they wouldn't "pool" on the floor, but after that 5 min fix I left them as is.  That means that one side is a bit fuller than the other.  But can my daughters tell the difference?  Can anyone looking from the outside tell the difference?  Maybe you all can see the difference in this picture, but I think it is hardly noticeable.  So I left it as is.  And since I used the existing folded down part (I have no idea what it's really called...) at the top of the sheet to hang them, this project took me 5 mins. Literally! 

The hardest part for me was finding matching (thrifted) sheets.  I think I searched for about a year after I decided on this particular sheet.  The other hard part was trying to get a decent picture of the curtains hanging in their room.  Let's just say that my girls don't keep their room very clean.  This photo is editing out all the mess that currently resides in there.

 Does anyone else have children that prefer to live in squalor rather than clean their rooms or is it just mine?

Tuesday, September 6, 2011

{Vintage Style} Bedroom Redo -- Bedding On the Cheap

More progress on the girls' room.
This week it's bedding.

(Eventually I'll paint that nightstand...)
 I found this yellow gingham bed skirt at one of my local thrift stores for $6.  It was a full size so I had to modify it to fit my daughter's twin size bed.  It was an afternoon project of unpicking the foot ruffle, shortening up the part that fits in between the mattresses, cutting the extra length off the ruffle, and reattaching.  But definitely worth my time.


This beautiful top sheet I got for $4!!  The lace was coming off a small section but a quick 5 minute fix and it was as good as new.  The fitted sheet I bought for $2.  It was super white and spotless.  A set of sheets for $6 -- Sweet!!

For the other bed I already had a set of sheets that would work.  During all my thrifting I came across a pink gingham king sized sheet for $4 that would work for the dust ruffle.  I took the girls' old bed skirt, cut it apart, and made new sides.  I was limited a bit by the length of the sheet so I did a pleat in the middle on each side rather than have a barely gathered ruffle.  Straight stitching also meant that the whole project took me a short afternoon to complete.

 
Total: $16 for a set of sheets and 2 dust ruffles.

This post is part of an ongoing series of posts about my adventures in room redecorating.  Follow along with me as I attempt to transform my girls' room into a vintage inspired beauty.

Monday, August 29, 2011

{Vintage Style} Bedroom Redo -- Mini Bunting

After making this quilt for our favorite babysitter and realizing how easily I could adapt it to my girl's yet-to-be-decorated bedroom I set out on a room redo.  There is still lots to be done (including bed quilts) but it's coming together in small bits.  

The first little project... a mini flag bunting to dress up their headboards. 


I love their headboards, but I really love how awesome they look with these buntings!  
Pure little girl goodness!


As you can imagine it was a simple project.  I used one pkg of double fold bias tape for the two buntings.  The flags are 5 1/2 inches across the top and 6 inches from the top to the point.  Fabrics are various vintage/reclaimed sheets from my stash.

Total cost:  About $4

This post is part of an ongoing series of posts about my adventures in room redecorating.  Follow along with me as I attempt to transform my girls' room into a vintage inspired beauty.

LinkWithin

Related Posts Plugin for WordPress, Blogger...