Showing posts with label DIY project. Show all posts

Thursday, February 4, 2016

Gearing up for Laundry Room Transformation

After living in this new-to-us house for about 10 months now there are some things that I would like to adjust to better accommodate the way we live.

Right now the most bothersome area for me is the front entryway, which is the dumping ground for everything.  You know how that is, right!?  Drives me bananas.  There are just too many of us to not have some place really set up nice and organized for all our shoes, coats, backpacks, and general stuff.
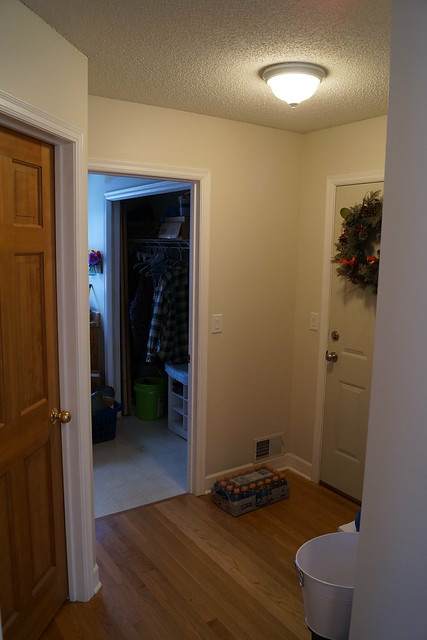


So to alleviate the mess in the entry, we are going to make some adjustments to the garage entrance area/landing and the laundry room. (Excuse the case of Gatorade--put it there so I wouldn't forget to take it to the swim meet the day I took these pics.)
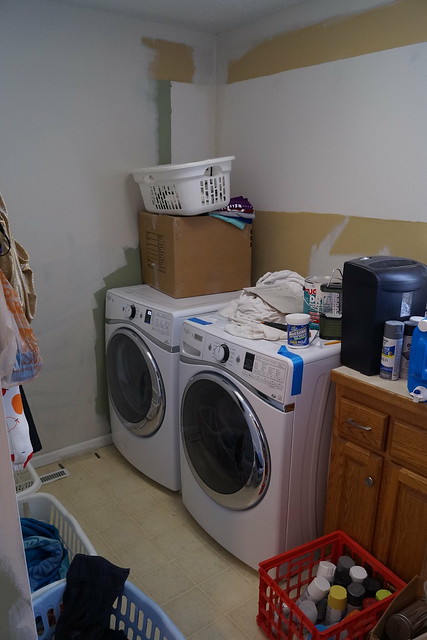


Shortly after moving in I took down the cabinets above the washer and dryer with a couple of my kids.  Until about a month ago there were just sitting in the garage.  But now Hubby has hung them up out there for his shop area.

I started painting over the green and brown (awesome combo, don't you think--blech!) but lost interest.  The plan is to stack the washer and dryer and then Hubby will build some shelving to the left of it for all the laundry baskets to get them off the floor.  Hallelujah!  This has been the plan from almost the beginning of our move in.  And yet, here we still are.
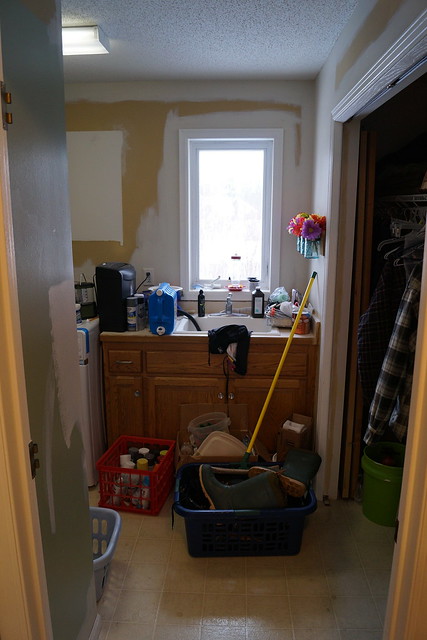


There is a little sink area and closet to the right of the washer and dryer when you walk into this area.  Excuse the mess.  I was rearranging things in the closet to get an idea of what I'd like to do.  This is another area that has sort of been a dumping ground for stuff we can't figure out what else to do with it.  I hate that.
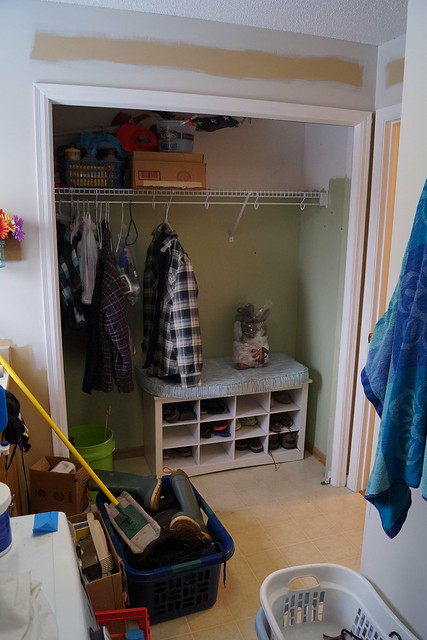


And the closet with the bi-fold doors off (and one wouldn't even stay closed).  I moved the bench from the front entry to here so that no one could pile up their things right when they walked in. it isn't the right size, but just to get an idea.  I also removed the door to the entrance so I could get a feel for how that might be.  It was rarely closed anyway.  I'd like to remove everything and take that closet completely out--clear up to the ceiling and back closer to the sink, and probably even flush with the right side too.
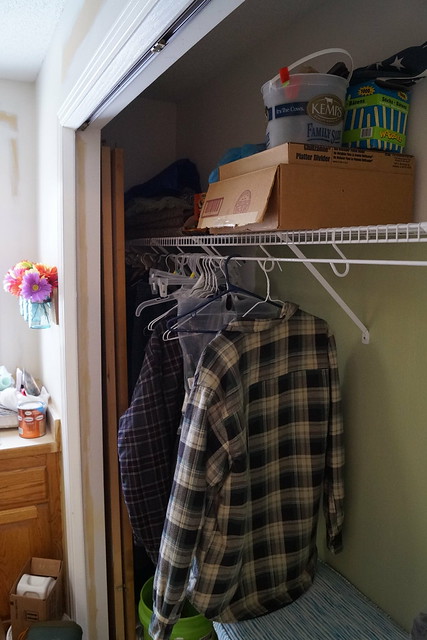


One thing I am still working thru is what to do with this deep section of closet by the sink.  It goes back 33 inches deep.  It is like the black hole abyss.  Still thinking about that part.

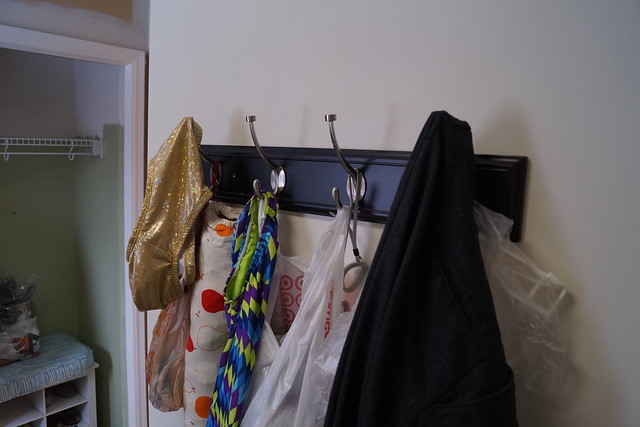
Other than my washer and dryer about the only other things I like about this room are the hooks that I put up for the wet stuff to hang so they won't mold and smell in the baskets.  (yes, that is a gold sequin Speedo--don't ask)


And the little flower holders I made. I needed something happy to look at in this room.



This will be a work in progress while Hubby and I try and get on the same page about what should occur here.  He already said he will build a bench for the area, so that's a plus.  He just doesn't agree with some of my other ideas.....yet.

I'll keep you posted.

Thursday, January 28, 2016

Massive Framed Mirror

Before we moved last year, some friends of ours were also in the process of moving and in so doing were gutting their master bath.  They had this 3 ft. by 7 ft. mirror that they were giving away to anyone who wanted it.

Although I didn't know what house I would be moving to, and if I would even have a place for this big 'ole beast, I went and got it from them.  Big mirrors aren't cheap!  So a free one, PLEASE! I had to take it.

We stored it in our pod while we were trying to sell, and have been storing it down in the basement since we moved last March.

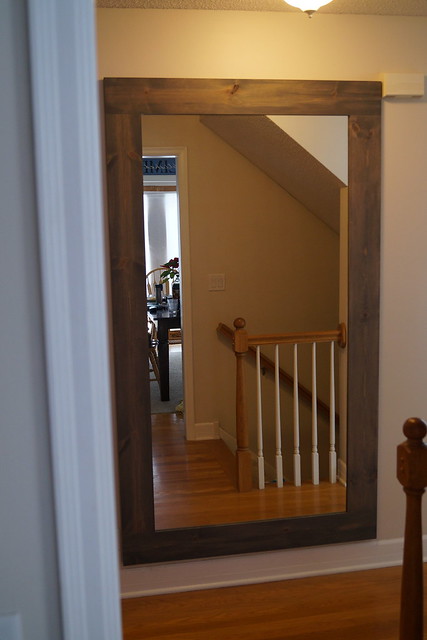
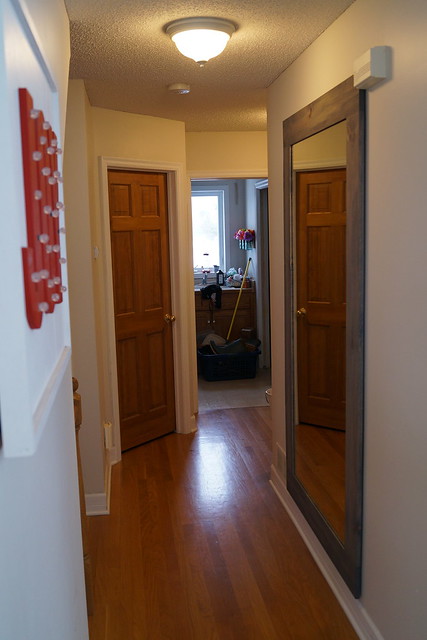
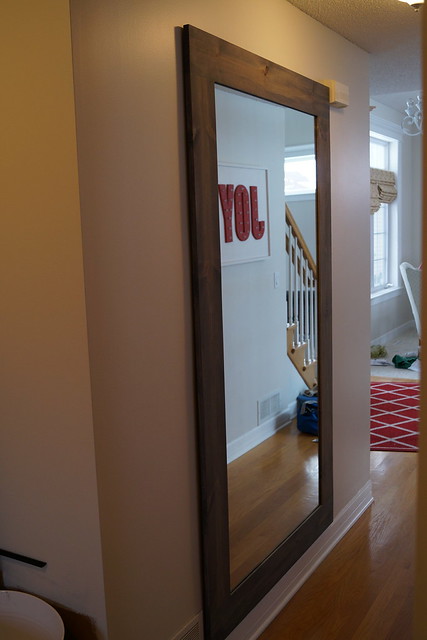
FINALLY...it is done and hung up. (it took me some time to figure out exactly where I wanted it to go)

The first thing we had to do was to cut off about a foot of the length.

Where it is hanging is only an 8 ft. ceiling and since I wanted it framed it wasn't going to work at that length. I bought a glass cutting kit at Home Depot for about $13.  I practiced a couple times on some scrap mirror until I figured out how best to do it for myself.  And then hubby helped me on this big piece. It was a thicker mirror than my practice pieces.

Hubby cut the 1 x's so that the mirror would inset a little.
We then attached a backing to keep the mirror in place.
Sorry, but I didn't take any pics of that.

We made two wood cleats to hang the mirror. One piece goes on the wall and the other on the mirror. We did this on both the top and bottom of the mirror since it was so large and heavy.  We also didn't want it to bang back and forth if someone touched. Check out this video to get the idea of how to make the cleats.


It now hangs in our foyer by the front door.


I really like it here.
Though it definitely is massive.
Easy way to check your present-ability on the way out the door.


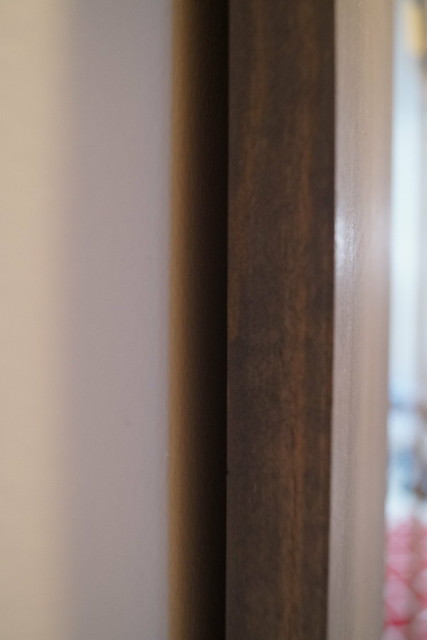
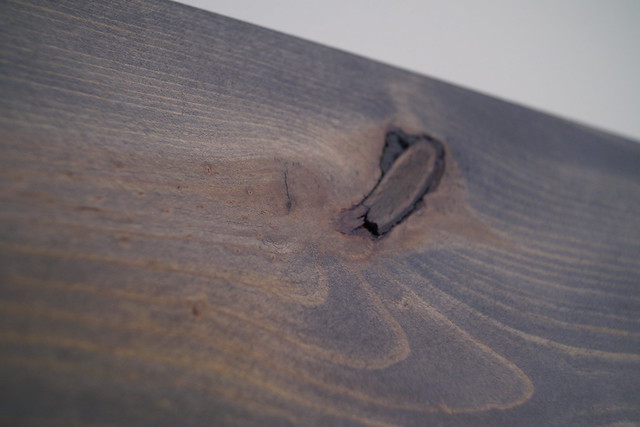
This is to show how far it is off the wall.  The wood is only 7/8 inch thick.


I used pine boards and a gray stain because I like the knotty look and this makes it appear somewhat distressed without having to actually do anything to get it that way.

Details:
  • RF Supply Glass Cutting Tool Kit at Home Depot
  • 2 - 1 x 6 boards 10 ft length. (or enough for your needed size)
  • OSB 3/8" board for backing--cut to size
  • Scrap board to make the hanging cleat
  • Minwax Wood Stain in Classic Gray.  Same stain I used for the boys' headboards.

Thursday, July 23, 2015

Bed frames for the boys

In our previous house our two boys shared a bunkbed.
We got rid of it before we moved.
I was tired of it and wanted something different for them.


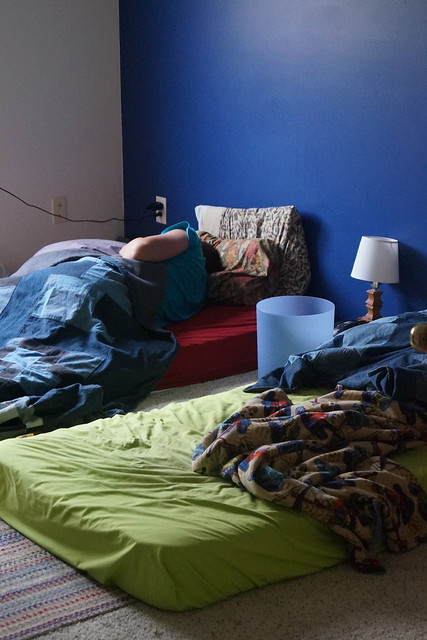
Since moving in March they have just had their mattresses laying on the floor in their room.
Our youngest has been complaining for quite some time that he "doesn't have a bed."
Mattress yes, actual bed, no.


Yep, it was pretty sad looking in there, even with the newly painted walls.

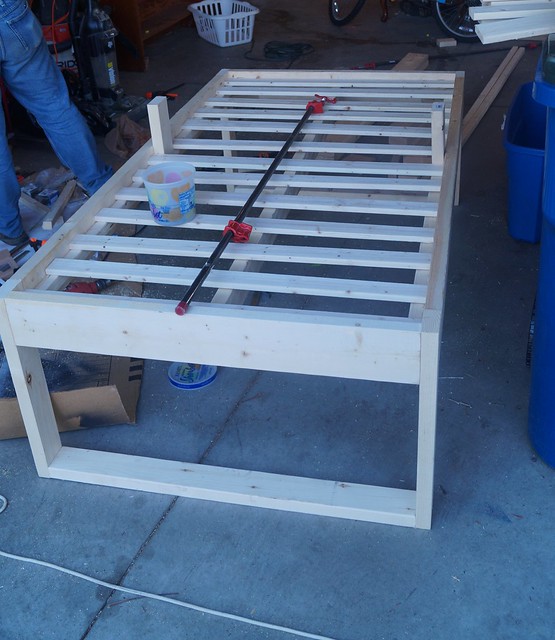
After perusing Pinterest for quite some time I finally found a simple frame that would work for what I wanted and needed in their room.  They aren't the cleanliest or most organized boys in the world.  (Are there any?!) Our 14 year old reminded me over and over that he didn't care if he was sleeping on the floor and that the mess didn't bother HIM. Yeah, well, it bothered me. So we definitely needed space underneath to hide things away.

Hubby and I worked most of a Saturday afternoon evening to make these beds.  Son #1 got involved after the first one was assembled and we put it in their room.  Son #2 was thrilled!!!  And then all of a sudden son #1 decided that he wouldn't mind having a bed and getting off the floor.

Teenagers!!


They are working out nicely and both are happy to be off the floor.
More boys' bedroom transformation in the coming weeks.

Details:
  • Pattern from Decor and the Dog
  • We modified the length of the bed--cut side board 2 x 6s to 72" not 76". A twin mattress is 75" long and using 76" would make the space where the mattress sits about 80"--we didn't want gapping at either end of the bed. 
  • We added the bottom cross bracket on the headboard end too to add more stability.
  • We cut the legs 23" long instead of 15" long so that there would be more storage space underneath.  There is about 18" of clearance underneath their beds.  LOVE it!
  • Materials list found on the pattern link.  We spent $75 for the two beds combined.

Thursday, July 9, 2015

Changing the screen on your screen door (or window)

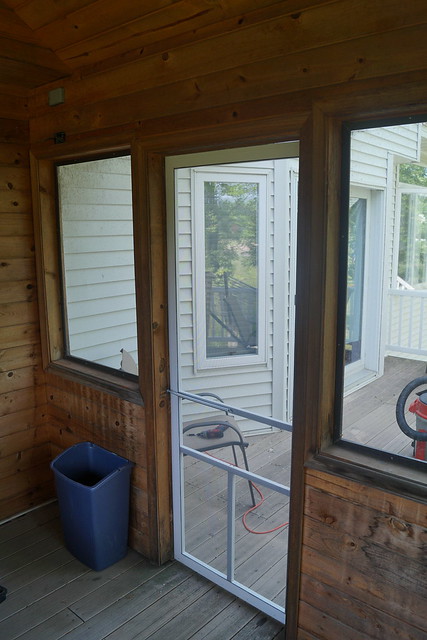
One of the fun things about this house is the screened in porch off the deck.
This has already been the sight of a birthday party, relaxing in the hammock, quilt photo shoots, and just plain getting outside without being bothered by bugs.

However, it does need some work.
I have some ideas for what I would like to do, including some paint, a drop leaf table/serving area.

Earlier in the week I cleaned up the ceiling fan, changed bulbs, added long enough pull chains.

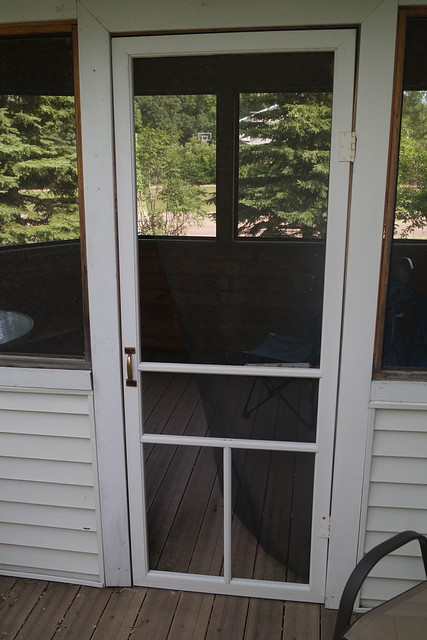
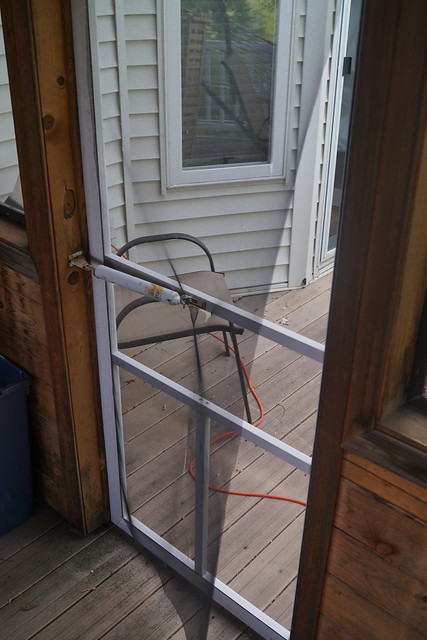
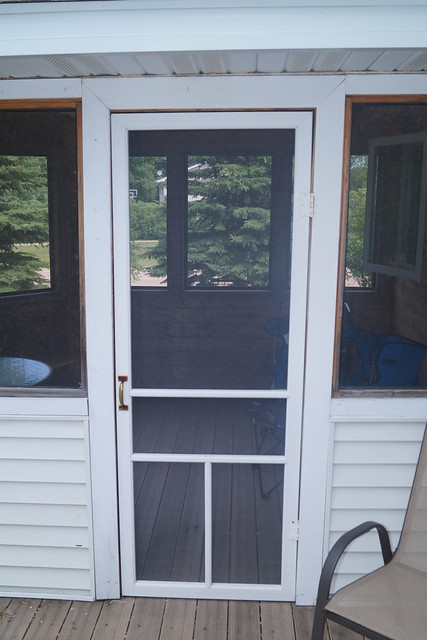
The one big project on my list for the porch was to replace the screen on the door.


It is torn out in a couple places and since we've been here it has come off more.


If you haven't ever re-screened a door or a window it is really an easy process if you have the ONE right tool.  I re-screened a couple windows in our previous house before we sold it.  (Yes, children a fork will make holes in the aluminum screen.)  You will save yourself a bunch of money if you do it yourself.  I called my local Ace Hardware just this morning and they said to re-screen a full length porch door would cost around $45.  This probably cost me around $10 to do it myself and in about a half hour or less.  Seriously, you can do it yourself.  My 12 year old daughter even helped me.  It is that easy.

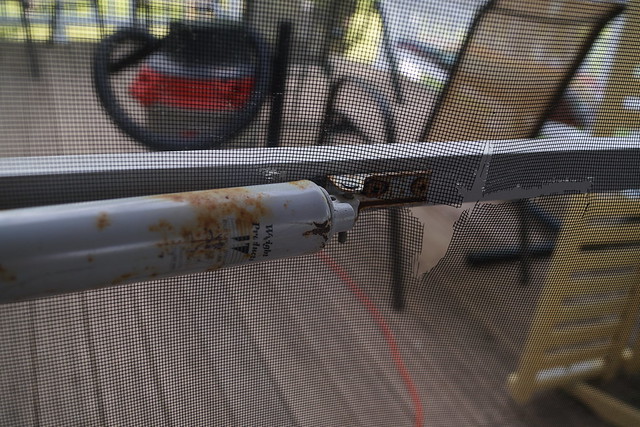
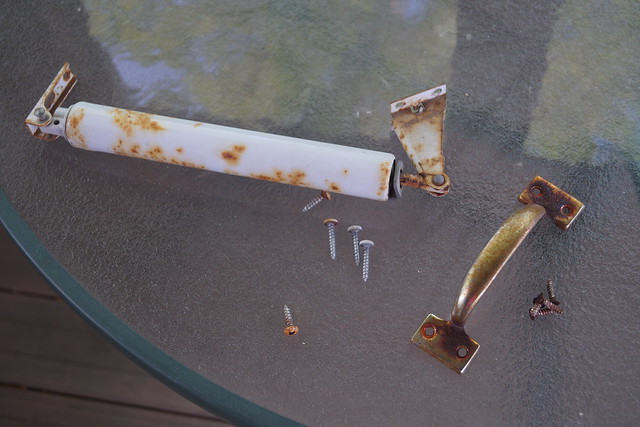
I started by removing the hardware.


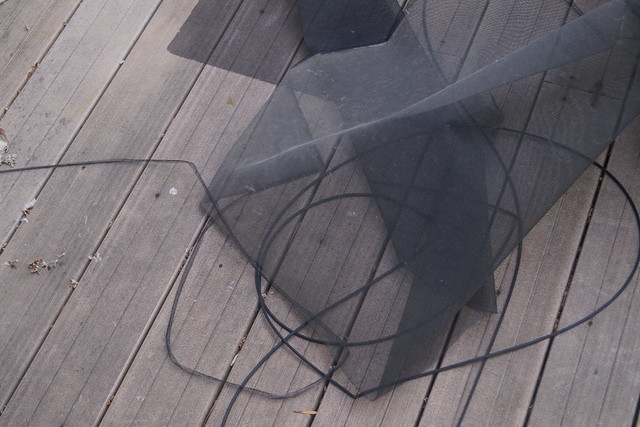
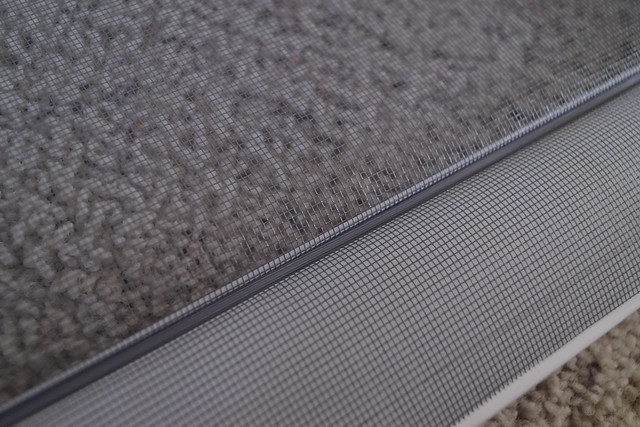
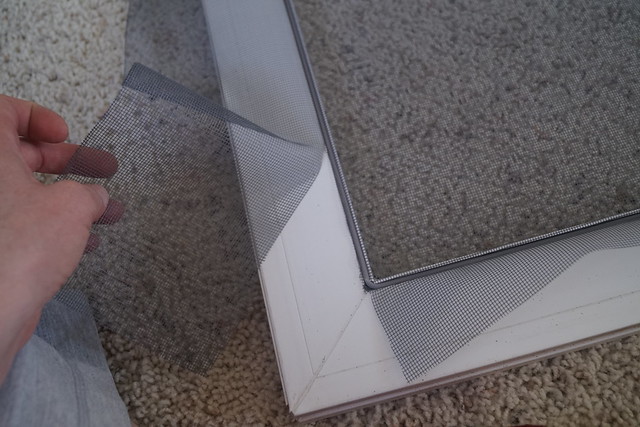
Then you start at a corner and pull out the spline (that is the tube like thing that holds the screen in place.)
Pull it all off and then pull off the screen.

If you wanted you could reuse the spline, I've done that before, but this time around I bought new.
Trash the screen unless you have a smaller screen project that you could reuse part of it.


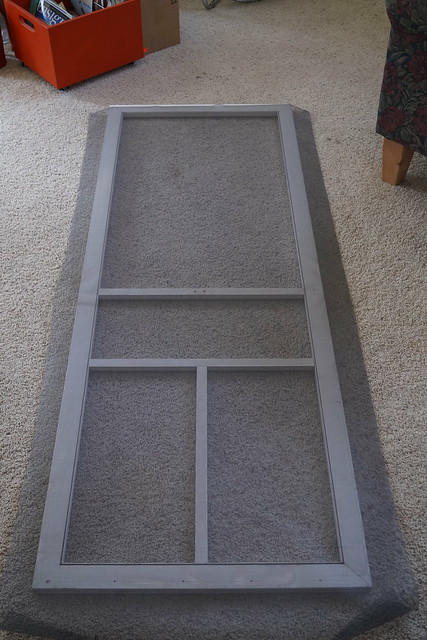
Next I took the door off the hinges, cleaned it up and brought it inside to do the screen.  I find it easier to lay it out flat somewhere.


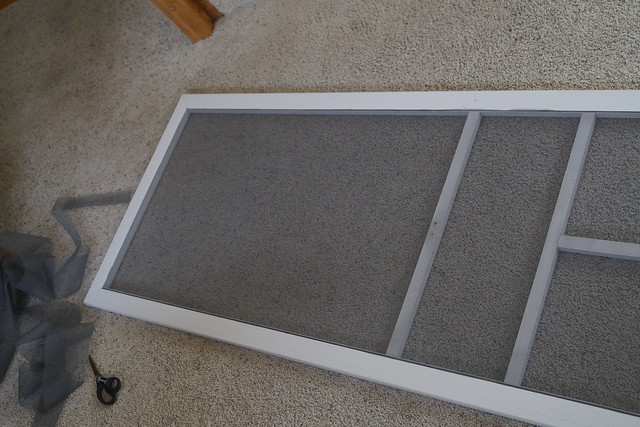
This is the door with the entire roll of screen laid out on top of it.
Extra is good.  Gives you more maneuver room.

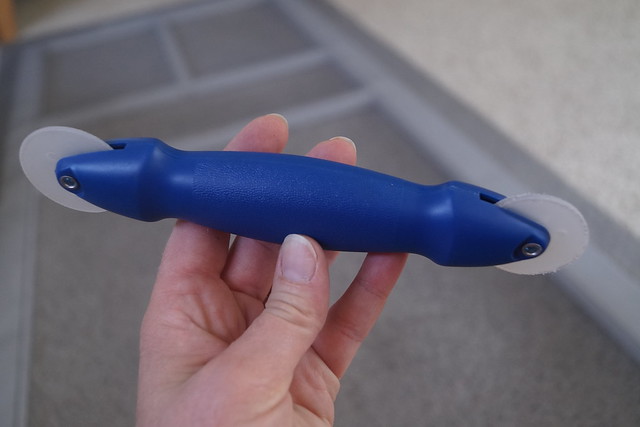
Next you need that ONE special tool.


One end pushes the screen down into the groove of the door.


And the other has a concave edge that rolls along the spline to insert it down in the door groove and keep the screen in place.

 
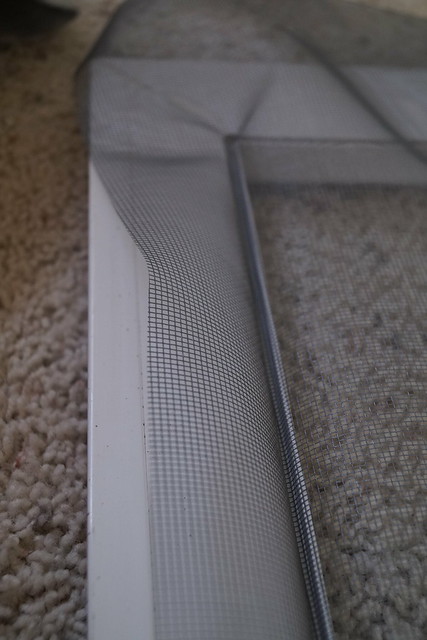
I started at the top and then worked my way down one side, across the bottom, back up the other side and finished it off.  You just cut the spline off at the length you need once you get to the end.


Then you are ready to cut off the extra screen.  I just used a pair of scissors.  I also went back over the spline with my tool to make sure it was in tight.  Sometimes it gets moved a bit as you are cutting the excess.


You are now ready to hang the door back up and reattach any hardware.


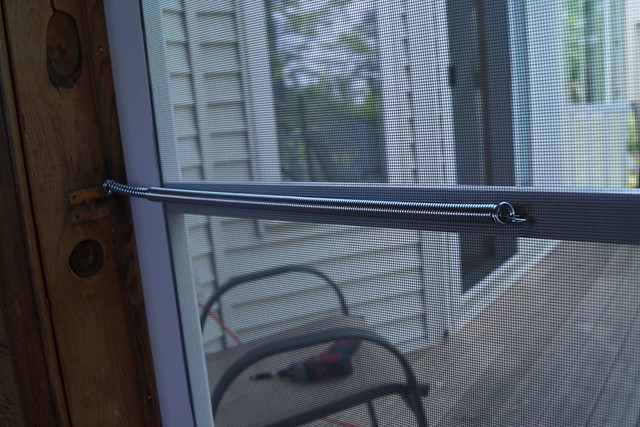
I replaced the spring with one that was more suited for this type of door. That previous spring was WAY more than this door needed.


All done.
No more cottonwood tree fuzzies accumulating in the corners of the screen room.
Yuck!

Last thing I'll do on this door is to repaint the handle.
I didn't have the paint at the time I did everything else so that will be next week.

I'm so so happy this is all done!

Details:
  • Adjustable door spring--$2.98 at Home Depot.  They had 2 different sizes available.  I needed the shorter one which adjusted from 13" to 15 1/2".  The larger one was 16 1/2" long, not adjustable.
  • Roll of screen--I bought a 36" x 84" roll in Silver Grey for about $5.
  • Screening spline--I used .125" x 25' length in gray. It costs around $5 and I did not use the entire roll for the one door. 
  • Screen Spline tool for under $3. WELL worth the money!!
  • You can buy the whole kit: screen, screening spline and roller tool together, if you don't already own the tool for around $11. (Much better than $45)

LinkWithin

Related Posts Plugin for WordPress, Blogger...