Showing posts with label Paint. Show all posts

Monday, July 11, 2016

Painted the porch swing

 Last week I spray painted the porch swing.
It looks brand new and is so much fun.

I really wanted to paint the swing like this:

I so wanted to do this to our swing but the back slats are vertical not horizontal.  Rats!:

But alas my swing slats didn't go that direction.


I was slightly lazy about painting and probably should have taken the entire thing apart so that I didn't get any of the hardware painted.  That seemed like too much effort.  Besides, by keeping it hanging up I could just flip it over and spray the bottom without having to prop it up against anything else.  And the day I painted it was so warm that it dried super quick.

Instead of taking the swing apart I broke out the Glad Press 'n Seal Wrap and put it over the chain parts near where I was spraying and any of the bolts that I could get to. 

It felt pretty genius on my part.
Once it all dried I just pulled it off and threw it in the trash.


What our view looks like as you sit in the swing.
Lovely!
Details:

Monday, June 20, 2016

Chalkboard Frame

We've been working on daughter #2's bedroom and here is one of the accessories we added to her room.


She wanted a chalkboard frame to write herself notes.

And yes this is her handwriting--freehand.
She can print in font--it is amazing!

I love the details on this frame.
It's plastic, but after spray painting it I don't think anyone would know it.


Details:

This is the window side of her basement bedroom.  We FINALLY got the orange-ish walls (check the first pic to see the previous color--sort of) painted a nice white which makes a huge difference.  I still need to get rid of the dark brown wood blinds, but I haven't figured out what other window treatment to do.  So for the moment we've added the tissue paper flowers to try and "disguise" the window a little.  It was cheap and easy until we know what we are going to do permanently.

Monday, April 18, 2016

Dumpster Chair Rescue

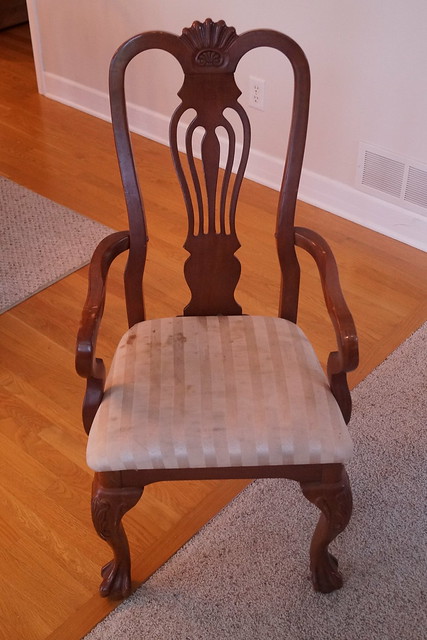
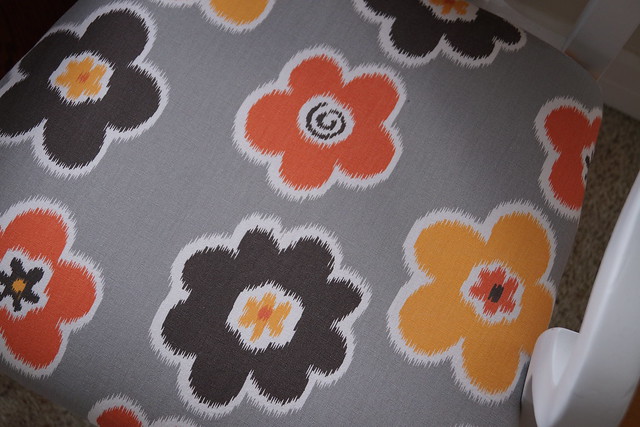
I first saw this chair with its pretty claw feet sticking out of a dumpster in front of someone's house about a year and a half ago Fall.  I was hoping there was a pair of chairs but I could only find one.  Rats!!  It made the cut during our move last Spring and I finally decided to tackle this chair after I found a cute remnant piece of fabric at the thrift store.


Here it is before--on the backside there are actually pieces of plastic sticking out where there was once plastic covering the entire seat.


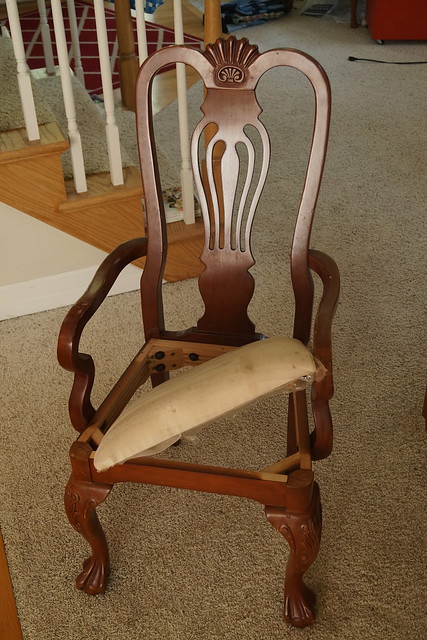
I took it apart, which just meant unscrewing the attached seat from underneath the chair.
Gave the chair a good cleaning.  Some of the wood was yucky.

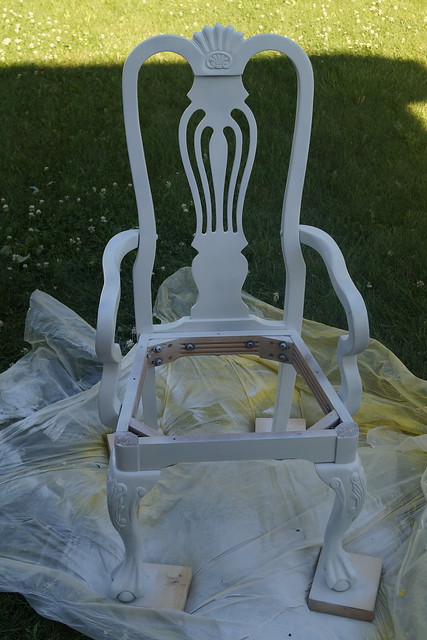
And then headed outside and painted the chair (in August of 2015).


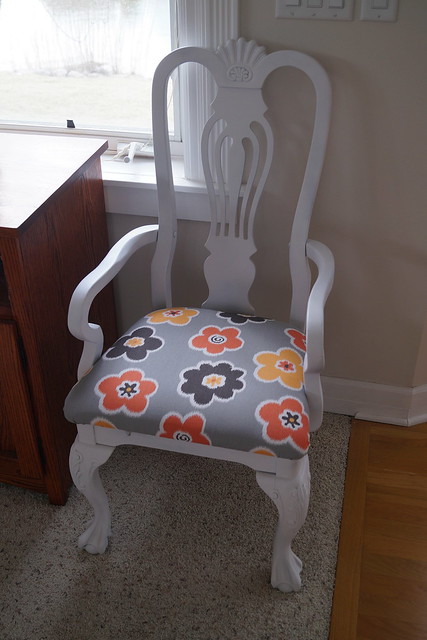
It sat some more while I tried to find the staple gun in our stuff, post move.  Once I found it I ripped off the old fabric and stapled back on the new piece and reattached the seat.  It looks real pretty sitting in our living room.


Details:

Thursday, July 2, 2015

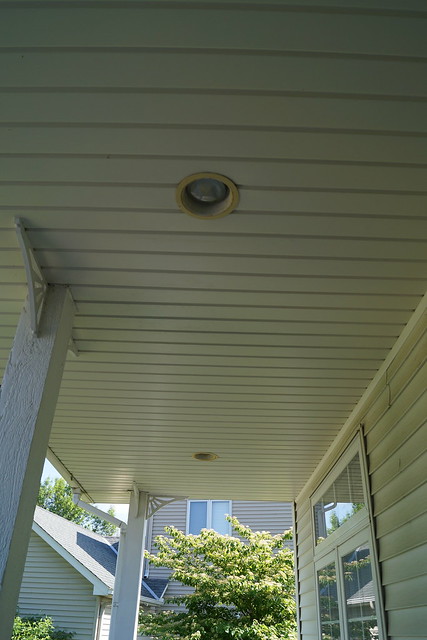
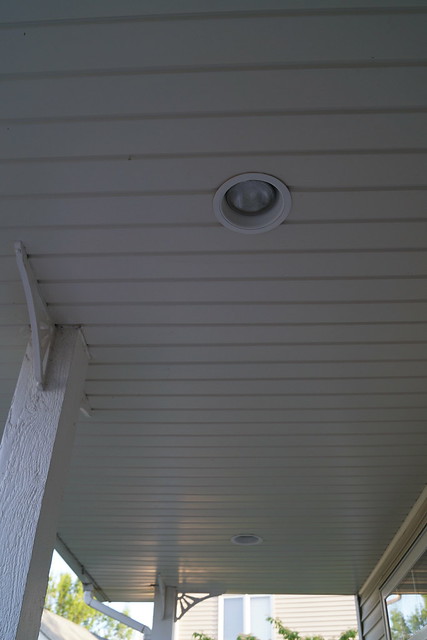
Changing the covered front porch lights

I've been in the painting mode.
Spray painting to be exact.

After taking care of the bathroom I noticed that the porch could use a little update.


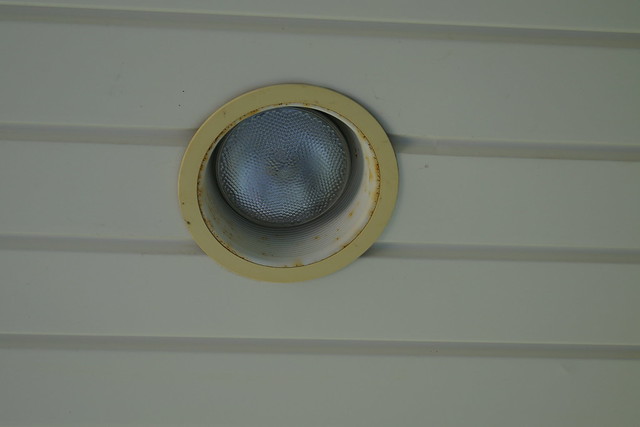
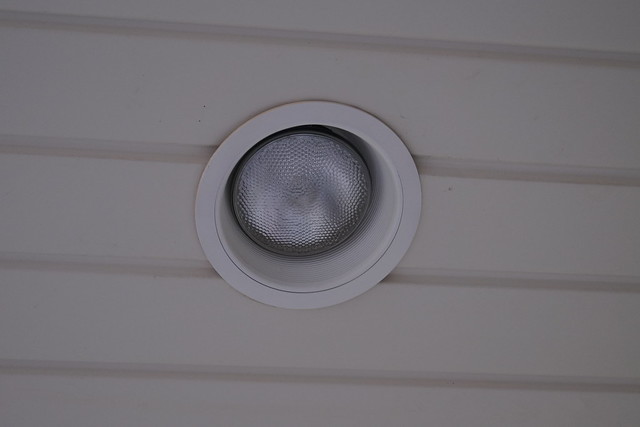
Close look at the light housing and bezel.


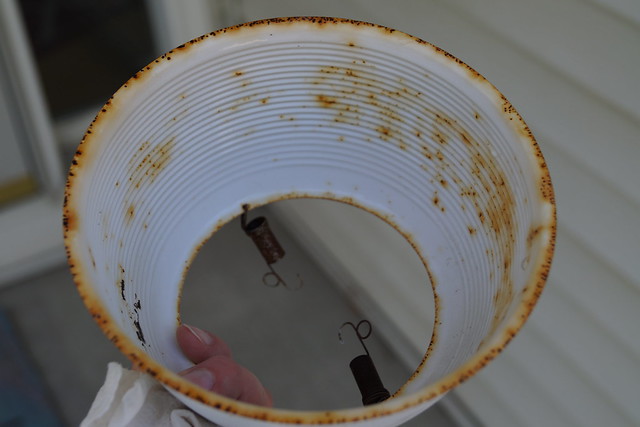
Once you get the light out the housing and bezel are just held in by springs.
Clean everything off really well.
Let it dry and then paint away.
I do at least 2 coats, sometimes 3 if they need it.


Back in business.
Looks like I bought new lights but it was just the cost of a can of spray paint.


Notes:

Monday, June 29, 2015

Fixing the lights in the master shower

O.K. this spray paint project might just blow your mind.

I couldn't believe what a difference it made.

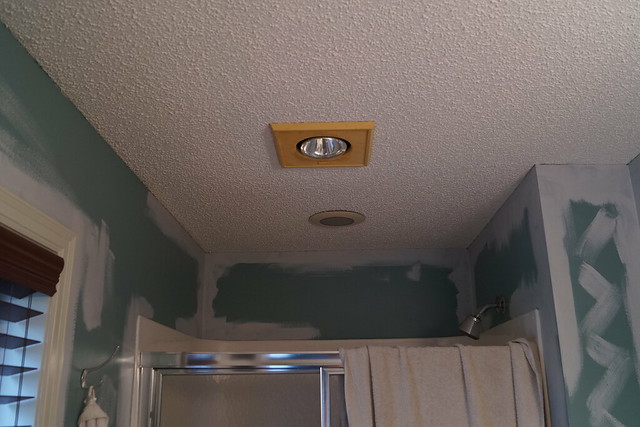
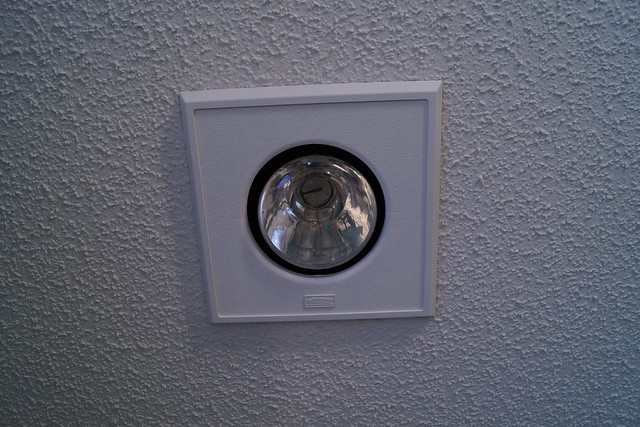
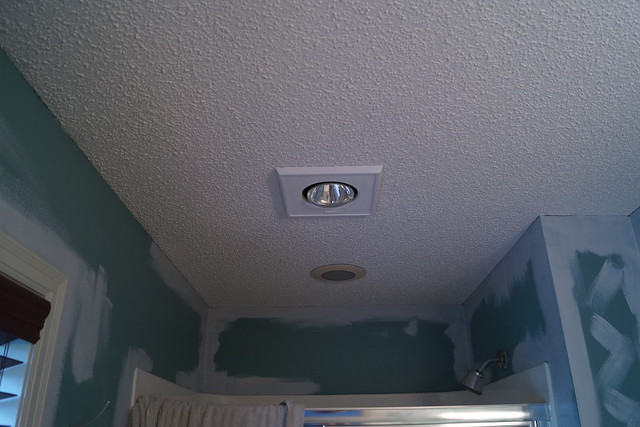
This is part of the lighting in our master bath.


Heat lamp in front and light directly over the shower farther back
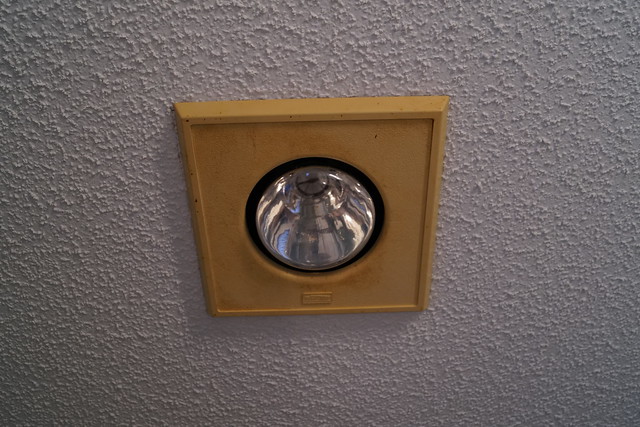
Those bezels are supposed to be white.
And yes, I am in the process of painting our bathroom also.
I lost steam for that project temporarily.


This is a combination heat lamp-exhaust fan.
We tried looking for something to replace it, albeit not very hard, but we couldn't find anything similar.
And besides, it does work.
It just looks NASTY.

Heat degrades plastic, plain and simple.

So after our fireplace project I looked to see if Rustoleum had their High Heat paint in white and Hallelujah! they did.

So I took this nasty cover off, which just meant unhinging a couple springs, cleaned it up good and gave it about 3 coats of paint.


So, so, so much better!


But then it makes the back bezel look bad.
Took that down too and after cleaning that all off sprayed it.


O.K. that's better.
Much cleaner and newer looking.

I'm motivated to take down more recessed lighting and spray paint them white.

This is one of the easiest projects I've done and talk about bang for your buck!

A couple more paint projects coming up in the following days.

Thursday, June 25, 2015

Fireplace Redo

This is the first of a couple projects I've done recently using Rustoleum High Heat Spray Paint.

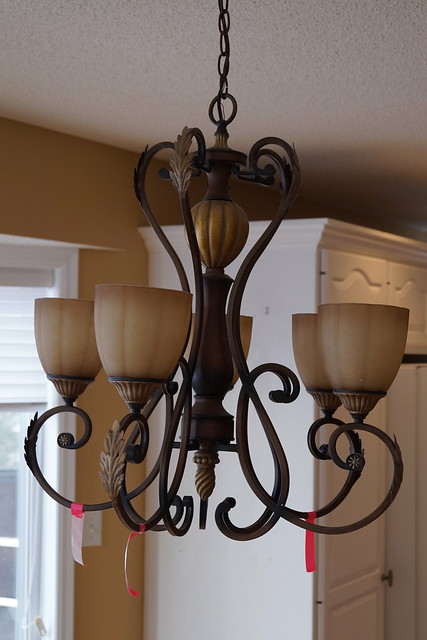
Originally I went looking for some flat black paint to redo this chandelier in our house that I am going to change from the brown Tuscan look to black and clear glass. And I am also going to move it from over the dining room table.  Too many of us have hit out heads.  I just feel it is too big for right there.


I still haven't done that project, but I found the black flat paint!

Anyway, back to what I did do.


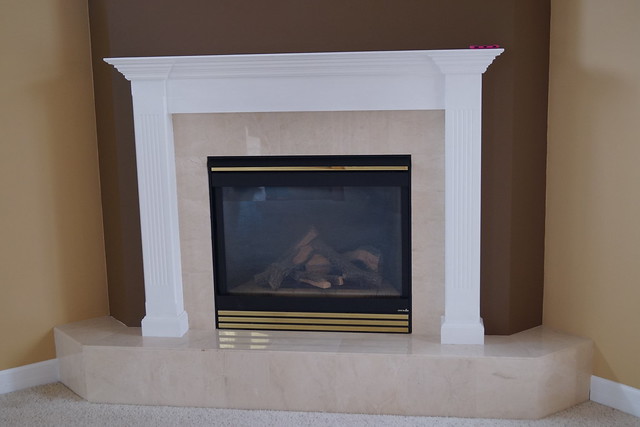
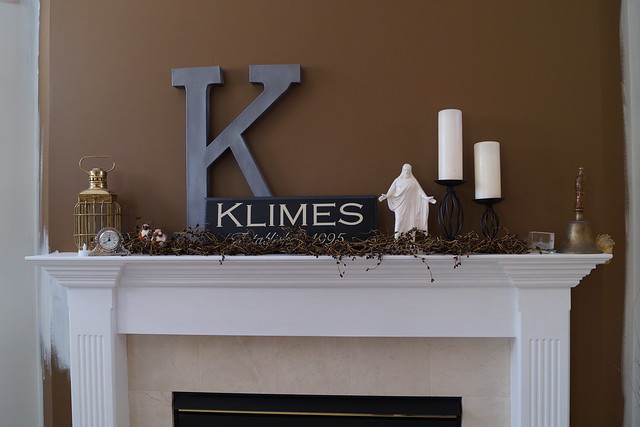
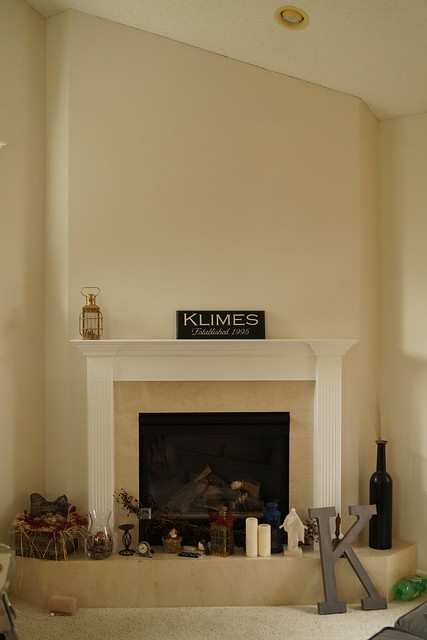
Here's the fireplace when we bought the house.
Fine.
Nothing too crazy awesome or horrible, but that brown paint HAS to go!


In the process of painting and random mantel display as I was unpacking boxes.
Not bad for having no real plan in mind.


Here we are with all the painting complete and the fireplace actually painted.
If you go back to the top I spray painted the brass slats on the fireplace itself to black.
The fireplace face all comes off easy.
I did two coats to make sure it was all covered.
I also cleaned the glass.
What a huge difference that made.
Without the brass we all like it better.

The mantel is sort of put back together now (not in this picture), but we are waiting on a deer mount to be finished to hang right there in its place of honor.  Can't wait to see it all done!

Notes:

Thursday, April 30, 2015

First things first

While there are plenty of things I am excited about with this new house, the current paint colors are not one of them. #downwithbrown  Seriously, except for the master bedroom and bath, EVERY room in this house, on every level, is brown.  Brown.  Not tan or beige, BROWN.  Actually 3 different shades of brown. Slowly but surely I'll be working to change that.

But first things first.
I AM happy about having a white house, however, the front door wasn't that inviting.
It was just plain blah!
When we painted the front door on our previous house it made a huge difference to the feel of the house.
So painting the front door on this new house was one of my first priorities.

I don't think it had ever been changed from the original primed or whatever color.  The trim had been painted white and I did decide to leave that. But I wanted something fun and happy and welcoming. And I wanted it soon, even though there is still so much to do.


It was a toss up between a green or orange or blue.
Turquoise won out in the end.


Ignore the mess behind it and just notice the pretty door.
That mess is mostly gone now, but I wanted to paint and "accomplish" something while in the throes of unpacking and sorting things.

I LOVE this color and when, or if, we get tired of it we can just paint it again. Super easy!


Doesn't this look much more inviting?

Details:
  • Front door paint Glidden Exterior in Blue Sapphire--2 coats

Monday, May 19, 2014

Front door redo

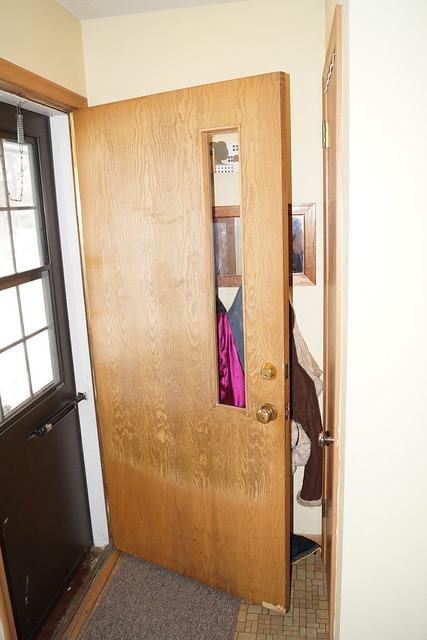
This is our "beautiful" front door.
I'm pretty sure it is original to the house, built 1960.

It is west facing and so gets lots of direct sunlight in the afternoon.
You can tell.
And you can tell that there used to be a different screen door there based on the sun damage.


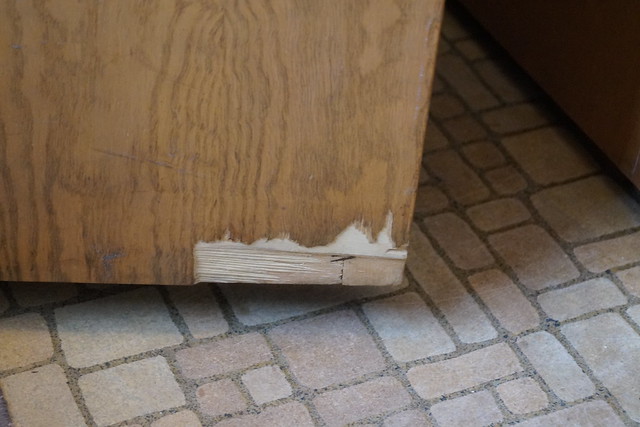
It also has a big chunk of veneer missing on the bottom corner.
Lots of wear and tear from the kids.
I had hoped to just put a kick plate on it to cover that up, but kick plates leave about an inch on either side of the door and so it wouldn't have worked.

On to plan B.
I needed to strip down the door somewhat.
Used a hand sander to clean it up.
Used Durham's Rock Hard Water Putty to patch the section of missing veneer and to fill in all the holes and spaces where I got rid of the nasty broken screen door that I will NOT be replacing with another one.


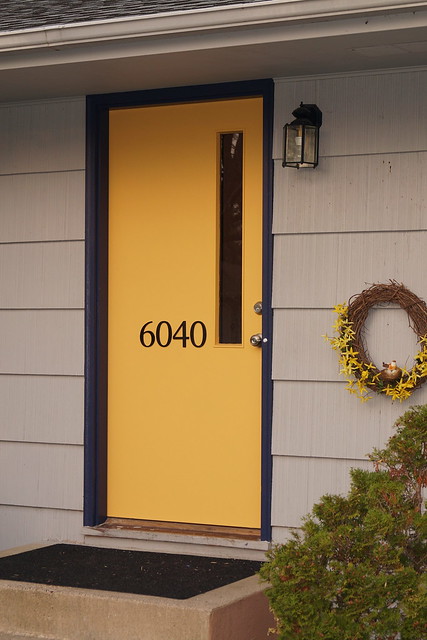
Here is the finished result.


Paint is Behr Premium Plus Ultra exterior satin.
Yellow is called Sunburst (1 quart was able to do 2 coats.)
Blue is called Vintage Velvet

A huge thanks to Mike at my local Home Depot paint department.
He has been a huge help tome.


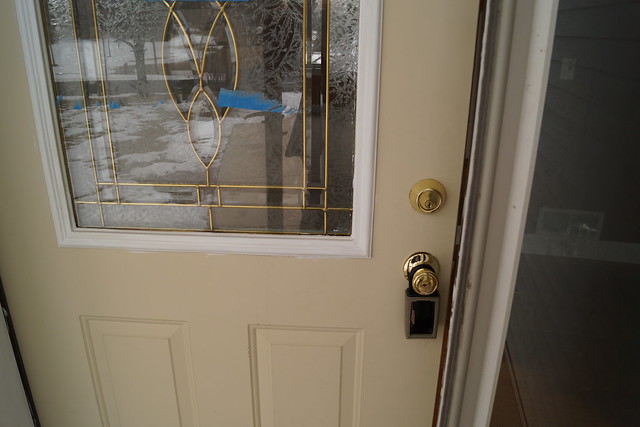
We also changed out the house numbers.  Removed the old ones from the front of the house and put new more modern looking numbers on the door.  All I had to do was line them up where I wanted them.  Put in a little pilot hole and then go to it with the cordless drill.  We also changed the doorknob, deadbolt and doorbell.

Love it!

The only thing left is to strip off the footer board and paint that.  I wasn't sure I wanted to include that at first, but now that the rest of it is done I am going to paint that blue too.

Tuesday, March 25, 2014

Life Skills---DIY style

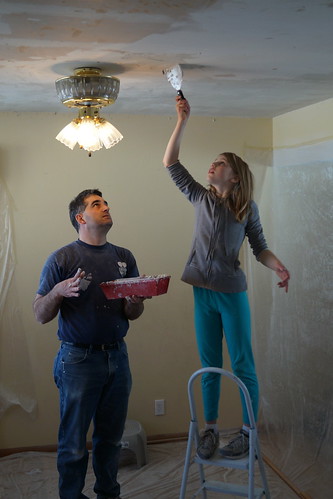
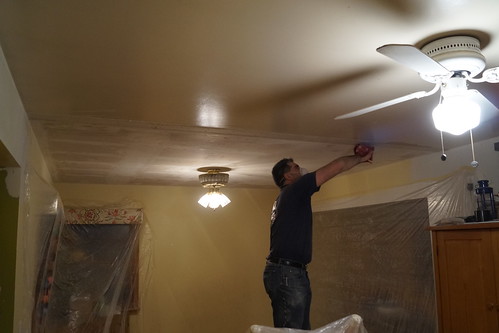
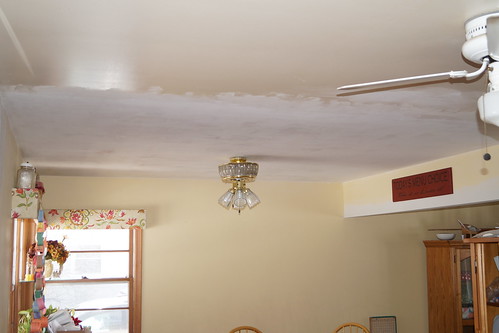
Over the weekend we worked on the next step to get our kitchen dining ceiling completed.  Taping and mudding and sanding were on the agenda.

Hubby did most of it as he is more particular about it than I am, which is probably a good thing.  Our youngest daughter wanted a chance and so he taught her how to mud and let her do a portion too.  Shouldn't every 10 yr. old know how to mud?


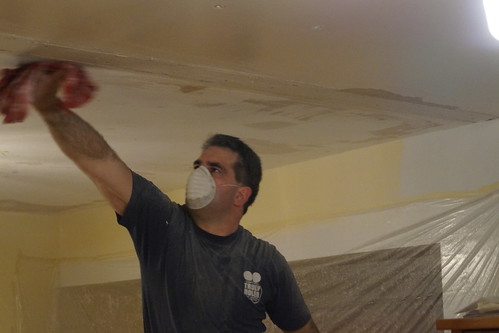
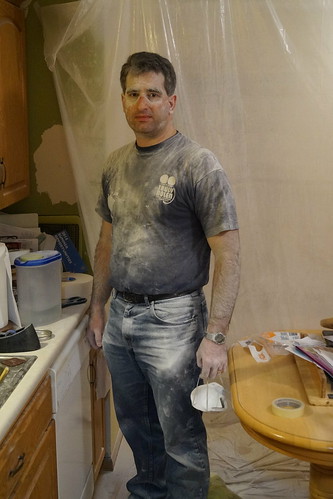
Tape it all off from the rest of your house before sanding because it will be a huge mess.


Hubby in all his sanding glory.

Our next problem to solve is on the left---painted over avocado green enamel paint = peeled paint and new paint and tile that won't stick unless we prep it differently.  Another yuck job that has to be done.  We'll tackle that one too.  Thanks to The Home Depot paint guys for their heads up on what to do.  I'll tell you about it when we get there.


All mudded and sanded.  This alone makes me happier to look at it.  It is going to be awesome.
Next up some primer and paint--once we get the rest of the kitchen area ready to paint.

Thursday, January 17, 2013

Cane Chair Redo

We got this chair on the curb near my neighborhood last summer.
It was a freebie that someone didn't want to deal with .
We drove past it once and I told myself that if it was still there when I came back that I'd grab it.
It was.
I did.

It was a bit rough in spots and the seat was coming undone, but when I saw it I had other visions in mind.  Pretty bright paint and a cushioned seat, possibly with upholstery tacks.


During the process B. was more than happy to do a little hand sanding on it to help get "her" chair ready.

Primed
I wasn't sure exactly how I was going to finish off the seat/cushion so don't do your chair redo in this order. 
I thought I was going to just make a pad that you could tie onto the back of the chair and then set it on top of the wicker seat.  However, it ended up being too worn and would break through after some time.  So after painting it we decided to get rid of the wicker seat.  It would be easier and better to do this first, then your painting.  It already needed another coat so doing it this way didn't completely screw up the plan.

Basically we snipped all the way around the seat to cut the connections and then we had to go back and get rid of the weaving underneath.  I used an Allen wrench to poke it down thru the hole and then pulled the strings from underneath.  Just keep working your way around until it is all gone.  You can always get a pair of pliers to help pull it out.


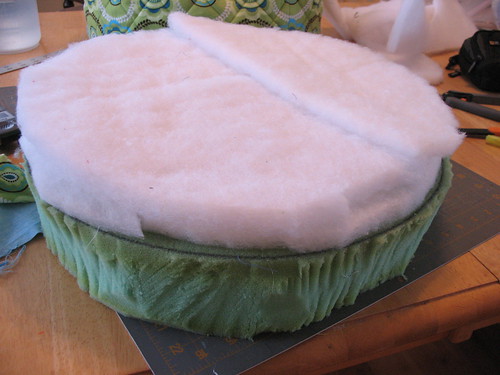
For the seat cushion I cut a piece of 3" foam in a circle the size of the seat.
Added a little more batting to give it some umph!


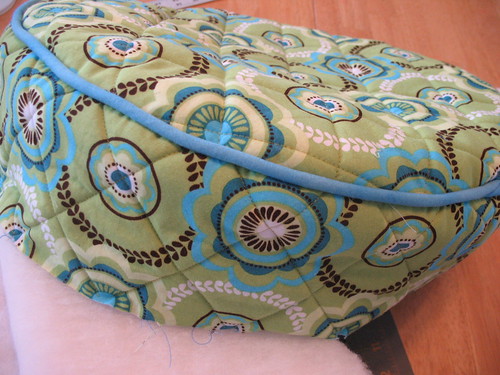
Then I made the fabric covering.
I machine quilted the fabric with some batting and muslin.
I wanted it to be sturdier than just the fabric.

Made my own piping.
And then double checked the sizing.

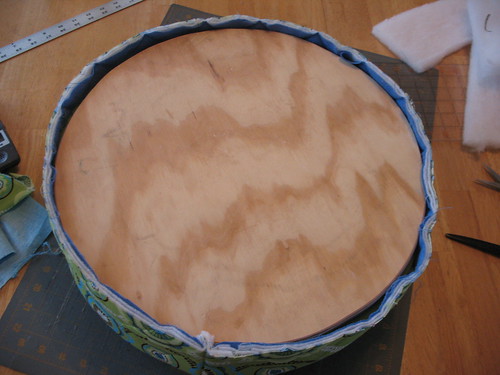
I went ahead and serged around the bottom edge before I stapled it to the seat cushion bottom.
This was then screwed to the chair itself up underneath.


And Voila!!

I was going to give this to Miss B. for Christmas but it seemed she was already getting more than everyone else.  So I just held onto it and waited until this past week.  


Now this chair makes her desk look horrible.
Guess that will be the next redo project--in the Spring.
She wants it lime green to match the chair.  Not sure if I'll go that direction or not, but I'll think about it.

Details:
  • Rustoleum 2X spray paint in "Lagoon"
  • Replaced the feet pads to avoid any scratching.
  • Fabric from the stash.
  • Foam pad and batting from the stash.
  • Bought the piping fabric because I couldn't find anything in my stash to match the way I wanted.
  • Hubby cut new circle seat bottom out of scrap from his stash.  

LinkWithin

Related Posts Plugin for WordPress, Blogger...