O.K. this spray paint project might just blow your mind.
I couldn't believe what a difference it made.
This is part of the lighting in our master bath.
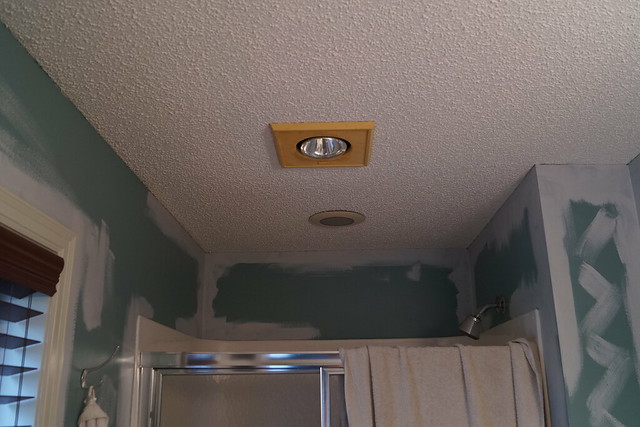
Heat lamp in front and light directly over the shower farther back
Those bezels are supposed to be white.
And yes, I am in the process of painting our bathroom also.
I lost steam for that project temporarily.
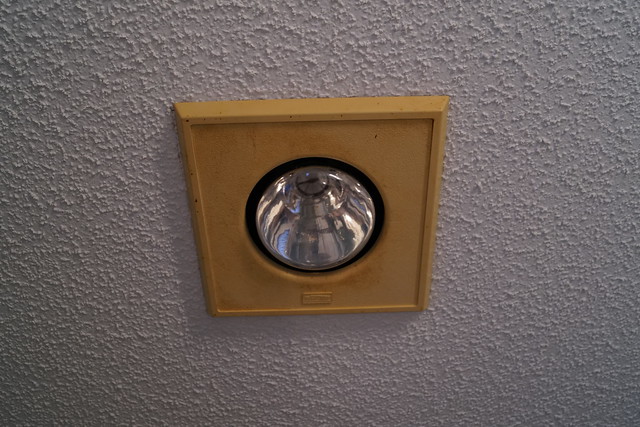
This is a combination heat lamp-exhaust fan.
We tried looking for something to replace it, albeit not very hard, but we couldn't find anything similar.
And besides, it does work.
It just looks NASTY.
Heat degrades plastic, plain and simple.
So after our fireplace project I looked to see if Rustoleum had their High Heat paint in white and Hallelujah! they did.
So I took this nasty cover off, which just meant unhinging a couple springs, cleaned it up good and gave it about 3 coats of paint.
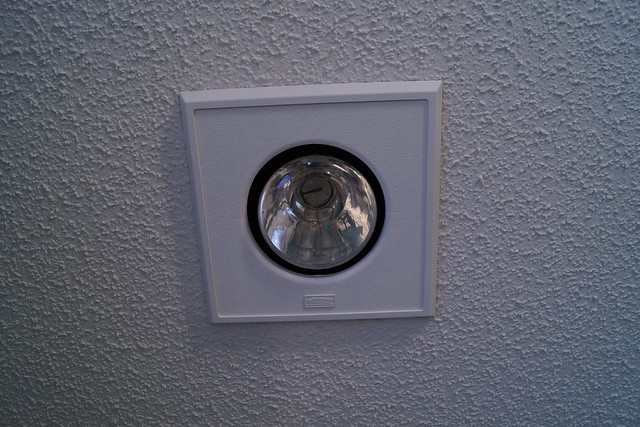
So, so, so much better!
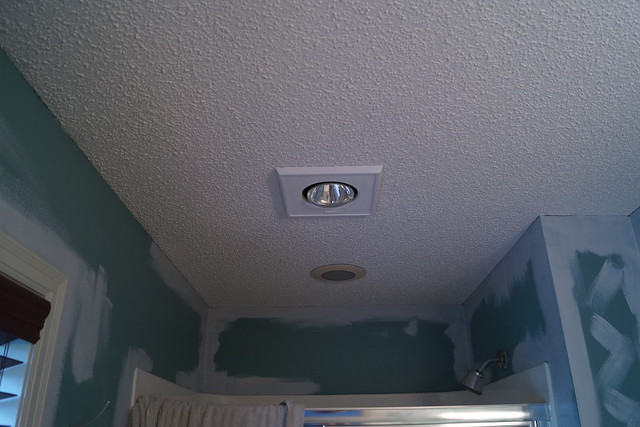
But then it makes the back bezel look bad.
Took that down too and after cleaning that all off sprayed it.
O.K. that's better.
Much cleaner and newer looking.
I'm motivated to take down more recessed lighting and spray paint them white.
This is one of the easiest projects I've done and talk about bang for your buck!
A couple more paint projects coming up in the following days.
Monday, June 29, 2015
Thursday, June 25, 2015
Fireplace Redo
This is the first of a couple projects I've done recently using Rustoleum High Heat Spray Paint.
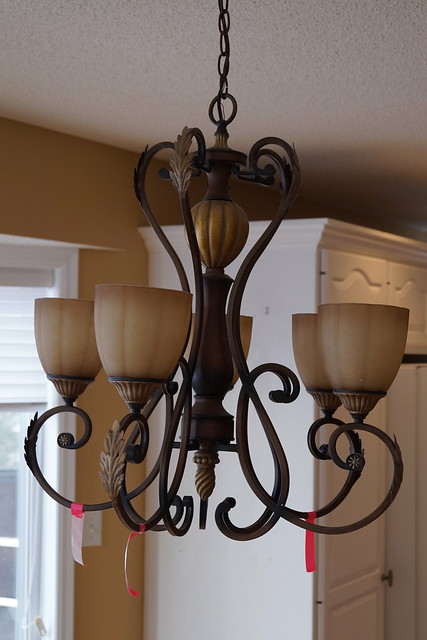
Originally I went looking for some flat black paint to redo this chandelier in our house that I am going to change from the brown Tuscan look to black and clear glass. And I am also going to move it from over the dining room table. Too many of us have hit out heads. I just feel it is too big for right there.
I still haven't done that project, but I found the black flat paint!
Anyway, back to what I did do.
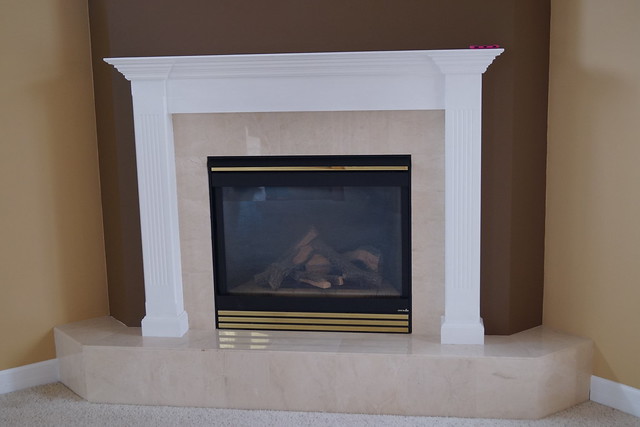
Here's the fireplace when we bought the house.
Fine.
Nothing too crazy awesome or horrible, but that brown paint HAS to go!
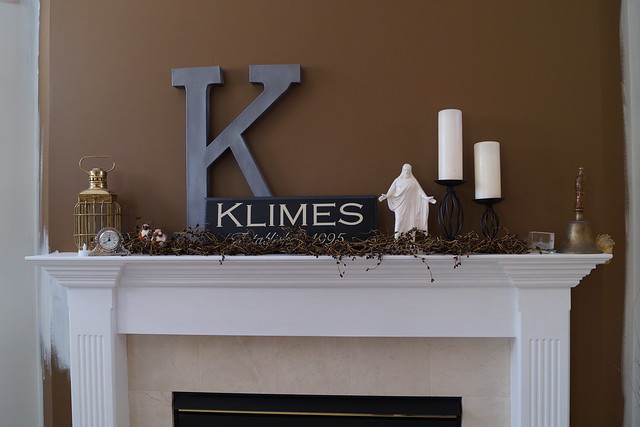
In the process of painting and random mantel display as I was unpacking boxes.
Not bad for having no real plan in mind.
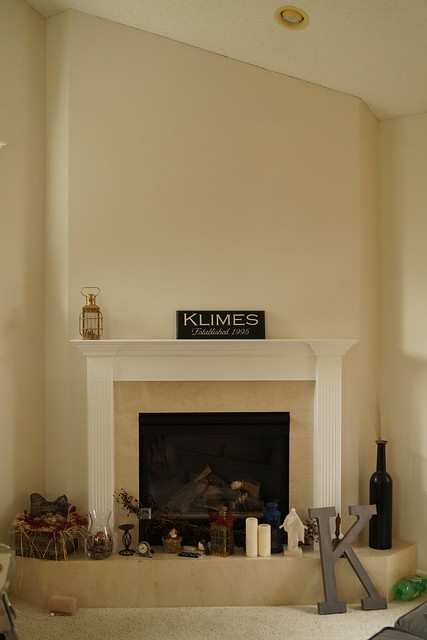
Here we are with all the painting complete and the fireplace actually painted.
If you go back to the top I spray painted the brass slats on the fireplace itself to black.
The fireplace face all comes off easy.
I did two coats to make sure it was all covered.
I also cleaned the glass.
What a huge difference that made.
Without the brass we all like it better.
The mantel is sort of put back together now (not in this picture), but we are waiting on a deer mount to be finished to hang right there in its place of honor. Can't wait to see it all done!
Notes:
- Rustoleum High Heat Paint in black
- Wall paint Sherwin Williams Ivory Lace (color matched at Menards so I could save myself about $200 on 10 gallons of paint)
Monday, June 22, 2015
Madisson's T-shirt Quilt
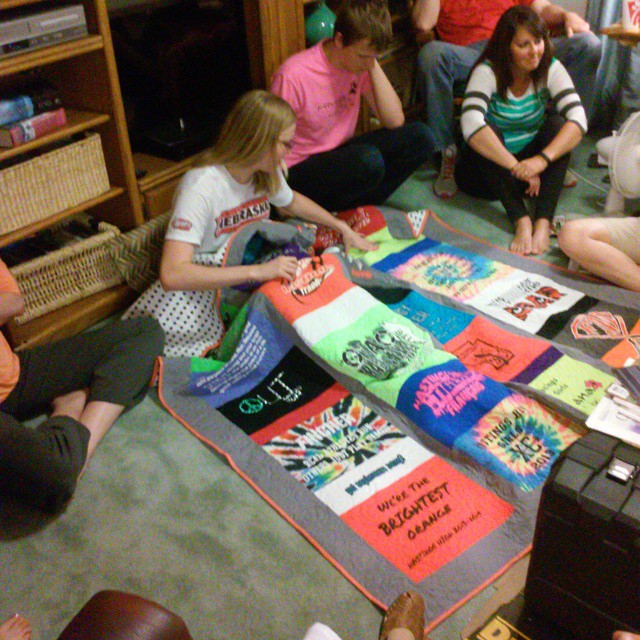
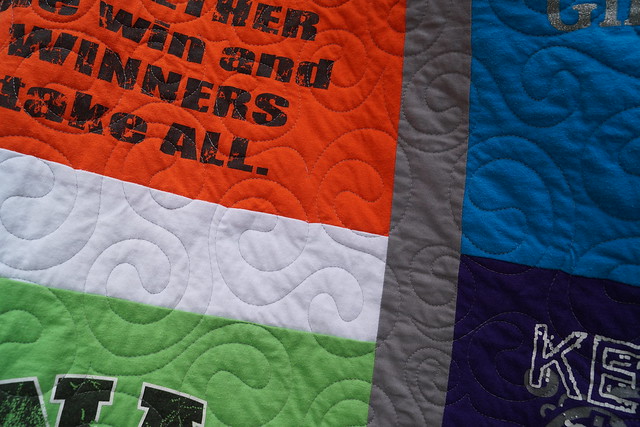
Although our niece Madisson received a graduation quilt from Emily last year, she also wanted a t-shirt quilt made of all her cross-county shirts. Emily and I put together the layout on our February sewing retreat earlier this year. With such wild colored shirts two heads were definitely better than one when trying to figure out how to "coordinate" them all. Emily had it quilted, brought it to our parents' 50th weekend and I put on the binding quick so we could give it to Madisson for an early b-day present (also thanks to her parents).
She was excited to finally get it.
Notes:
She was excited to finally get it.
Notes:
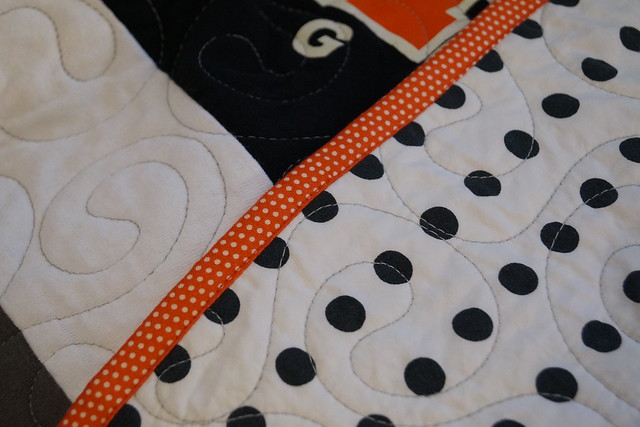
- Cute orange dotted Swiss for the binding.
- Black and white polka dot backing.
- Grey Kona for sashing.
- Lots of crazy running shirts. She had to pick out her favorites and some were left behind because of space and design.
- My oldest daughter's t-shirt quilt for another idea.
- Quilted by Lynn Peterson in a lovely loopy swirl pattern.
Friday, June 19, 2015
Omaha Quilt finished
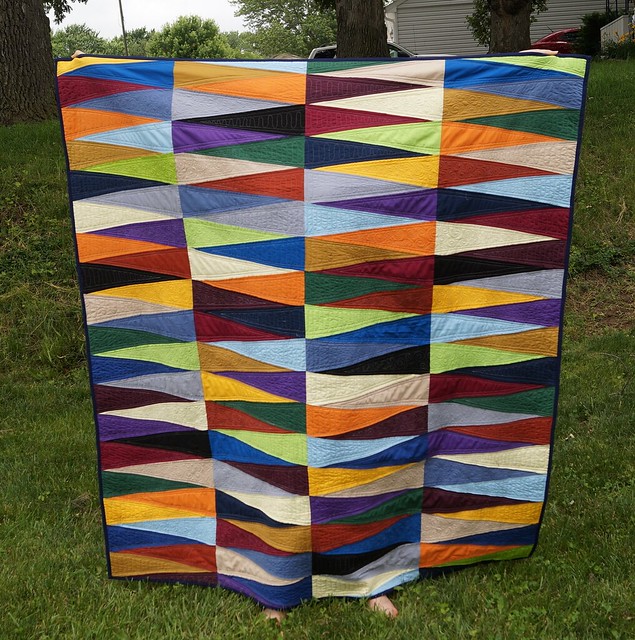
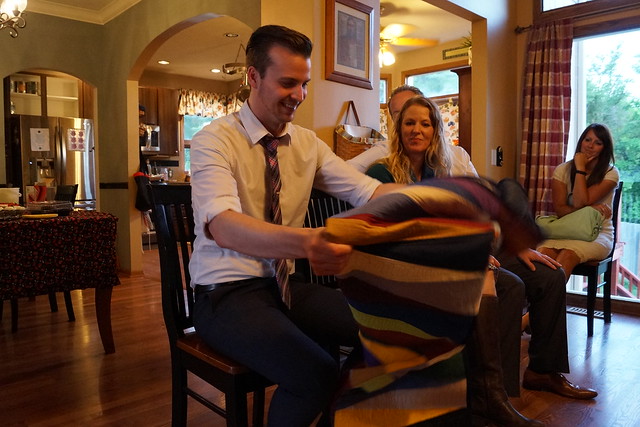
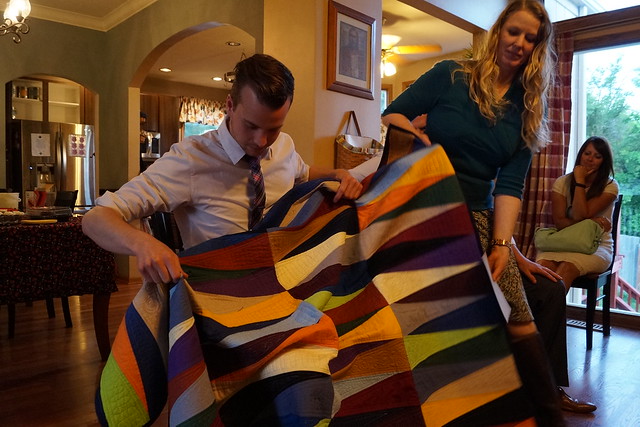
Last weekend while we were in Nebraska I gave my nephew Josh his Omaha inspired quilt.
His 25th birthday is this week. And unfortunately for him he graduated from high school a little before the time that we were into quilts. So this'll make up for that.
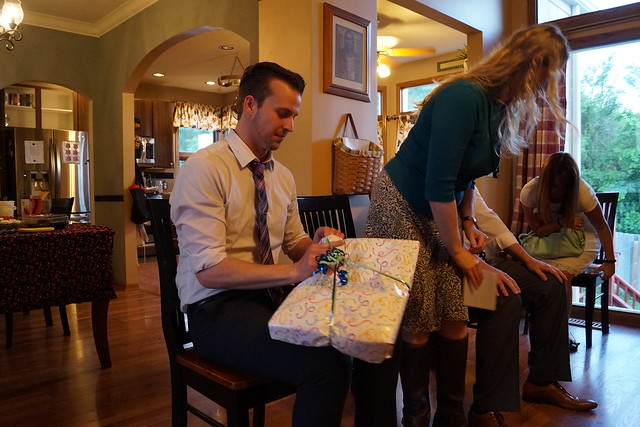
At his parents' house for the big reveal.
"This feels soft and squishy."
Big smiles are always a good sign.
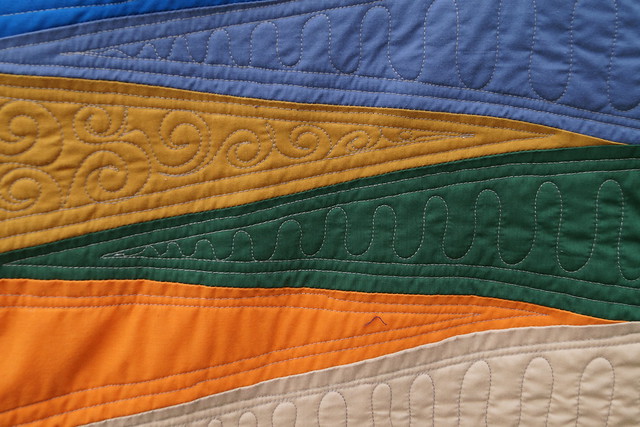
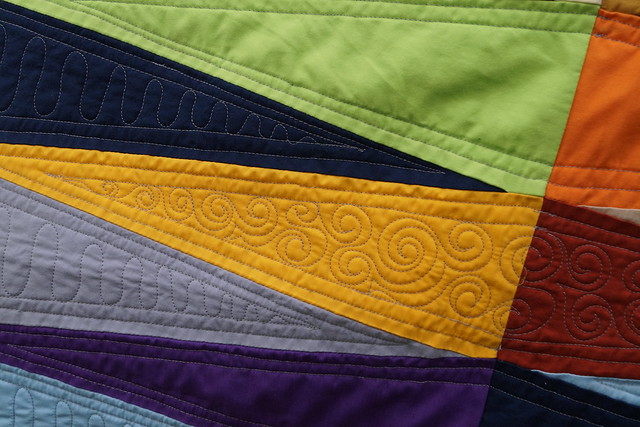
Lynn's quilting handiwork.
I'm now on somewhat of the lookout for another inspirational site to copy and make a quilt representation. I actually saw a cool paved brick design at one of the local libraries. I might have to go take pics and see what I can come up with.
Details:
- Mix of Kona and thrifted solids.
- Previous post on this quilt.
- Quilted by Lynn Peterson.
Tuesday, June 16, 2015
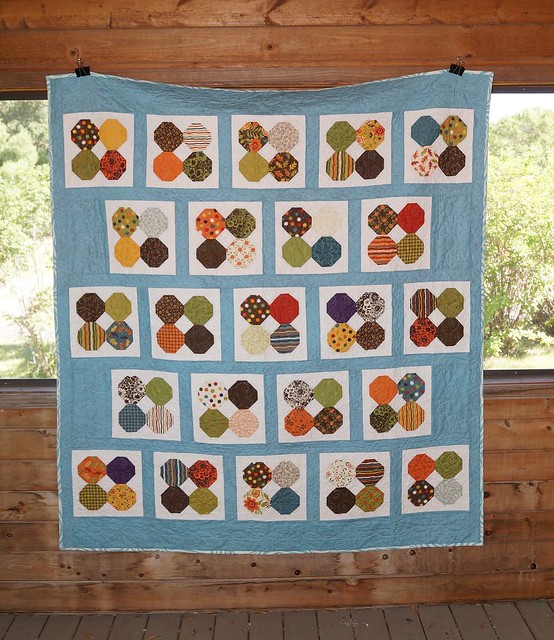
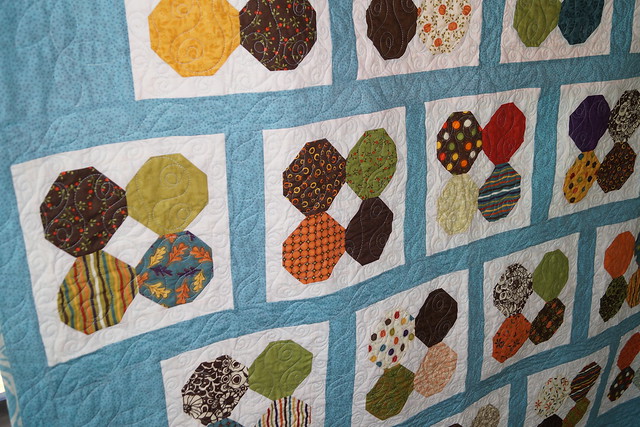
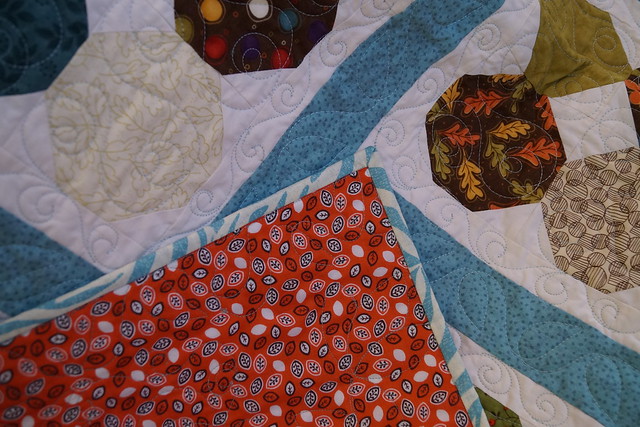
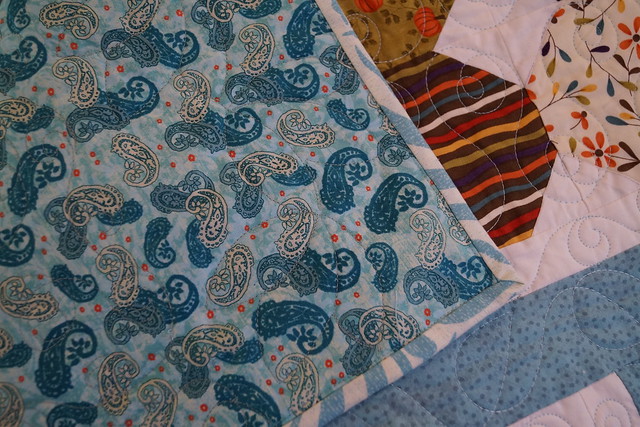
4 Pack of Snowballs Quilt Finished
We spent this past weekend in Nebraska to celebrate our parents' 50th wedding anniversary and while there I brought home 2 quilts I had sent out to Lynn to get quilted that Emily had brought with her.
This quilt was a fun one. It took me a long time from the time I actually bought the fabric, but I just love how it turned out. The layout has turned out to be one of my favorites.
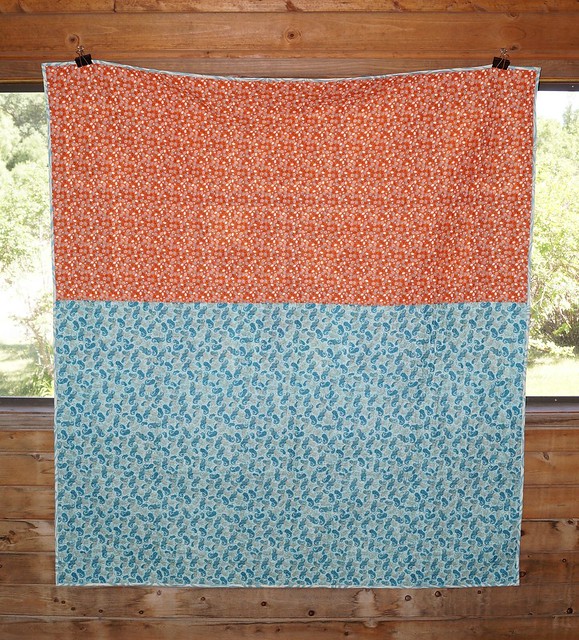
I love how the backing came together and the binding is one of my favorites. I've got extra of it!!
This quilt may head up to the master bedroom and be added to the rotation at the foot of our bed since hubby likes this one a lot.
Details:
- Snowballs made from 5" square charm packs bought at the thrift store.
- Finished size 65 inches by 73 inches (a little smaller than I normally make since we're so tall)
- Binding attached with this method. I attach the binding to the backside always now.
- Here is this quilt in the process
Subscribe to:
Posts (Atom)