Showing posts with label Corners of My Home. Show all posts

Friday, July 14, 2017

End Table Makeovers

I've been working on some side tables in my living room to get them looking more updated.
The rectangular one I bought at the thrift store for about $5 and the hexagon one I picked up off the curb from someone who was giving it away.  They definitely weren't what I wanted, but free and/or cheap and functional is what I needed at the time.

Both had glass tops.  The Hexagon was missing the glass on the bottom too.

Nothing too fancy or noteworthy about either of these tables.

First I pulled off both tables tops.  Each of them were just screwed into the base from the bottom.

Then I used 1 x 4 and 1 x 6 scraps to form the top.
I like the different grain and knots in the pine.


On this you can see how I attached the individual pieces underneath with a little scrap piece.

The bases were painted separately.
All I really did was clean them up a bit and sand some of the flat parts to remove a little of the finish before painting.  I use a paint and primer mix and have good luck with that.

After sanding the tops I stained them and sealed them with a clear matte finish.

My local Home Depot was out of the piece and size wood that I want for the bottom of this table.
I will eventually cut, paint and attach that. 
Since it attaches from the bottom I can do it later and it won't mess things up.
I am also debating on doing a little distressing on the painted bases.
For now I am going to leave it and see what I think.


Next up a revamp of my coffee table.

Details:

  • 1 x 4 and 1 x 6 pieces cut to size.
  • 60 degree angles cut on table saw. I used the old hexagon top to trace out the size and then lined it up on the table saw to cut.  It was cut while the support pieces underneath were attached.
  • Minwax Stains Wood Finish in Jacobean and Pickled Oak mixed to a 1:1 ratio.  I probably could have got a different stain to achieve this color but I already had a large can of Jacobean and didn't want to waste it so I bought a small Pickled Oak to mix it with.
  • Rustoleum 2X Primer and Paint in Heirloom White.  I used 2 cans for each table.

Friday, June 24, 2016

Magnetic Chalkboard Frame

This project took way more time and effort than I think it needed.
But I guess that is what happens when you are just winging it.

Finished up

 Frame and paint detail

Hanging in my entry with the real life shoes lying everywhere.

 Close-up of metal glued onto the board.
I cut the metal to shape with a pair of tin snips.
Used a jigsaw to cut the board.

 The crease on the board is what occurs when you use contact cement--don't quite get it
lined up correctly and quickly try and pull it off to reposition.
You just get a bend in your metal because it IS NOT coming off.

At this point we are calling it "character".  I didn't want to start all over.
It would have been too frustrating.


Hints:
  • Originally tried to glue the metal to the board with Liquid Nails.  Ughh, thumbs down!!  As soon as I took the clamps off the pieces the metal just popped right off.  Maybe I wasn't doing it correctly, but I felt it should've been easier to use.
  • Contact cement is PERMANENT! You cannot remove it and replace like other products.  Once it is down, that is where it is going.  In hindsight we should have put the metal into the frame and then laid the glued board down on top of it to get it lined up correctly.  Since we didn't I had to go back and trim off metal or wood here and there in order to get the piece to line back up in the frame.  And we also have a little crease in the metal after trying to pull it off quickly once we realized it wasn't lined up perfectly.
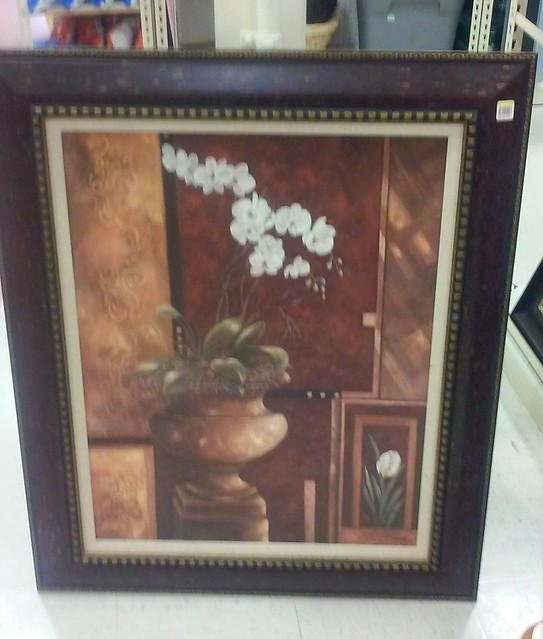
  • Once I got all the coats of paint on and then seasoned the chalkboard it wasn't nearly as noticeable.  And I can always strategically place things I am hanging up.
Oh well!

Details:

You can buy sheets of chalkboard at Home Depot. They are about $10 and measure 2 x 4 feet.  That would've worked great for the size I needed except I wanted chalkboard AND magnet board combined.

Monday, June 6, 2016

Recycled Shutters Headboard


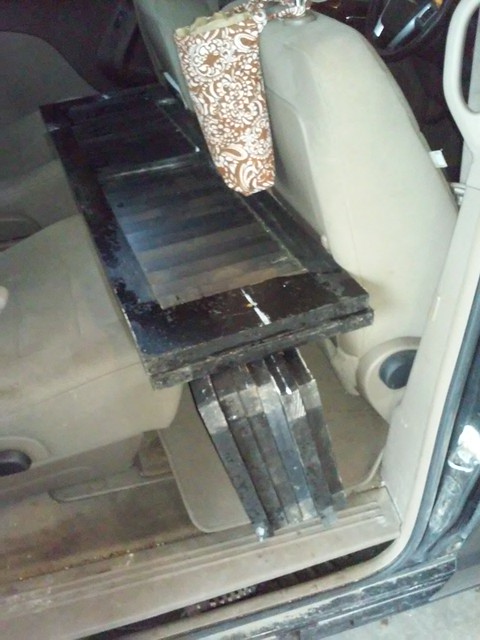
Remember this fun find?
Once I saw them I knew immediately that I'd be making a headboard for my daughter's room.
She was just as excited as I was about it.

Lucky for us the shutters were wood, already painted black, and in fairly good shape.

So we determined that we wanted a slightly stacked look of the headboard and laid it all out.
4 shutters was too narrow for her Queen bed and 5 too wide.  However, we decided that the too wide (by about 5 inches on each side) looked better than the too narrow option.  Plus I kind of have this thing about odd numbers being a little more pleasing to look at than an even amount of items.

I wiped the shutters all down.
Then took out my orbital sander and went to town.


This shows the sanded shutters on either side and the not-yet-sanded ones in the middle.

A little better close-up of how I roughed it up.

Once I was done sanding I wiped it all down again with some tack cloth to get rid of all the dust and residue.
We laid out the arrangement and then I used a Kreg Jig to drill holes in the back of the shutters to attach with screws to each other.


 All assembled and ready move downstairs to her bedroom.

We debated on a staggered vs. straight across look for the shutters and ultimately she liked the staggered look best.  I think I do too.

 We ended up adding some cabinet door pads to the corners of the headboard.
We had JUST painted her room white and didn't want any dings on the walls.
This also helped eliminate any movement getting in and out of bed.


I'm proud to say that the only thing hubby helped me do on this was to actually attach it to the metal bed frame.  We needed 3 people--2 to hold it in place while the one attached the screws.  He really didn't want anything to do with this project, which was completely fine. 

This may be the one and only time her bed stays made, but we're working on that.

Daughter #2 is very happy with how it turned out.
So am I, and even happier that it was free.

We have a few more details to show in her room that we'll post later on.
And I have 3 shutters left to do something else.

Details:
  • Free curbside shutters (see Friday Finds here)
  • Pinterest inspiration here and here. This is what we were thinking before I found the curbside shutters.
  • We used 5 - 14" wide shutters for her queen size bed. (4 wasn't wide enough)
  • Orbital sander to distress the shutters.
  • Kreg Jig for screw attachment.
  • Cabinet door pads

Monday, April 18, 2016

Dumpster Chair Rescue

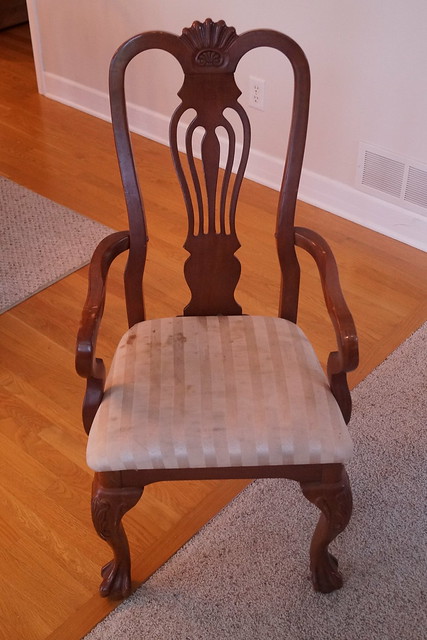
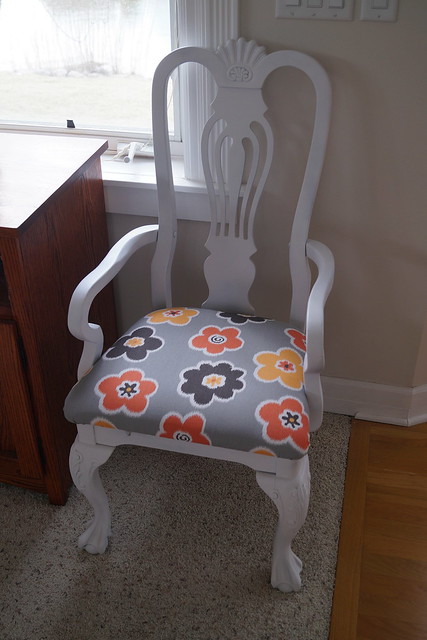
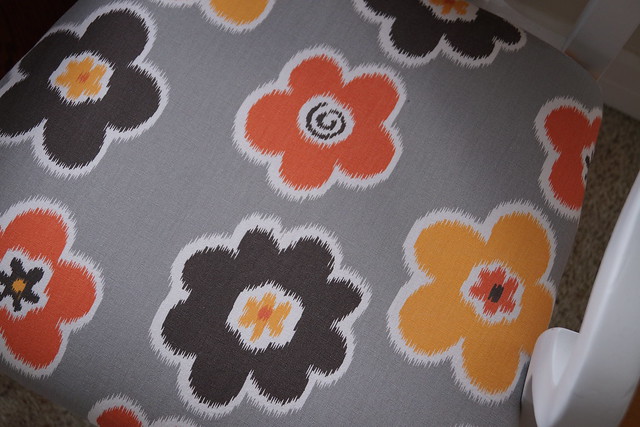
I first saw this chair with its pretty claw feet sticking out of a dumpster in front of someone's house about a year and a half ago Fall.  I was hoping there was a pair of chairs but I could only find one.  Rats!!  It made the cut during our move last Spring and I finally decided to tackle this chair after I found a cute remnant piece of fabric at the thrift store.


Here it is before--on the backside there are actually pieces of plastic sticking out where there was once plastic covering the entire seat.


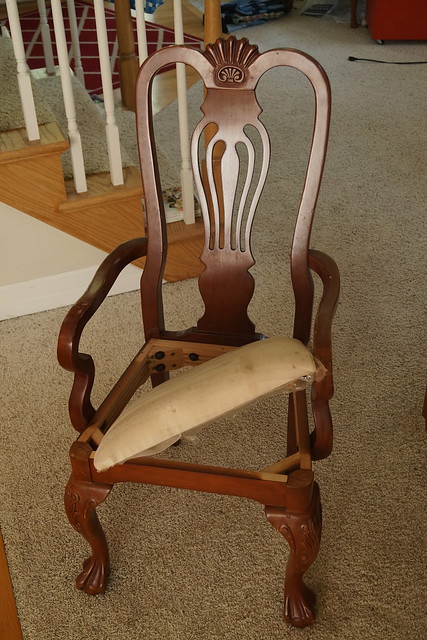
I took it apart, which just meant unscrewing the attached seat from underneath the chair.
Gave the chair a good cleaning.  Some of the wood was yucky.

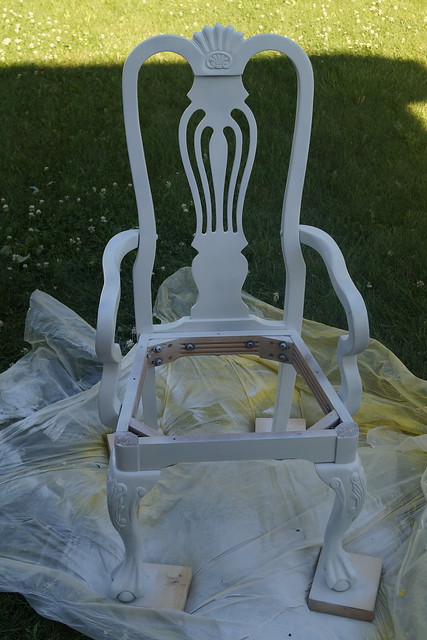
And then headed outside and painted the chair (in August of 2015).


It sat some more while I tried to find the staple gun in our stuff, post move.  Once I found it I ripped off the old fabric and stapled back on the new piece and reattached the seat.  It looks real pretty sitting in our living room.


Details:

Thursday, April 7, 2016

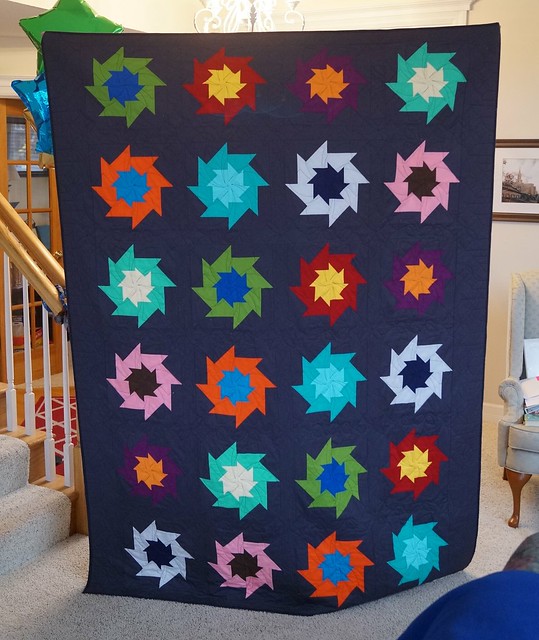
Sawtooth Solids Quilt for #2 son

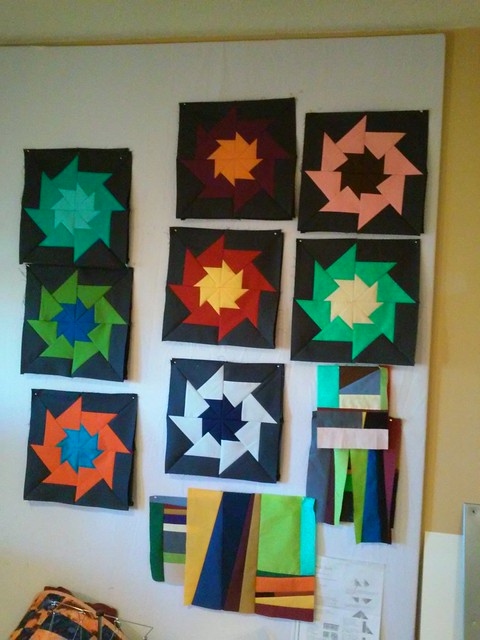
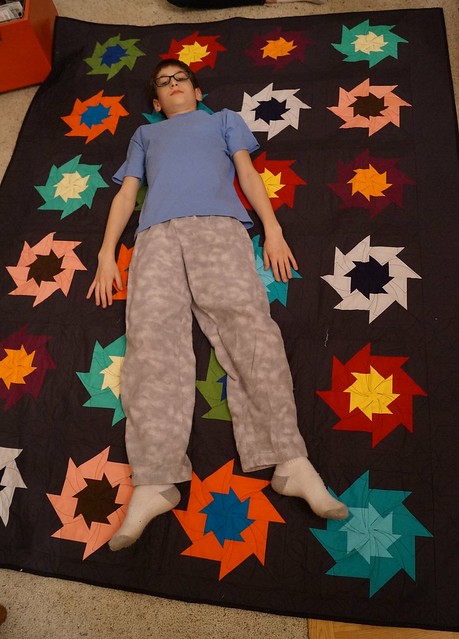
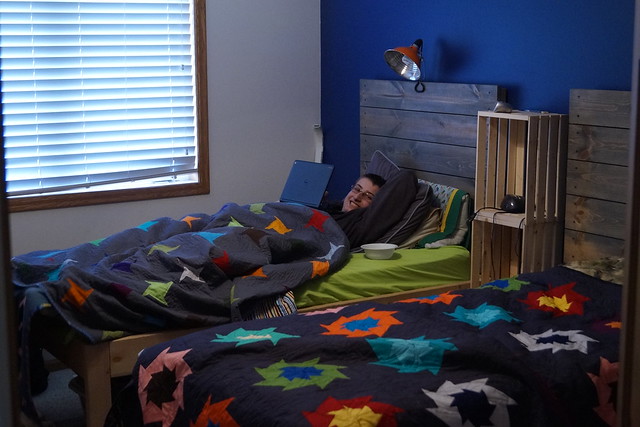
My youngest son was so happy when I came back from my sewing retreat in February because I brought back his quilt that was finally finished. He picked out the pattern and the majority of the colors.  And then I put them together.

Here is the "in the process" picture. Making all the blocks and hanging them up on my design board.


He is very happy with it (although it doesn't necessarily appear that way in the picture above)


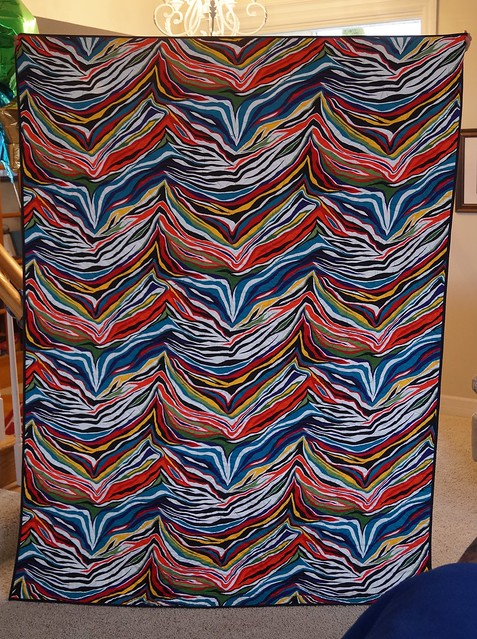
He also picked out the C.R.A.Z.Y. backing fabric. 


I think I really like it though. I have to say I am impressed with myself how I lined up the fabric to sew it together. Unless you are really up close you can't even tell there is a seam right down the middle of the backing.


I just bound it with a black Swiss dot. 

Details:
Ahhh, Spring Break laziness.....

Friday, April 1, 2016

Makeover for Grover

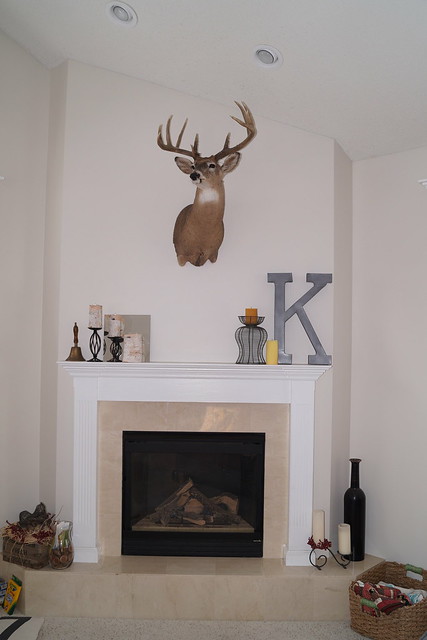
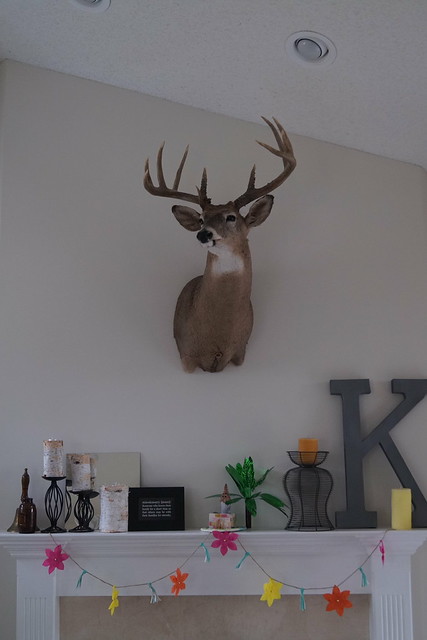
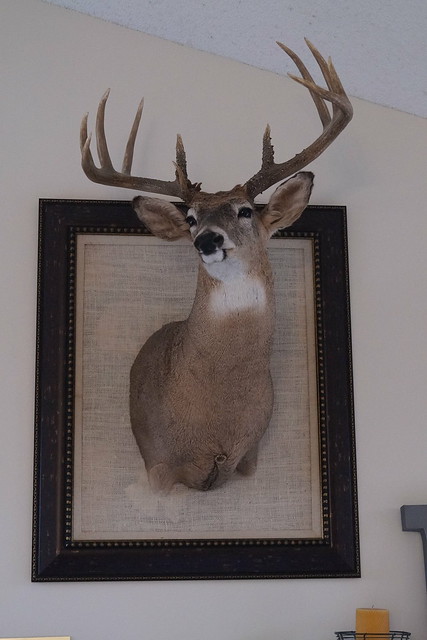
Meet Grover.

He resides over our fireplace mantel.
Unfortunately he had a fatal accident with an automobile in the Fall of 2014 in the city of Maple Grove, MN (hence his name).  Hubby was on a call list for road kill, yes, I know it's a bit Redneck, but once we saw him we decided to give him a second chance to strut his stuff.


This is how he has been displayed for the past year or so in our living room.
I hadn't completely figured out what I wanted to do with this room, but I do like Grover right there greeting us as we come in the front door.


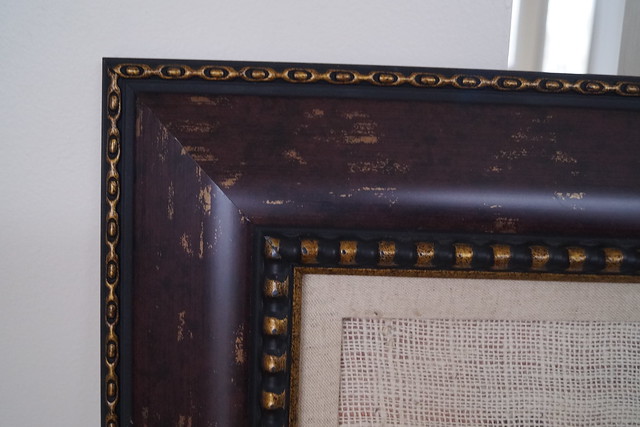
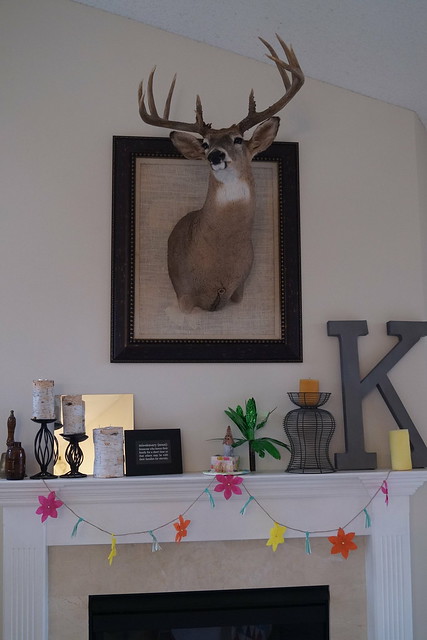
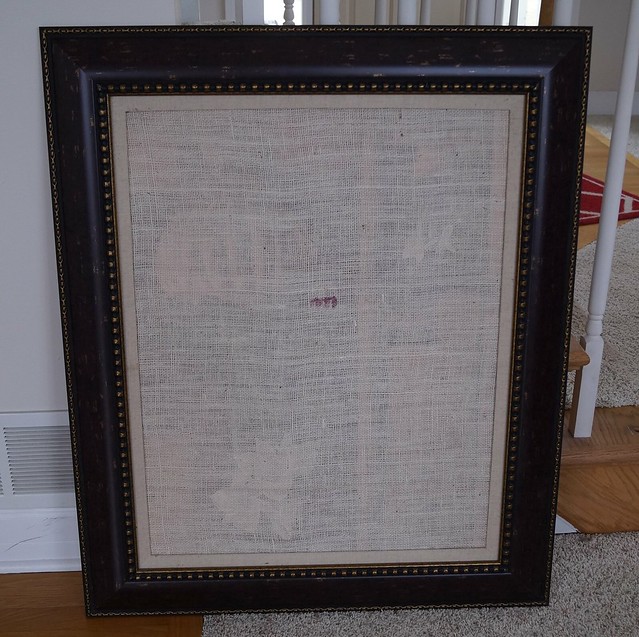
I finally decided that I wanted to frame Grover out and give him a more substantial place over the mantel.  I found this frame below that I felt would work.


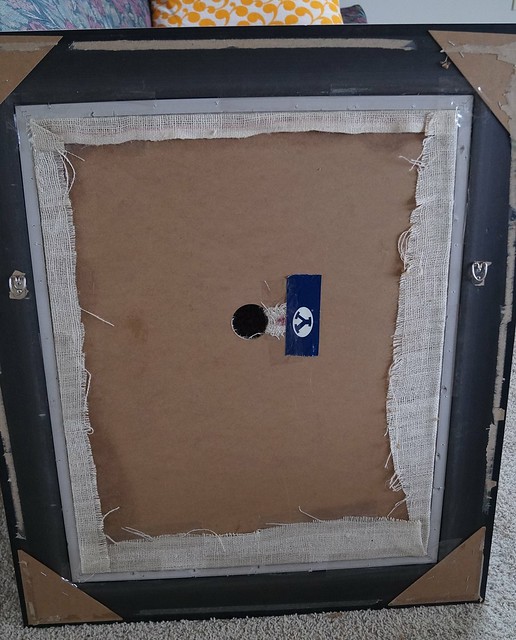
I bought a piece of burlap fabric the width I needed and then cut it down to size and used spray adhesive to put it right over top of the picture that was in this frame.  (A somewhat ugly floral print)


With lipstick on the back hook of Grover I positioned him on the frame so that I would know where I wanted him to sit.

Then I took a large Forstner bit from my hubby's shop and attached it to the drill and drilled out a hole for the spot where Grove already hung from the wall.


Positioning the frame over the hook I found the spots to hang the frame and attached it then placed Grover over top of the frame on his previous spot.


As you can see the picture underneath sort of shows through.  I need to take it all down, and either flip the picture of spray paint over it so that the lighter flower outlines don't show through.  It's not super annoying....just slightly.  UPDATE: I did just that and now you can't tell there is anything underneath.  Just flipped the picture to the back.


Details:

Thursday, February 4, 2016

Gearing up for Laundry Room Transformation

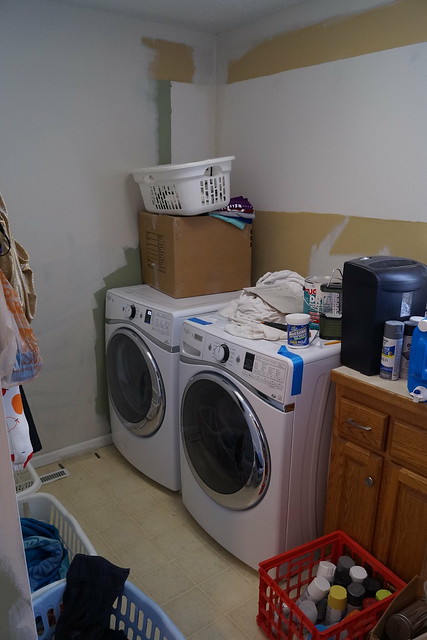
After living in this new-to-us house for about 10 months now there are some things that I would like to adjust to better accommodate the way we live.

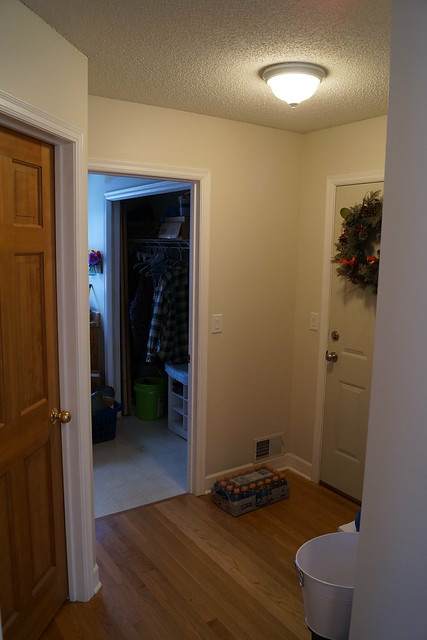
Right now the most bothersome area for me is the front entryway, which is the dumping ground for everything.  You know how that is, right!?  Drives me bananas.  There are just too many of us to not have some place really set up nice and organized for all our shoes, coats, backpacks, and general stuff.


So to alleviate the mess in the entry, we are going to make some adjustments to the garage entrance area/landing and the laundry room. (Excuse the case of Gatorade--put it there so I wouldn't forget to take it to the swim meet the day I took these pics.)


Shortly after moving in I took down the cabinets above the washer and dryer with a couple of my kids.  Until about a month ago there were just sitting in the garage.  But now Hubby has hung them up out there for his shop area.

I started painting over the green and brown (awesome combo, don't you think--blech!) but lost interest.  The plan is to stack the washer and dryer and then Hubby will build some shelving to the left of it for all the laundry baskets to get them off the floor.  Hallelujah!  This has been the plan from almost the beginning of our move in.  And yet, here we still are.


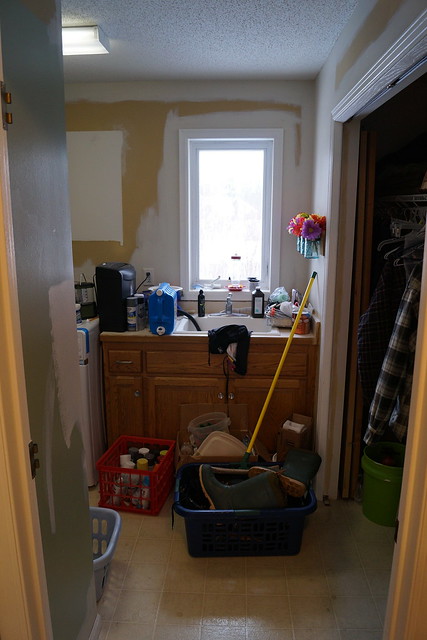
There is a little sink area and closet to the right of the washer and dryer when you walk into this area.  Excuse the mess.  I was rearranging things in the closet to get an idea of what I'd like to do.  This is another area that has sort of been a dumping ground for stuff we can't figure out what else to do with it.  I hate that.


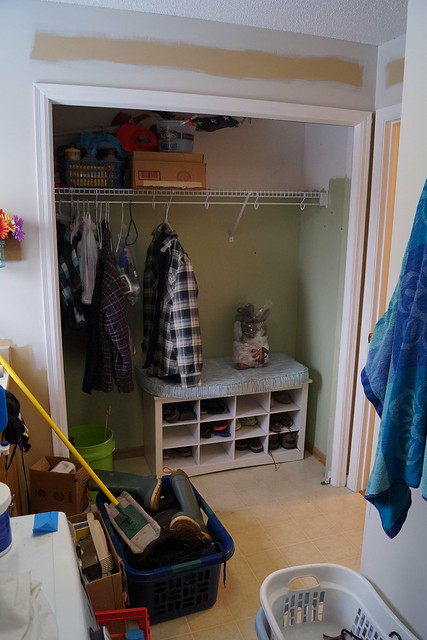
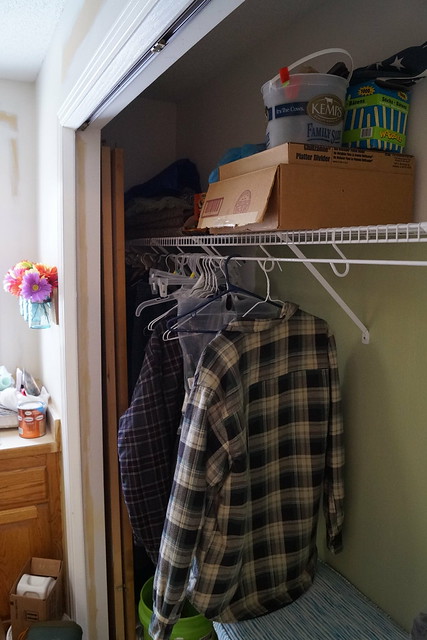
And the closet with the bi-fold doors off (and one wouldn't even stay closed).  I moved the bench from the front entry to here so that no one could pile up their things right when they walked in. it isn't the right size, but just to get an idea.  I also removed the door to the entrance so I could get a feel for how that might be.  It was rarely closed anyway.  I'd like to remove everything and take that closet completely out--clear up to the ceiling and back closer to the sink, and probably even flush with the right side too.


One thing I am still working thru is what to do with this deep section of closet by the sink.  It goes back 33 inches deep.  It is like the black hole abyss.  Still thinking about that part.

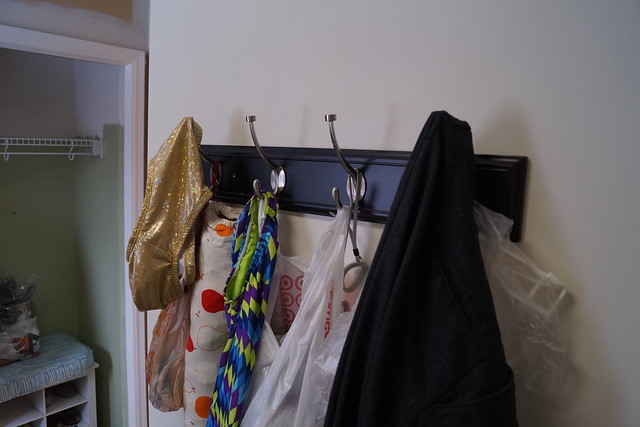
Other than my washer and dryer about the only other things I like about this room are the hooks that I put up for the wet stuff to hang so they won't mold and smell in the baskets.  (yes, that is a gold sequin Speedo--don't ask)


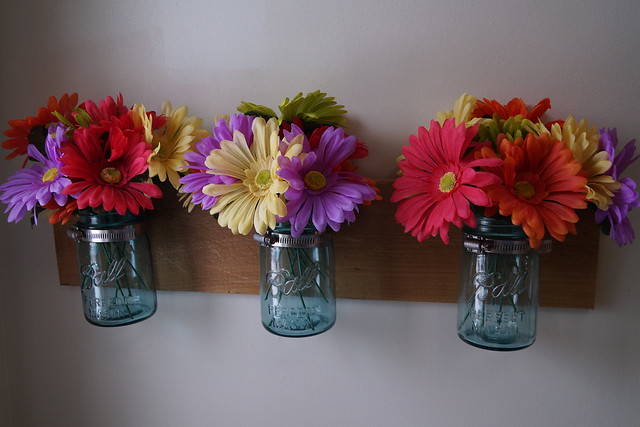
And the little flower holders I made. I needed something happy to look at in this room.


This will be a work in progress while Hubby and I try and get on the same page about what should occur here.  He already said he will build a bench for the area, so that's a plus.  He just doesn't agree with some of my other ideas.....yet.

I'll keep you posted.

LinkWithin

Related Posts Plugin for WordPress, Blogger...