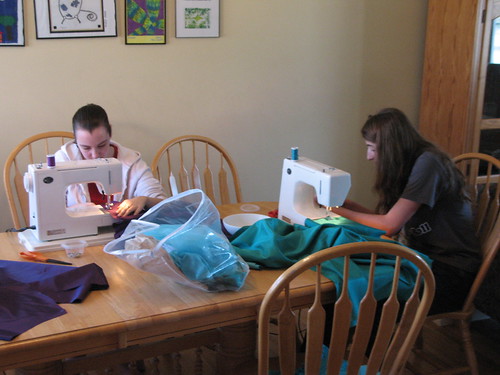
I started them on the skirt and sleeves first.
That seemed to be easier sewing than putting the bodice together--which is how the instructions start.
I say let's start with some long straight lines to get their confidence up.

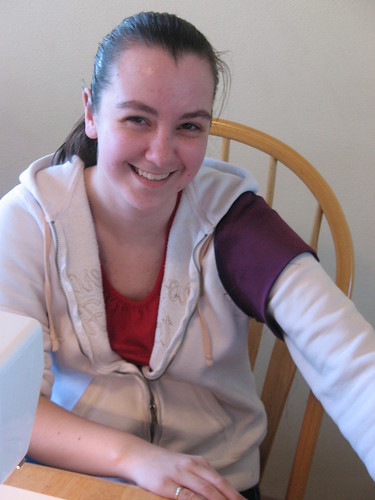
Daughter #1 pleased with her sleeves.

Sleeves are fully lined.
Showed them how to understitch along the sleeve hem in order to make sure the lining fabric doesn't roll out and show. They did a great job and they look really nice.
They are working on the bodices pieces now.
Then we'll move onto putting it together and embellishing.
My daughter has decided she wants her tulle underneath the skirt with maybe a hint peeking out at the bottom. I had to buy a bit more for her in order to do that. She is super excited about the "swish" factor on her dress. It is getting exciting around here!
Part I post--picking the dress.
Part II post--lay out and cut out.
I love that you are teaching them how to sew themselves instead of just making it for them!
ReplyDelete