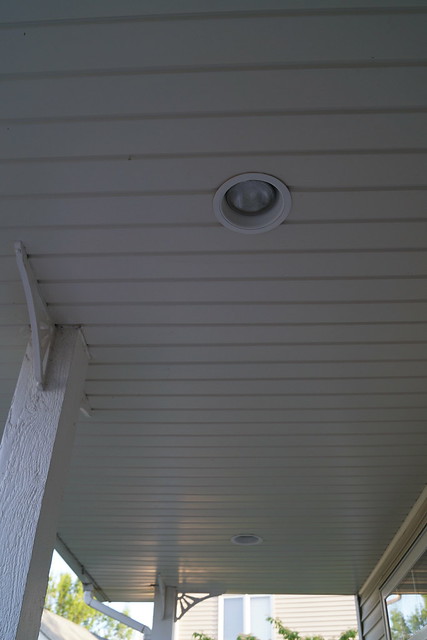
Thursday, July 30, 2015

Boys' Headboards

After our weekend of making the boys' bed frames we next tackled their headboards.

These are the 2 pins I found that most resembled the kind of headboards I wanted for their room.

DIY twin beds using 2x4's.  Like the headboard.
Source

How to Build a Rustic, Wooden Headboard with an attached light fixture. Headboard Tutorial by Chic on a Shoestring Decorating.
Source

I don't have detailed instructions for what we did, because we made them to match the bed frames we had already made, but hopefully you can get the idea.

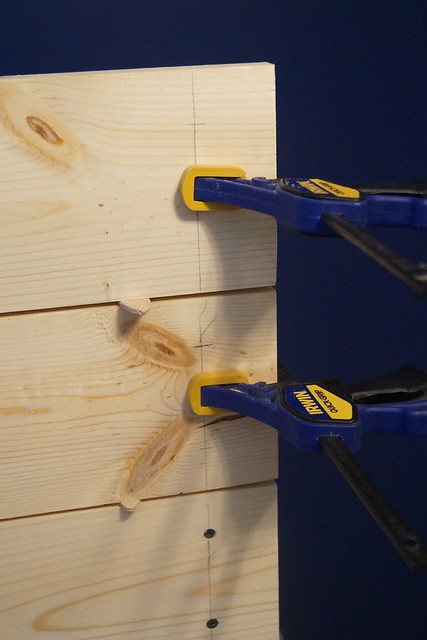
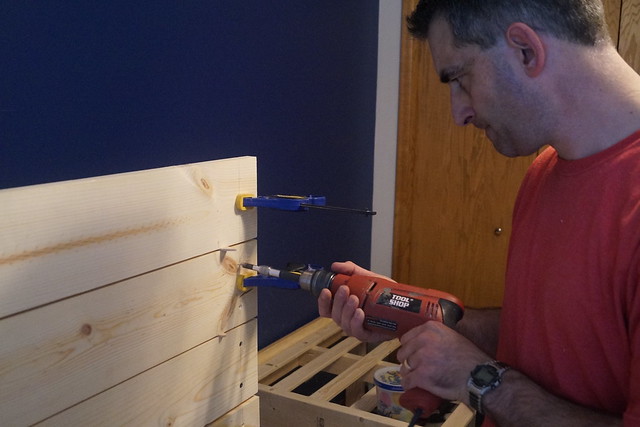
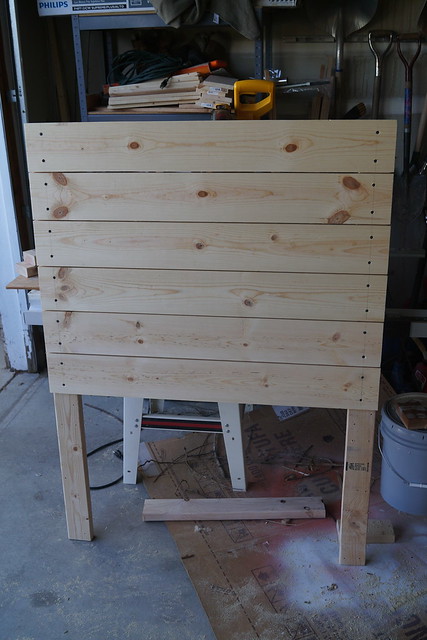
We attached the 1 x 6s to the 2 x 4s using clamps and screws.
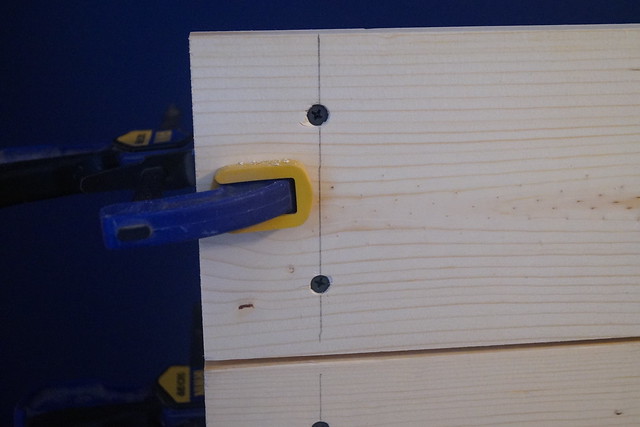
Hubby measured 1 1/2 inches from each side and about 2 inches from the edge of the board.


We decided to space the boards apart slightly and just put in a jointer biscuit between each to give it just a small gap.

Pre-drill your holes and countersink slightly so that when you attach the screws they will be flush or deeper than the board.


Sand off your markings and smooth it up a bit.


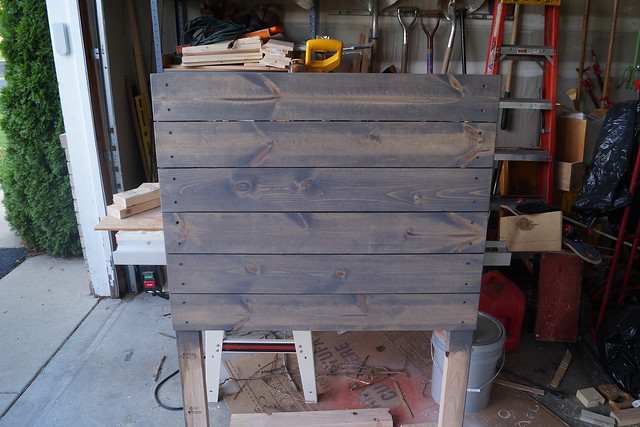
Then you're ready for stain.
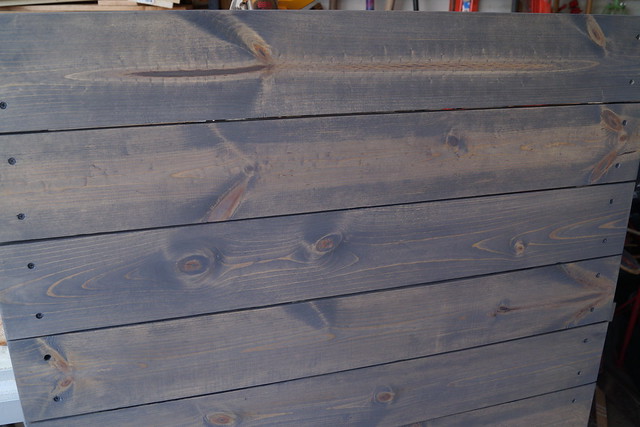
I wanted it to look weathered and imperfect.  (The boys didn't care)
I tried to pick out the boards with some interesting knots and cuts in order to add to the look.


Pine is interesting to stain.  If you want an even stain you will need to apply some conditioning agent beforehand.  I wasn't interested in perfect so I just stained right onto the raw wood.


I am happy with how this turned out.

Details:
  • Headboard based on this Pinterest headboard.
  • Bought 6 - 8 foot long pine 1 x 6s and cut them to length (about 42 inches) of the width of the boys' beds.
  • Attached with pine 2 x 4s cut to length (ours were about 53" tall--measuring from the floor to just shy of the top board of the headboard.)
  • Cost around $25 for materials for the two headboards (not including stain)
  • Minwax Wood Stain in Classic Gray. We bought the larger size can since we were working on 2 headboards.  I think we could've gotten away with the small can if we had just been making one twin headboard.
  • After stain we used Rustoleum UltraCover 2X Clear Spray matte to protect it a bit.

Tuesday, July 28, 2015

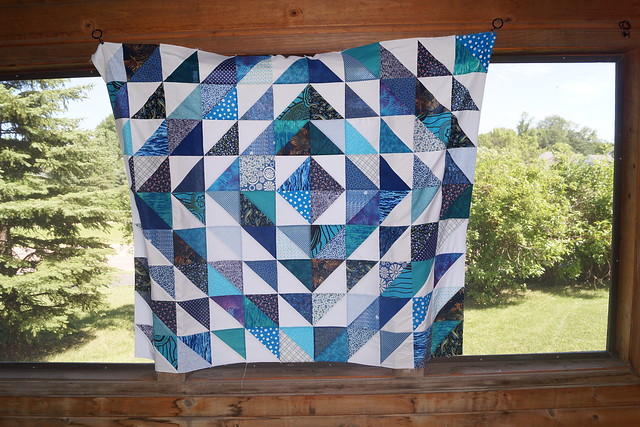
Quilt in progress

I don't need any other projects right now, but I started another one anyway.
My youngest daughter started a scrappy quilt project and since I had a TON of blues we are now both using those scraps right now.


This is on pause for a couple weeks while I take care of some other things....like go retrieve our daughter from college.  It'll probably have to be 'til school starts up again before I get back to this.  There really are other projects that need more attention than this one.


Details:
  • Based on the pattern "Rainbow Stash Buster" from Modern Quilts from the Blogging Universe, pg. 60-63
  • As of now if I even out the sides it will measure 62 inches square.  I cut 6 inch squares instead of 5 1/2 inch squares like the pattern indicates.  I am going to add at least one more row all the way around to make it larger for us tall folk.

Thursday, July 23, 2015

Bed frames for the boys

In our previous house our two boys shared a bunkbed.
We got rid of it before we moved.
I was tired of it and wanted something different for them.


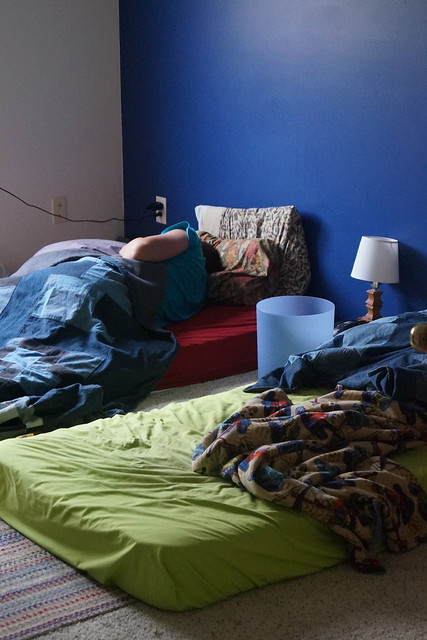
Since moving in March they have just had their mattresses laying on the floor in their room.
Our youngest has been complaining for quite some time that he "doesn't have a bed."
Mattress yes, actual bed, no.


Yep, it was pretty sad looking in there, even with the newly painted walls.

After perusing Pinterest for quite some time I finally found a simple frame that would work for what I wanted and needed in their room.  They aren't the cleanliest or most organized boys in the world.  (Are there any?!) Our 14 year old reminded me over and over that he didn't care if he was sleeping on the floor and that the mess didn't bother HIM. Yeah, well, it bothered me. So we definitely needed space underneath to hide things away.

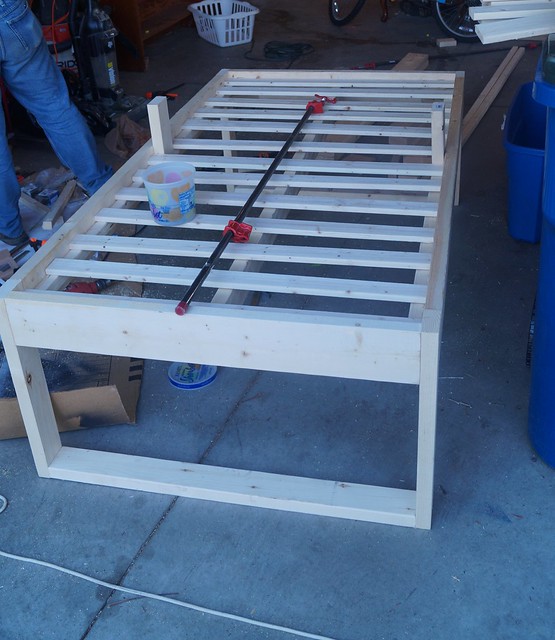
Hubby and I worked most of a Saturday afternoon evening to make these beds.  Son #1 got involved after the first one was assembled and we put it in their room.  Son #2 was thrilled!!!  And then all of a sudden son #1 decided that he wouldn't mind having a bed and getting off the floor.

Teenagers!!


They are working out nicely and both are happy to be off the floor.
More boys' bedroom transformation in the coming weeks.

Details:
  • Pattern from Decor and the Dog
  • We modified the length of the bed--cut side board 2 x 6s to 72" not 76". A twin mattress is 75" long and using 76" would make the space where the mattress sits about 80"--we didn't want gapping at either end of the bed. 
  • We added the bottom cross bracket on the headboard end too to add more stability.
  • We cut the legs 23" long instead of 15" long so that there would be more storage space underneath.  There is about 18" of clearance underneath their beds.  LOVE it!
  • Materials list found on the pattern link.  We spent $75 for the two beds combined.

Monday, July 20, 2015

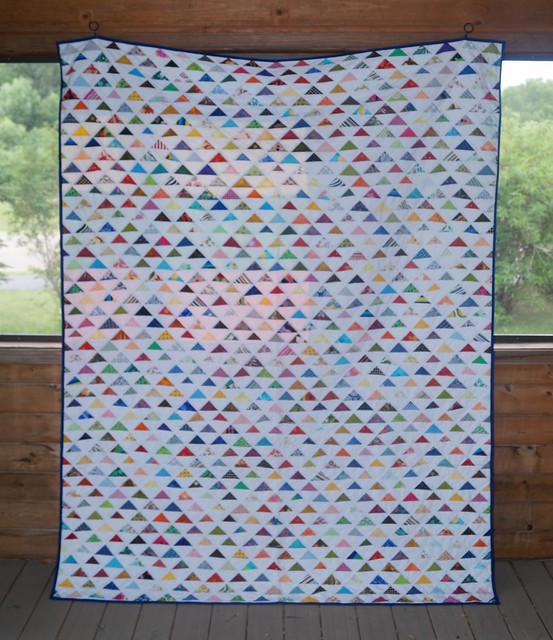
My version of the Up, Up, and Away quilt

I've been working on this quilt this year. 
I got it back from the quilter in June, but just haven't posted about it yet.

This uses corner scraps attached to 3" triangles.


Close-up of quilting.


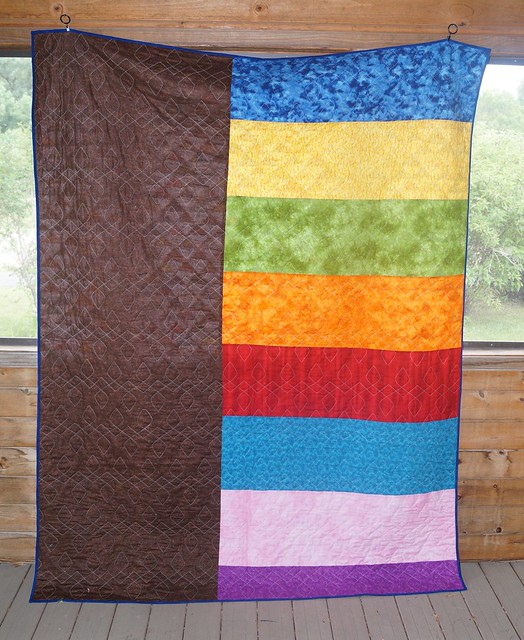
Back of quilt
Not my favorite backing ever, but it'll work.
I was trying to clean out some of my fabric stash.

Details:

Thursday, July 9, 2015

Changing the screen on your screen door (or window)

One of the fun things about this house is the screened in porch off the deck.
This has already been the sight of a birthday party, relaxing in the hammock, quilt photo shoots, and just plain getting outside without being bothered by bugs.

However, it does need some work.
I have some ideas for what I would like to do, including some paint, a drop leaf table/serving area.

Earlier in the week I cleaned up the ceiling fan, changed bulbs, added long enough pull chains.

The one big project on my list for the porch was to replace the screen on the door.
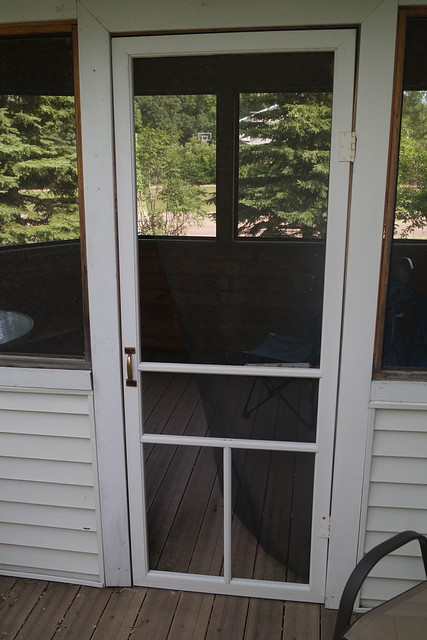


It is torn out in a couple places and since we've been here it has come off more.
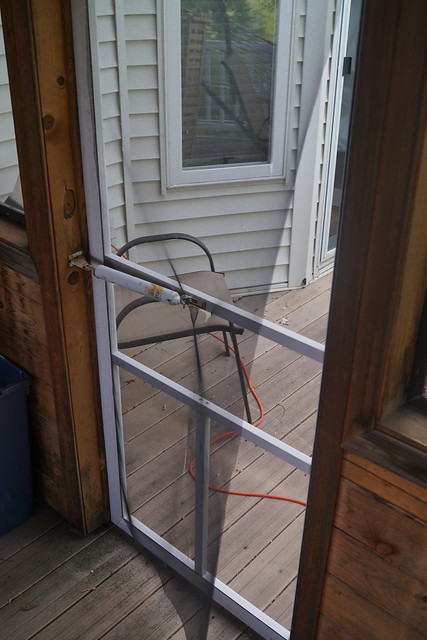


If you haven't ever re-screened a door or a window it is really an easy process if you have the ONE right tool.  I re-screened a couple windows in our previous house before we sold it.  (Yes, children a fork will make holes in the aluminum screen.)  You will save yourself a bunch of money if you do it yourself.  I called my local Ace Hardware just this morning and they said to re-screen a full length porch door would cost around $45.  This probably cost me around $10 to do it myself and in about a half hour or less.  Seriously, you can do it yourself.  My 12 year old daughter even helped me.  It is that easy.

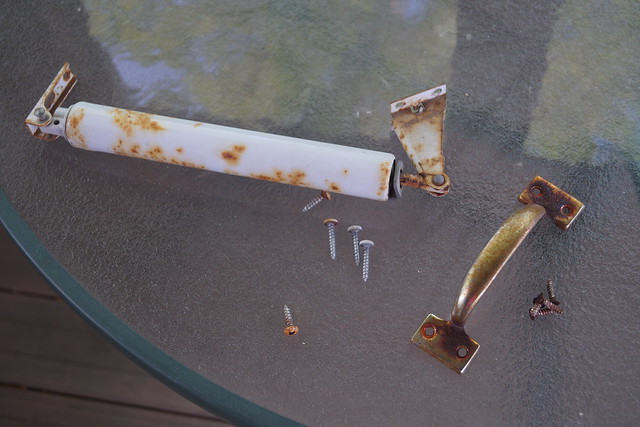
I started by removing the hardware.


Then you start at a corner and pull out the spline (that is the tube like thing that holds the screen in place.)
Pull it all off and then pull off the screen.

If you wanted you could reuse the spline, I've done that before, but this time around I bought new.
Trash the screen unless you have a smaller screen project that you could reuse part of it.
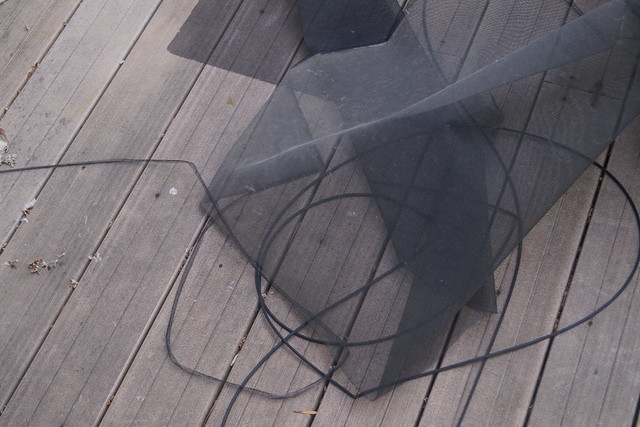

Next I took the door off the hinges, cleaned it up and brought it inside to do the screen.  I find it easier to lay it out flat somewhere.
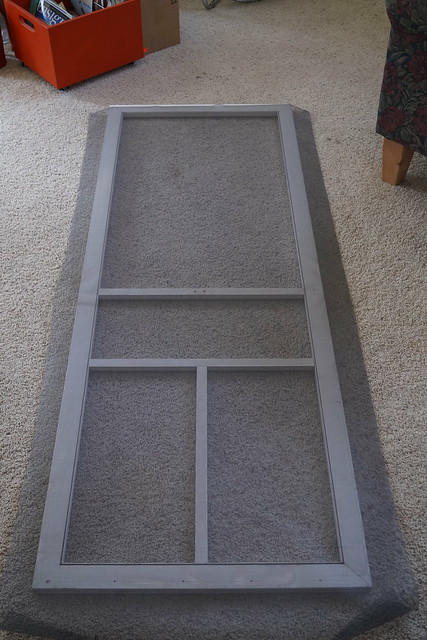

This is the door with the entire roll of screen laid out on top of it.
Extra is good.  Gives you more maneuver room.

Next you need that ONE special tool.
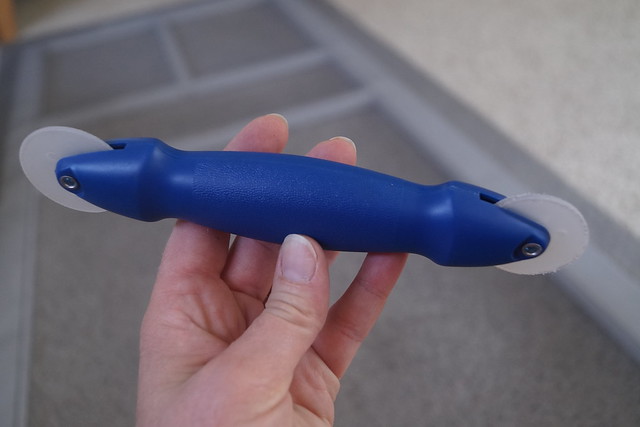

One end pushes the screen down into the groove of the door.
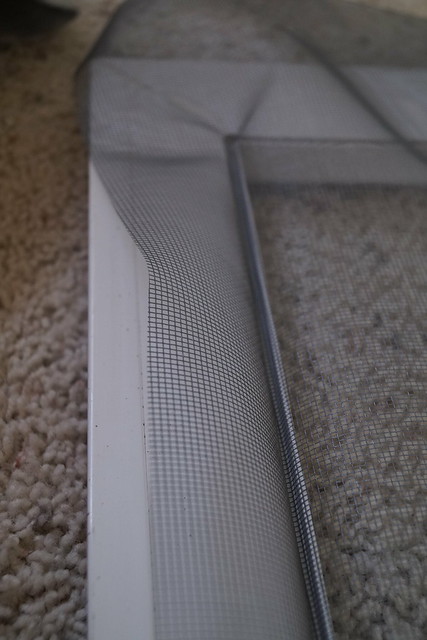

And the other has a concave edge that rolls along the spline to insert it down in the door groove and keep the screen in place.
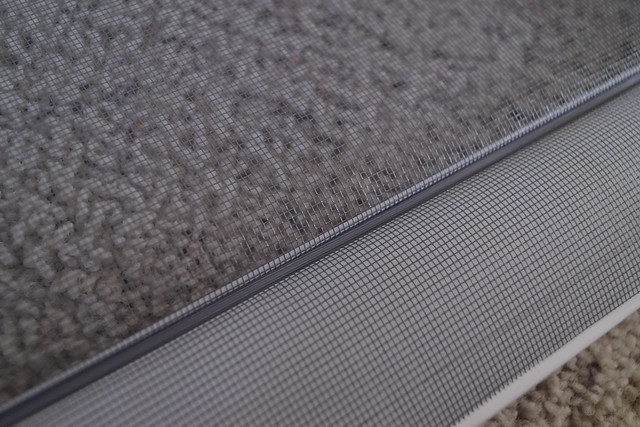
 
I started at the top and then worked my way down one side, across the bottom, back up the other side and finished it off.  You just cut the spline off at the length you need once you get to the end.
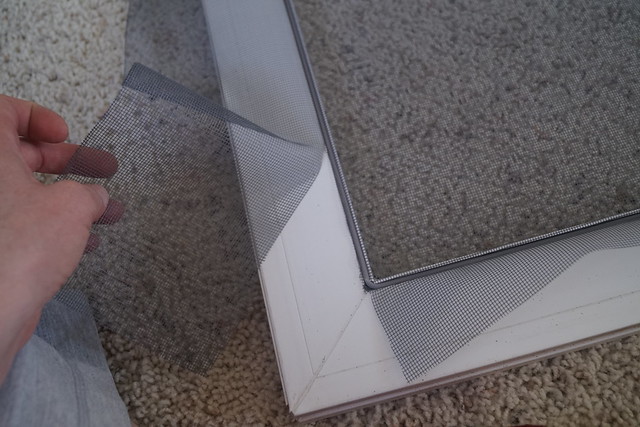


Then you are ready to cut off the extra screen.  I just used a pair of scissors.  I also went back over the spline with my tool to make sure it was in tight.  Sometimes it gets moved a bit as you are cutting the excess.
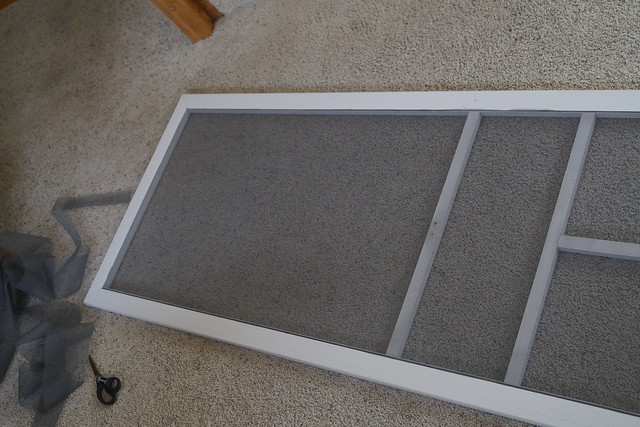


You are now ready to hang the door back up and reattach any hardware.
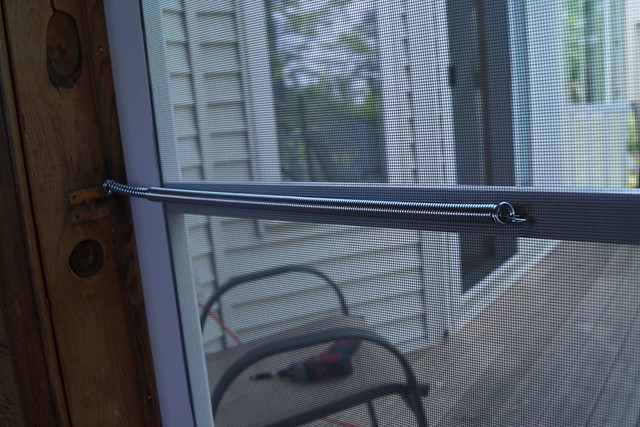

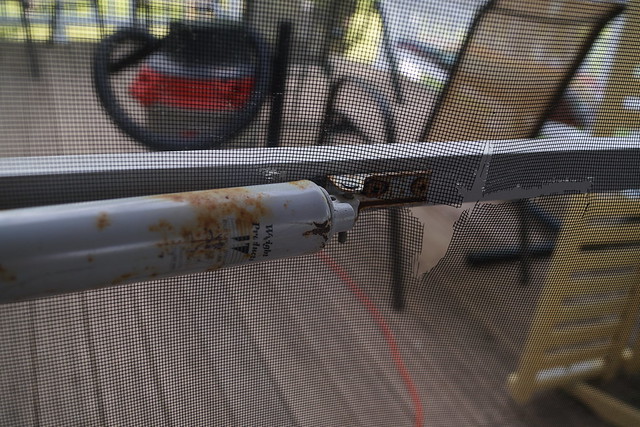
I replaced the spring with one that was more suited for this type of door. That previous spring was WAY more than this door needed.
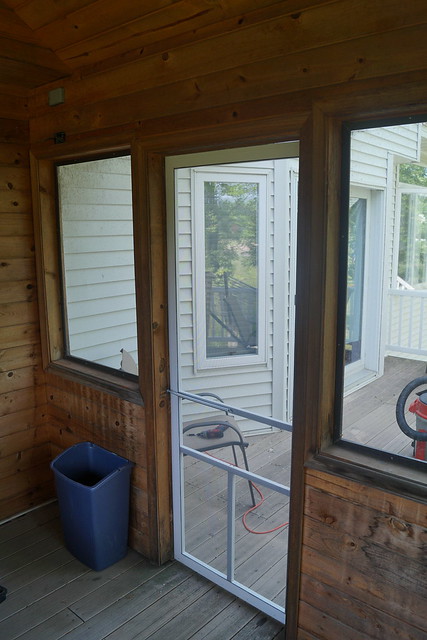
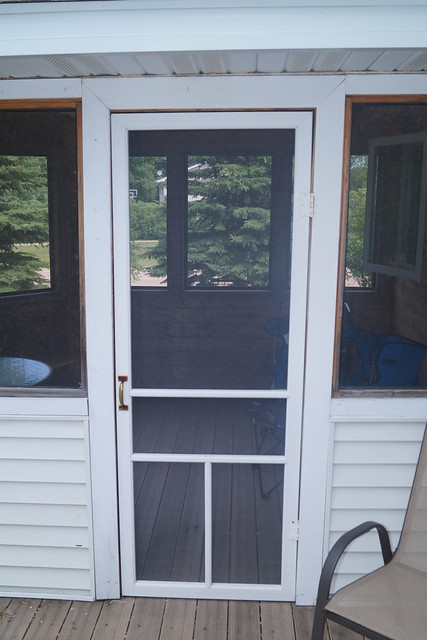


All done.
No more cottonwood tree fuzzies accumulating in the corners of the screen room.
Yuck!

Last thing I'll do on this door is to repaint the handle.
I didn't have the paint at the time I did everything else so that will be next week.

I'm so so happy this is all done!

Details:
  • Adjustable door spring--$2.98 at Home Depot.  They had 2 different sizes available.  I needed the shorter one which adjusted from 13" to 15 1/2".  The larger one was 16 1/2" long, not adjustable.
  • Roll of screen--I bought a 36" x 84" roll in Silver Grey for about $5.
  • Screening spline--I used .125" x 25' length in gray. It costs around $5 and I did not use the entire roll for the one door. 
  • Screen Spline tool for under $3. WELL worth the money!!
  • You can buy the whole kit: screen, screening spline and roller tool together, if you don't already own the tool for around $11. (Much better than $45)

Thursday, July 2, 2015

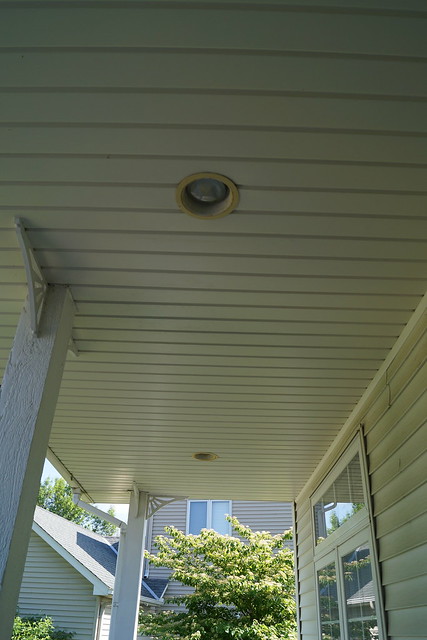
Changing the covered front porch lights

I've been in the painting mode.
Spray painting to be exact.

After taking care of the bathroom I noticed that the porch could use a little update.


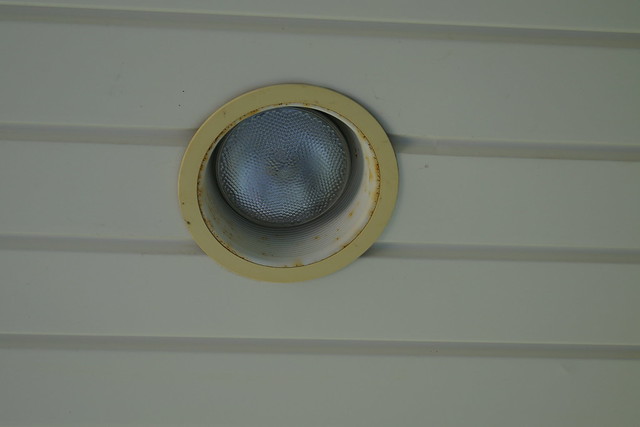
Close look at the light housing and bezel.


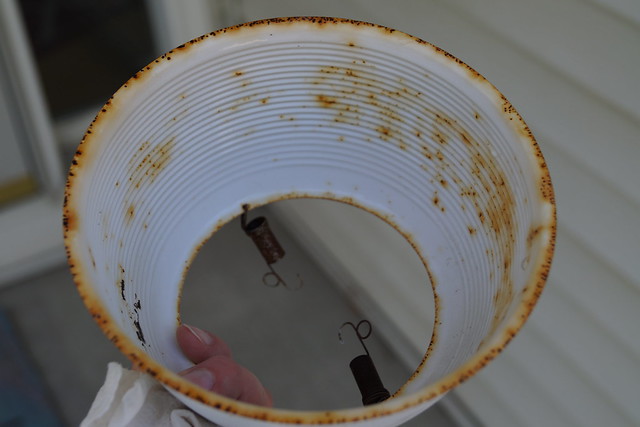
Once you get the light out the housing and bezel are just held in by springs.
Clean everything off really well.
Let it dry and then paint away.
I do at least 2 coats, sometimes 3 if they need it.


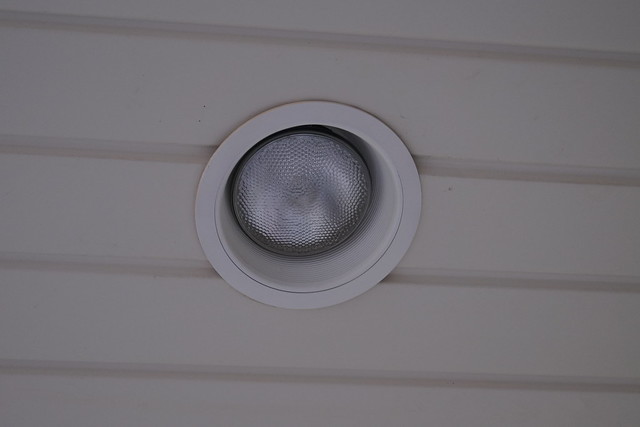
Back in business.
Looks like I bought new lights but it was just the cost of a can of spray paint.


Notes:

LinkWithin

Related Posts Plugin for WordPress, Blogger...