By the time we figured out that it wasn't going to be financially smart to replace the transmission (we were hoping for the possibility of a somewhat cheap repair) it was too close to Christmas that I couldn't even think about looking for a new vehicle.
Well, almost one month later exactly, we got a new(er) van.
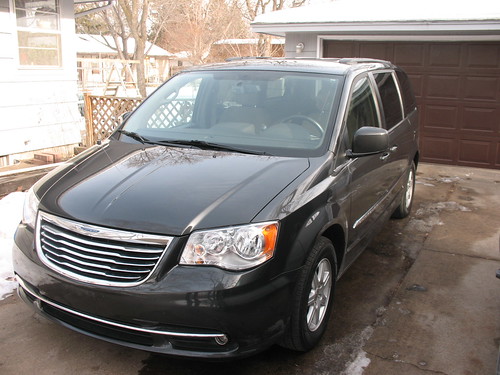
As Emily said, you don't really realize what a piece of crap you might be driving until you buy a newer model. Amen.
We spent the first couple days playing around with all the new options we didn't have before and the kids are THRILLED that the side door windows roll down. They really could care less about anything else. Hubby is thrilled with the Stow-n-go seating---he's thinking ahead to next hunting season and how easy it will be to haul a deer in this van. Maybe...we'll have to see about that. Me, I'm happy the heat works and the windows roll up and down (both an issue with our previous one...before the worse transmission problem.)
Since the kids can see how nice the new(er) van is they are all on board with keeping it that way. Even though less than 3 hours after getting the van home we had a nosebleed issue in the back seat. (You've got to be kidding me!!!) So instead of just using a Wal-mart plastic bag as the trash sack in the van I went on Pinterest and found some tutorials for cute car garbage bags.
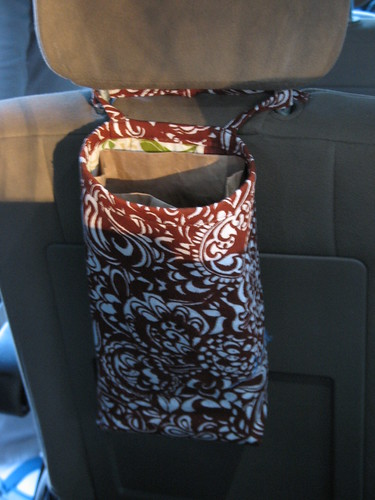
I made a couple with some scrap fabric from my stash.
They don't match each other, but I didn't care. I just wanted something to contain the messes.
And not look like Wal-mart plastic bags.
One for the back seat kiddos.
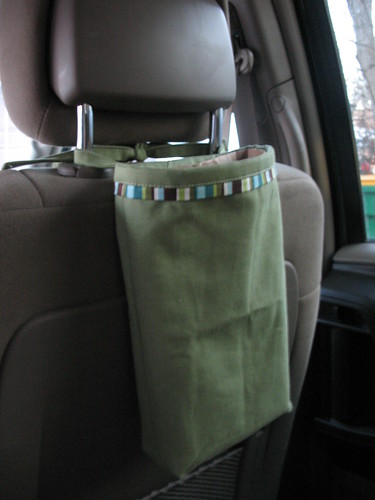
And another for the middle seat kiddos.
I didn't follow any tutorial exactly. I just winged it based on how much fabric I had. I am able to put a brown lunch bag in it as the liner to just pull out and toss when it is full.
Some details:
- Cut 2" wide strap pieces and then folded in half and then folded in half again, like a piece of double fold bias tape and topstitched it down.
- Fully lined.
- Mitered bottom corners to square it up nicely.
- For the green version it looked too boring and so I added a little strip of the lining fabric outside sandwiched between the bag and the binding piece.
very good idea and they are cute and look nice. Sure better than plastic bags. M
ReplyDeleteGreat idea! Our van is also on its last legs. Hoping it will last another half a year...
ReplyDeleteI need to make some of these too. We always end up with tissues all over the van...
ReplyDelete