This is the fabric she chose for the contrasting band.
M. was able to make the pillowcase all by herself--only straight seams necessary--and I walked her through it easy enough. Total cost for the fabric: $5.49
Below are the measurements that I have been using since I got them from a Hancock Fabrics Holiday Craft Show in 2000.
Basic Pillowcase
Approximate pillowcase sizes—
21” x 31 ½” Standard
21” x 35 ½” Queen
21” x 41 ½” King
Materials needed:
¾ yd. fabric (standard) OR 7/8 yd. (queen) OR 1 ½ yd. (king)
1/8 yd. coordinating fabric A (narrow band)
1/3 yd. coordinating fabric B (wide band)
Thread
Cut:
27” x 43” piece (standard) OR 31” x 43” (queen) OR 37” x 43” (king) of main color (MC)
2 ½” x 43” piece of fabric color A
9” x 43” piece of fabric color B
Directions:
1. With right sides together (RST) stitch both the narrow band (A) and wide band (B) each along their short edge. You'll be making a circle of sorts.
2. Press open seams and then fold each band in half wrong sides together (WST). Still maintaining a circle.
3. With RST, fold pillowcase (MC) in half, stitching one end and the side piece. Finish seam allowance. Press.
4. Align both the narrow and wide bands with raw edges matching. If you need to baste the raw edges together. Still maintaining a circle.
5. With RST match the narrow band side to the pillowcase and stitch. Finish seam allowance. Press seam towards pillowcase.
6. Topstitch along band seam, if desired.
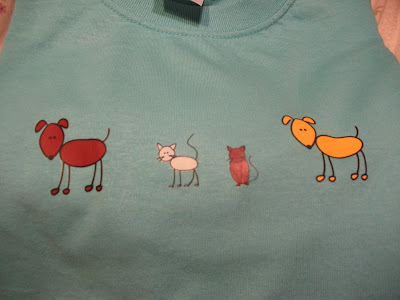
This is the other part to her present--matching tees that she ironed on some cat and dog decals.
The two shirts and all the iron-ons cost us less than $10--barely, but still less.


aw, cute tees.
ReplyDeleteI love making pillowcases!!! They are super easy to make (esp. after the first one)! My mom started making them and I picked up on themtoo. Kind of fun gifts. You could also fill them up with stuff for college kids going away.
ReplyDeleteLove the pillowcase, my son would love some spongebob ones and now I know how to make them, thanks!
ReplyDelete