Monday, April 18, 2016

Dumpster Chair Rescue

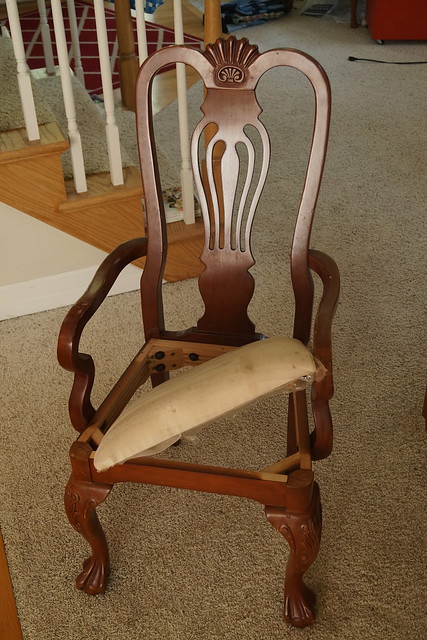
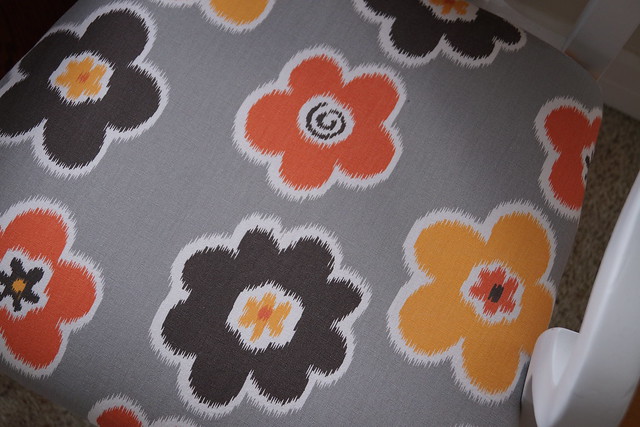
I first saw this chair with its pretty claw feet sticking out of a dumpster in front of someone's house about a year and a half ago Fall.  I was hoping there was a pair of chairs but I could only find one.  Rats!!  It made the cut during our move last Spring and I finally decided to tackle this chair after I found a cute remnant piece of fabric at the thrift store.


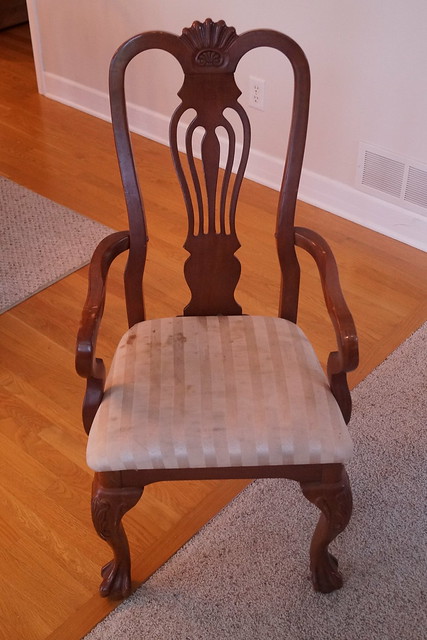
Here it is before--on the backside there are actually pieces of plastic sticking out where there was once plastic covering the entire seat.


I took it apart, which just meant unscrewing the attached seat from underneath the chair.
Gave the chair a good cleaning.  Some of the wood was yucky.

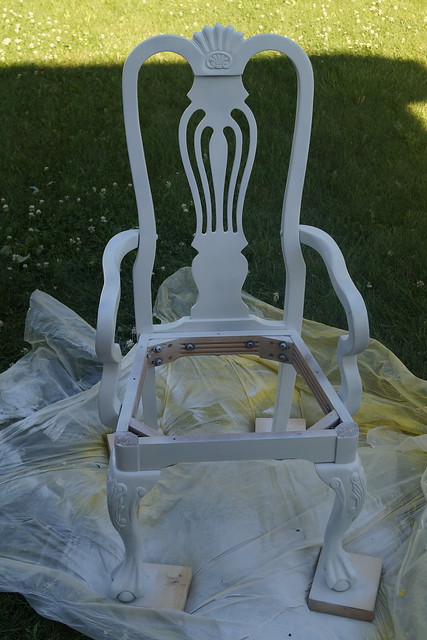
And then headed outside and painted the chair (in August of 2015).


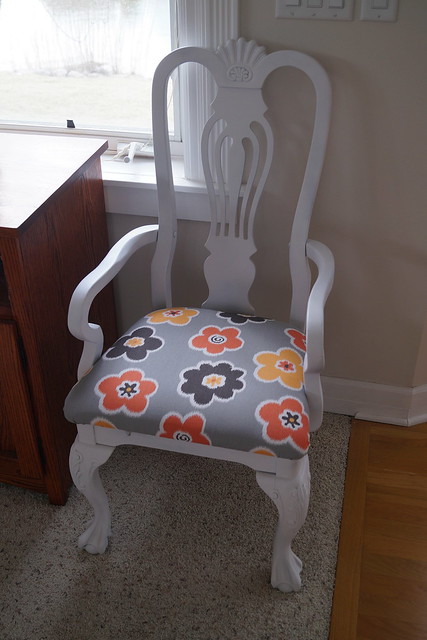
It sat some more while I tried to find the staple gun in our stuff, post move.  Once I found it I ripped off the old fabric and stapled back on the new piece and reattached the seat.  It looks real pretty sitting in our living room.


Details:

Thursday, April 14, 2016

I like Big Blocks and I cannot lie

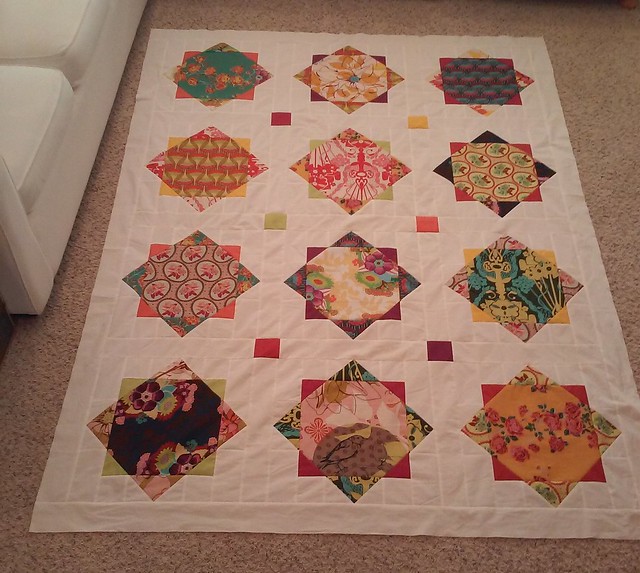
While in St. George in February for our annual sewfest retreat I took some fabric that had been "aging" in my stash.  I'm not really sure how long I've had it.  Maybe 2 years!?  Anyway, I had a pattern picked out and thought this would be a good time to try and come up with something concrete.  More minds and opinions together to get my own creative juices flowing.

This was also another exercise in getting out of my comfort zone.
I've never made blocks this big, or with this big of a print fabric.
I was really nervous that I wouldn't even like it when it was all said and done.

I'm happy to report that "it's all good in the 'hood."
Mission accomplished: quilt  top completed and I really like it....a lot.


It took some finagling with the placement and discussion over the little corner blocks but in the end I am really please with how it turned out.

Next step: to find the perfect backing to go with it. I already know I don't have anything in my stash that will compliment this very well.

Details:
  • Fabric is Hand Drawn Garden by Anna Maria Horner
  • Pattern is a modification of  "Sweet Life", pgs. 74-79 from Simply Retro by Camille Roskelly.  
  • I made the blocks as she indicated, finishing at 18 inches square.
  • Cut 3 1/2 inch strips for both border and sashing out of white, and the center squares of solid color.
  • I also only did a 3 x 4 pattern instead of 4 x 4 as she did.  That was mainly because of what fabric I had in my stash.  Plus I do not love square quilts if I can avoid it.
  • Flickr group of this pattern book found HERE.
  • The finished top is 66 inches wide by 87 inches

Monday, April 11, 2016

Modern Solids Improv Quilt #1


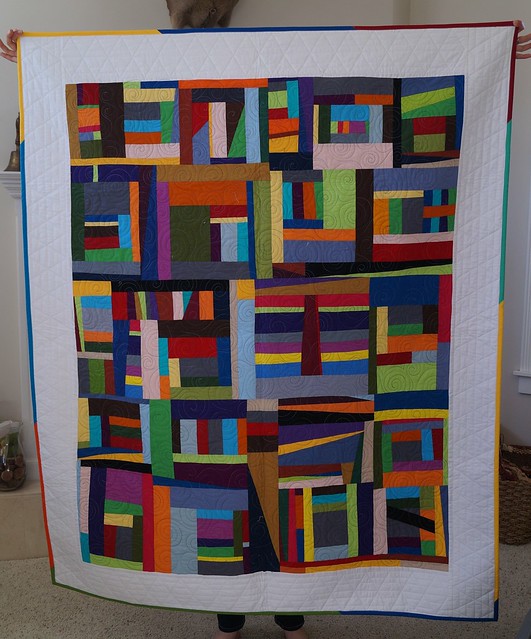
This was an exercise in doing something out of your comfort zone.

I had a bunch of scraps left over from three different solids quilts that I had made and didn't feel like throwing them out or giving them away.  So I thought I would try my hand at some modern solid improv and this is what I ended up with.


Details:
  • Quilted by Lynn Peterson
  • Solids from the Omaha quilt, son #1 quilt, and son #2 quilt.
  • Some Kona cottons and then an assortment of scraps from wherever.
  • 6 inch white border (I wanted it bigger than it was)
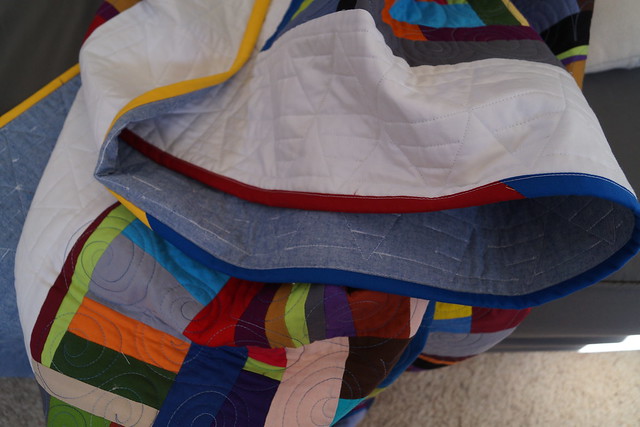
  • Backing used a Ralph Lauren chambray sheet.
  • Binding is a combo from the scrappy solids also.
  • Finished dimensions: 56 inches by 69 inches.  The inner improv piece without the border is 45 x 57--definitely not big enough for our tall crew.

Thursday, April 7, 2016

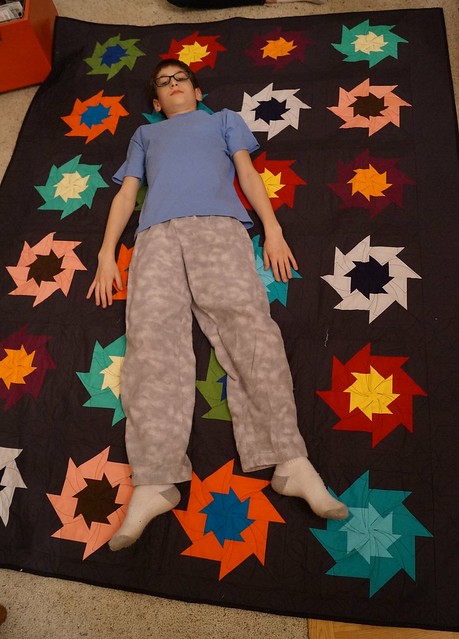
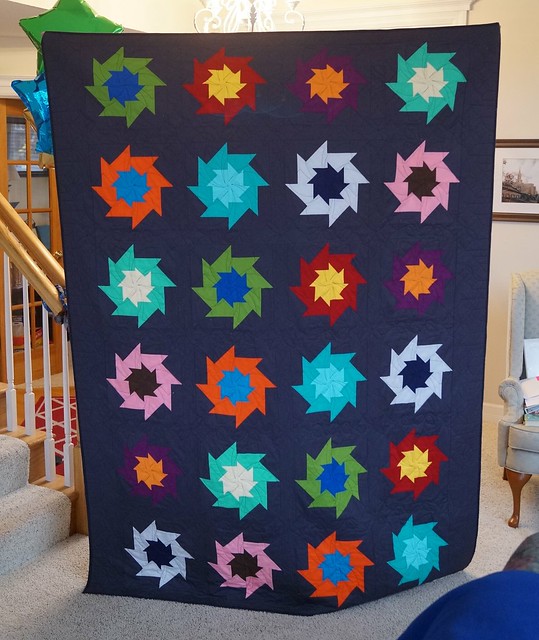
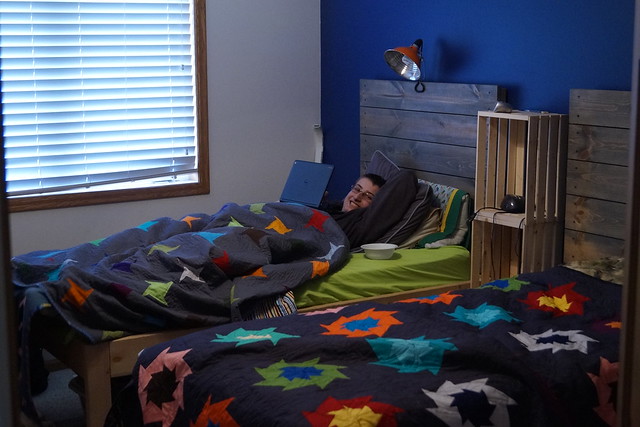
Sawtooth Solids Quilt for #2 son

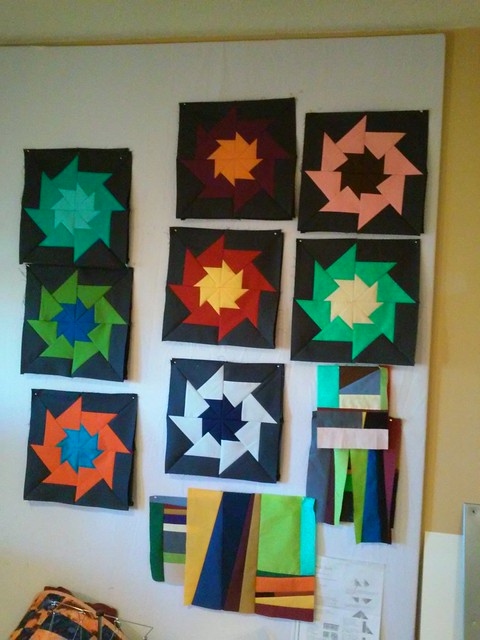
My youngest son was so happy when I came back from my sewing retreat in February because I brought back his quilt that was finally finished. He picked out the pattern and the majority of the colors.  And then I put them together.

Here is the "in the process" picture. Making all the blocks and hanging them up on my design board.


He is very happy with it (although it doesn't necessarily appear that way in the picture above)


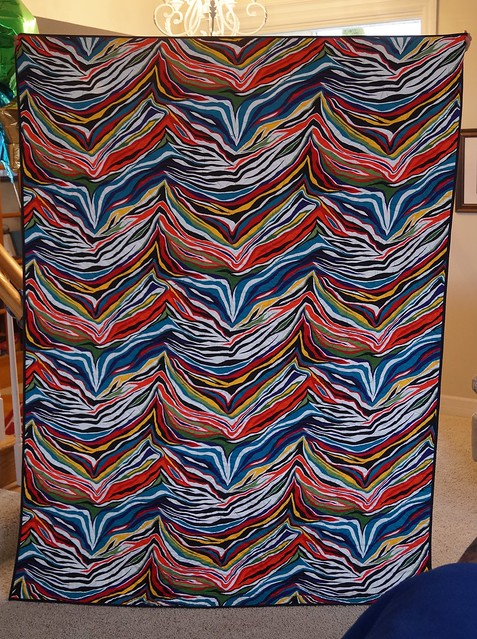
He also picked out the C.R.A.Z.Y. backing fabric. 


I think I really like it though. I have to say I am impressed with myself how I lined up the fabric to sew it together. Unless you are really up close you can't even tell there is a seam right down the middle of the backing.


I just bound it with a black Swiss dot. 

Details:
Ahhh, Spring Break laziness.....

Monday, April 4, 2016

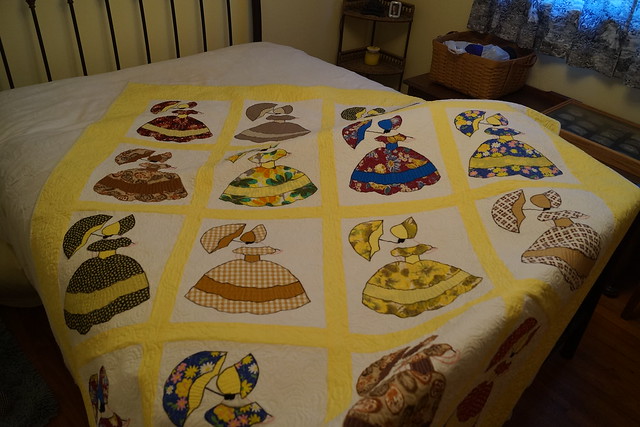
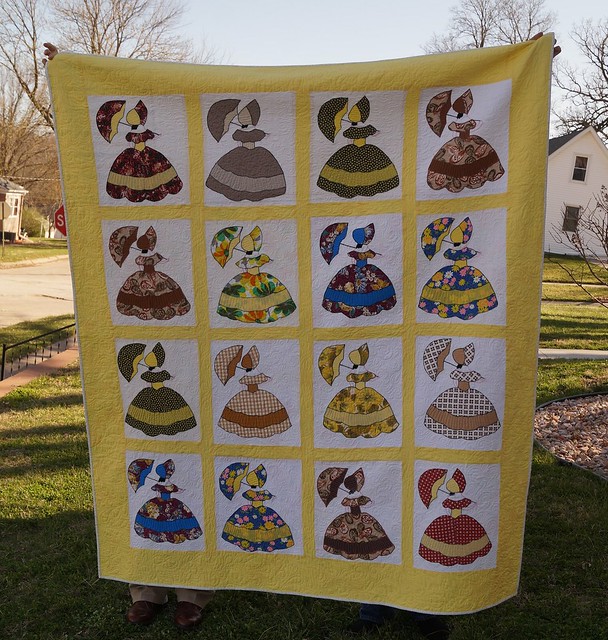
Parasol Ladies Vintage Quilt Story

This quilt top has quite the long and traveled story.
It was made by my great-grandma, Gertrude Cooper, back before my parents were married in 1965. 


Grandma Cooper gave it to my mom as an unfinished top and big enough to be a bedspread.
She never did anything with it and then somehow I ended up with it. It sat in my cedar chest unfinished, and I hauled it around for who knows how long, before my sisters, mom and I were trying to decide what to do with it. Here we had kept it for 50+ years as just a quilt top and nothing had been done.


We contemplated cutting it up into pieces and quilting it as individual wall hangings and still no one was thrilled about it.  As a bedspread, for sure no one wanted it.  Finally our mom decided that she would use it as a quilt in one of her spare bedrooms.


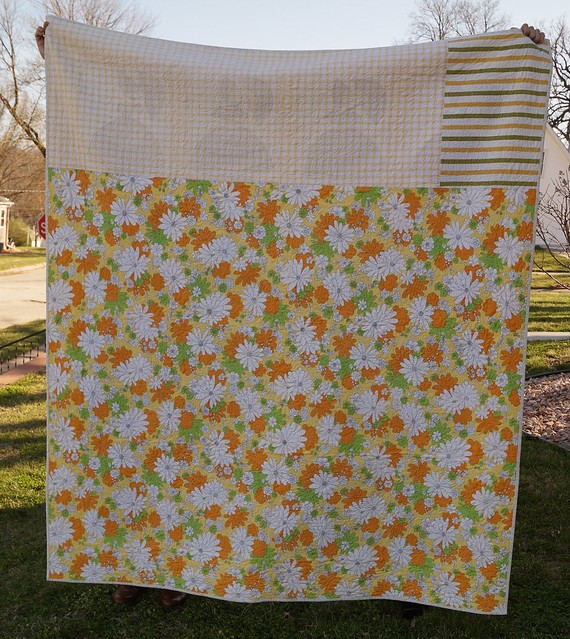
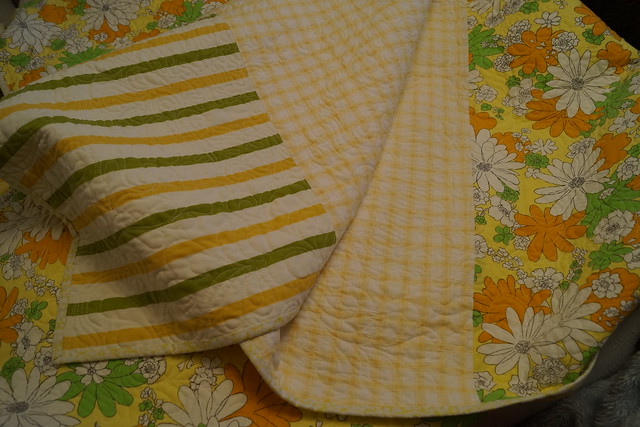
We cut off all the excess border that would be the bedspread and Emily found some cute vintage sheet material and had our favorite Lynn quilt it for us.


I think that Emily bound it up and off it went to our mom.


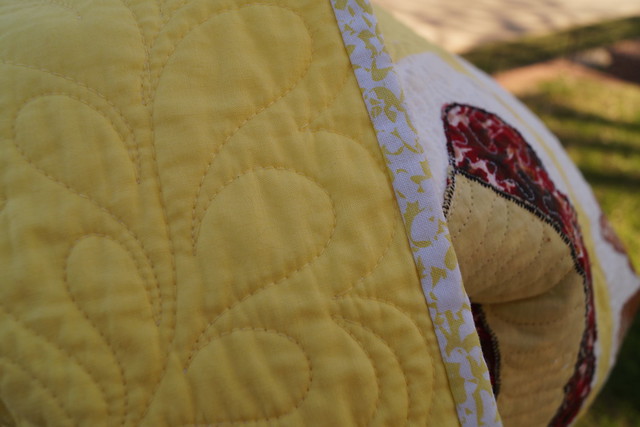
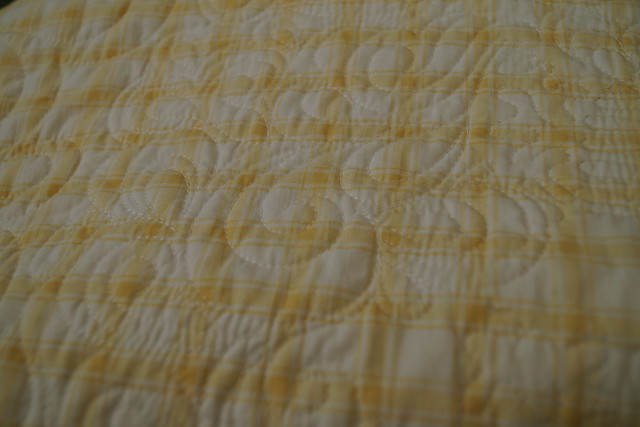
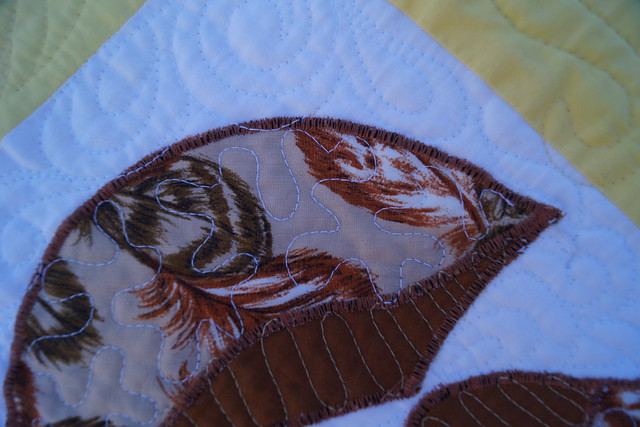
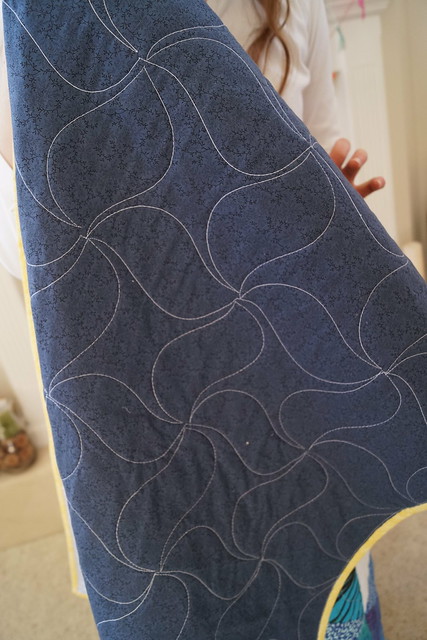
Detail of the quilting.


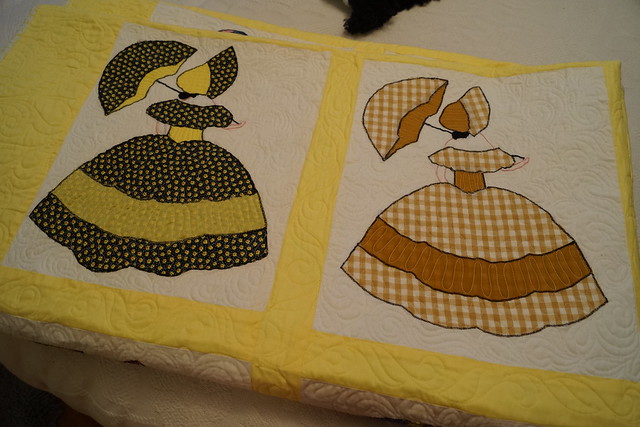
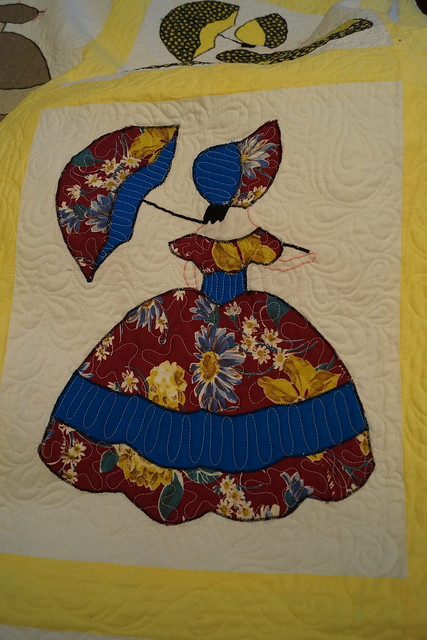
Some up close and personal pictures of the parasol ladies.


Since it is so old Lynn quilted it pretty densely everywhere.
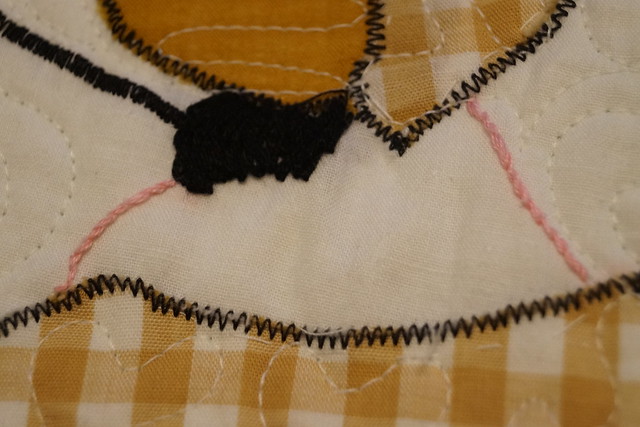
Also, Grandma Cooper had just done a topstitch zigzag that wasn't too tight and pretty small.  We didn't want anything to come apart.


Close detail of her embroidery and applique.


I had actually started to re-applique the ladies, but after one I stopped because I didn't like how it was turning out.  Unfortunately I also couldn't pick it out without wrecking her applique.


I'm glad that we got this quilt top completely put together as an actual quilt.
It is a fun little piece of our ancestry and heritage and probably one of the few things that we have that belonged to great-grandma Cooper.

Friday, April 1, 2016

Makeover for Grover

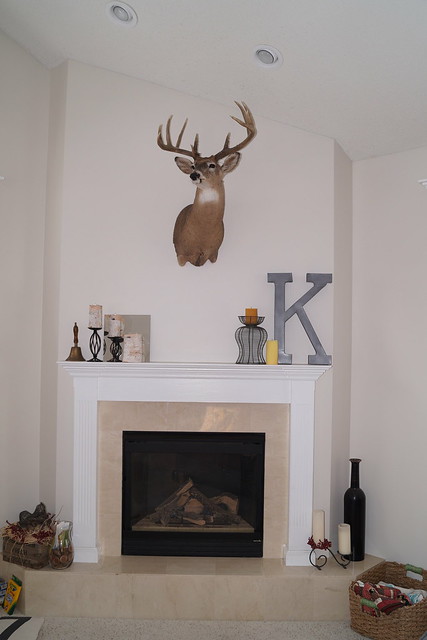
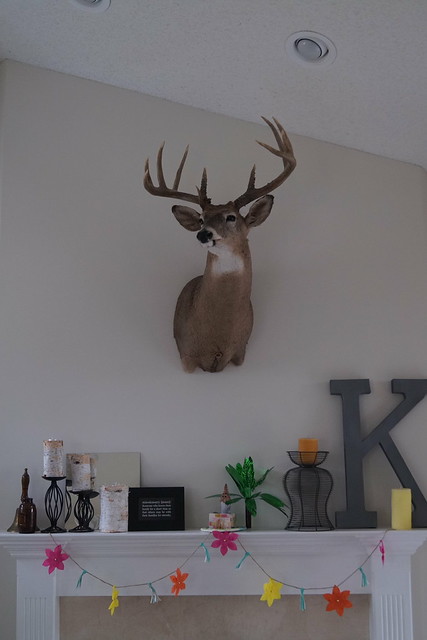
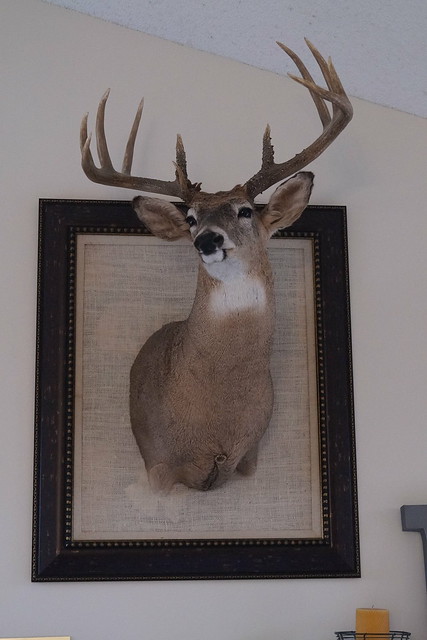
Meet Grover.

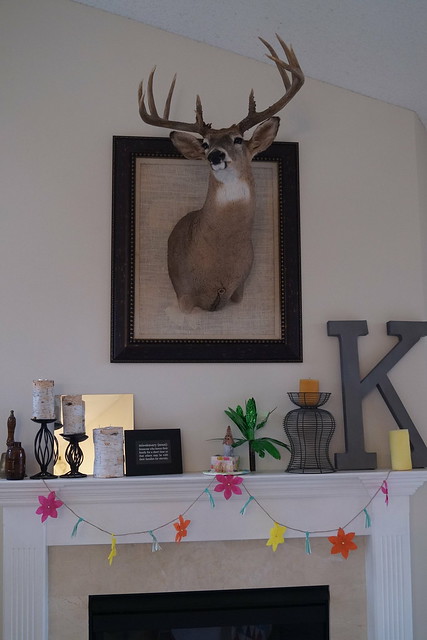
He resides over our fireplace mantel.
Unfortunately he had a fatal accident with an automobile in the Fall of 2014 in the city of Maple Grove, MN (hence his name).  Hubby was on a call list for road kill, yes, I know it's a bit Redneck, but once we saw him we decided to give him a second chance to strut his stuff.


This is how he has been displayed for the past year or so in our living room.
I hadn't completely figured out what I wanted to do with this room, but I do like Grover right there greeting us as we come in the front door.


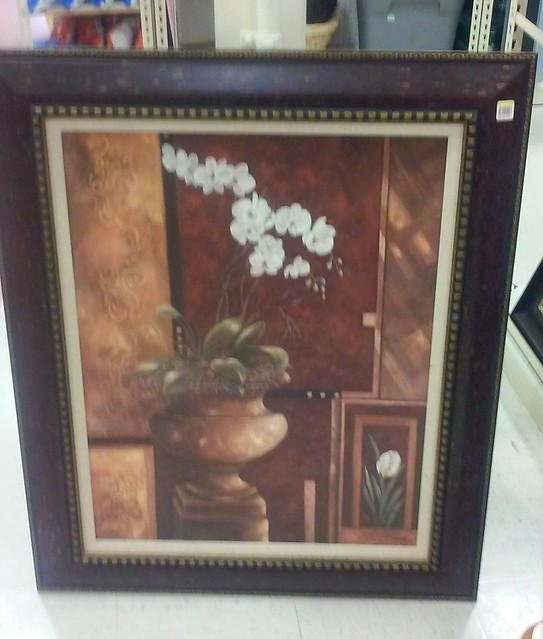
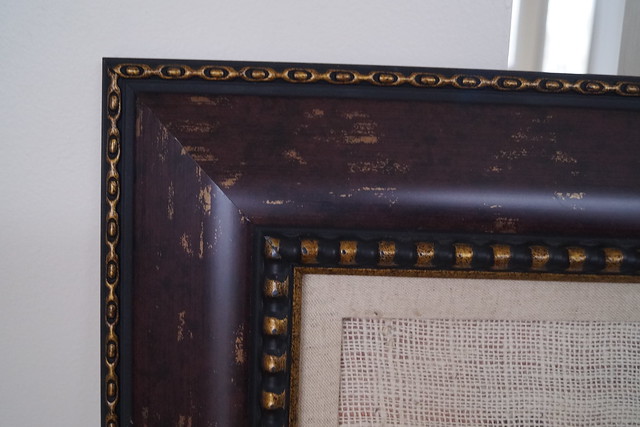
I finally decided that I wanted to frame Grover out and give him a more substantial place over the mantel.  I found this frame below that I felt would work.


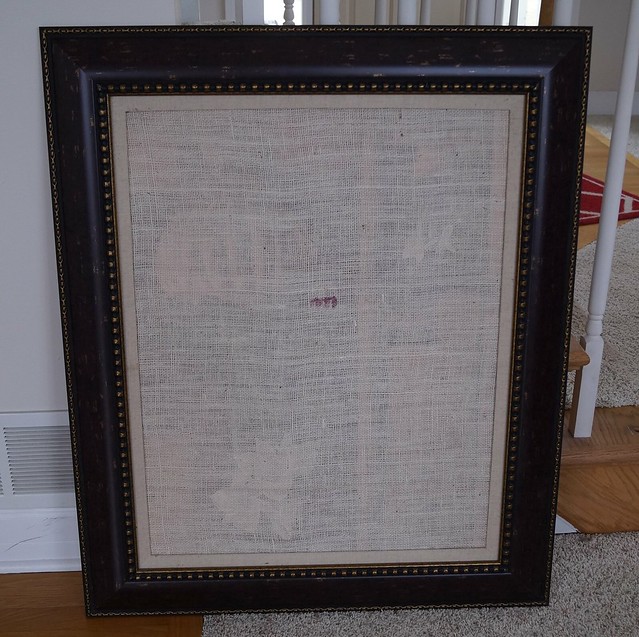
I bought a piece of burlap fabric the width I needed and then cut it down to size and used spray adhesive to put it right over top of the picture that was in this frame.  (A somewhat ugly floral print)


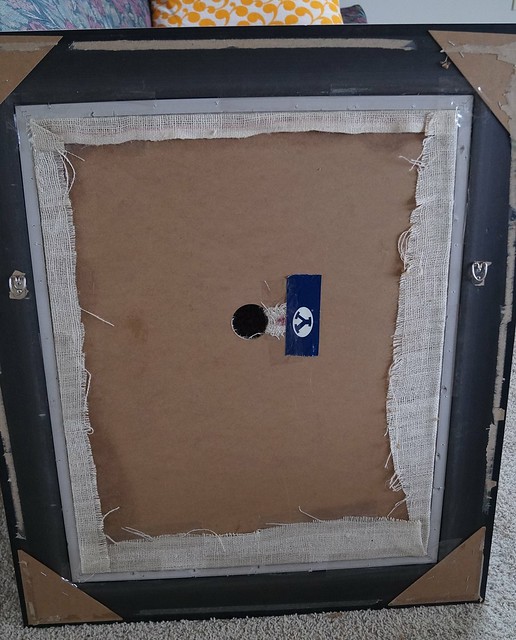
With lipstick on the back hook of Grover I positioned him on the frame so that I would know where I wanted him to sit.

Then I took a large Forstner bit from my hubby's shop and attached it to the drill and drilled out a hole for the spot where Grove already hung from the wall.


Positioning the frame over the hook I found the spots to hang the frame and attached it then placed Grover over top of the frame on his previous spot.


As you can see the picture underneath sort of shows through.  I need to take it all down, and either flip the picture of spray paint over it so that the lighter flower outlines don't show through.  It's not super annoying....just slightly.  UPDATE: I did just that and now you can't tell there is anything underneath.  Just flipped the picture to the back.


Details:

Wednesday, March 30, 2016

Blue HSTs quilt

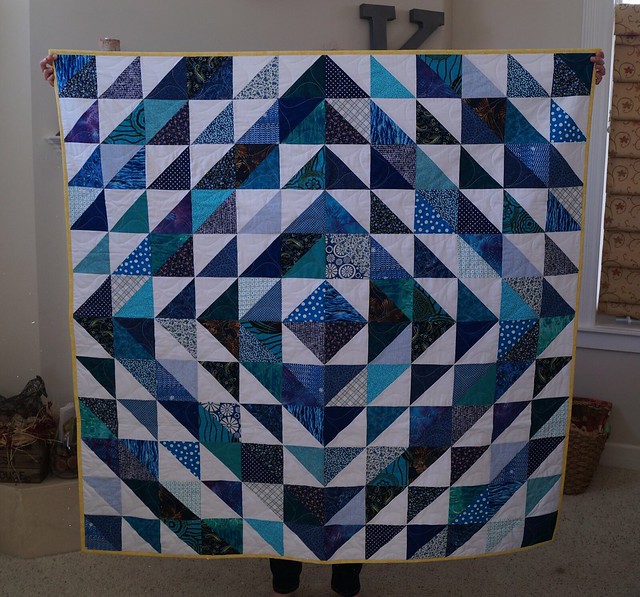
Here is a quilt that I had sent onto Lynn beforehand to get quilted so that while I was at the sewing retreat with my sisters and cousin down in St. George in February I could get the binding sewn on.  I actually had 3 quilts to bind while I was there.  This is the first one to show.


Scrappy HSTs from my stash.


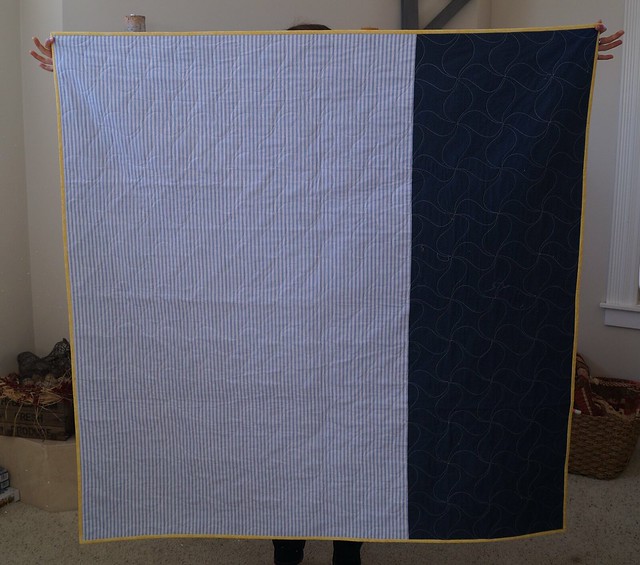
Backing from 2 scrap pieces: chambray striped ticking and a navy print.


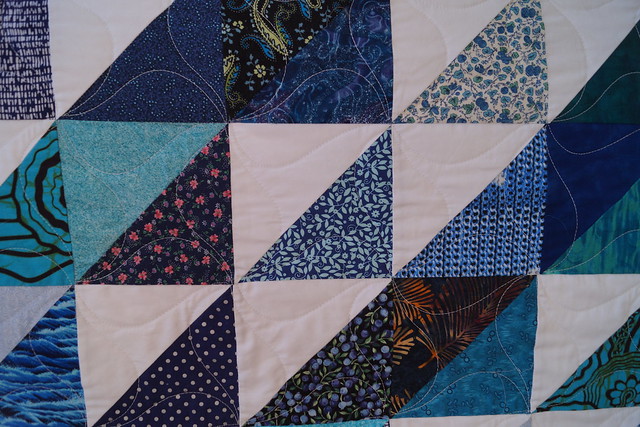
Close-up of the quilting.


Debating on selling this one.  Square quilts aren't my favorite, probably because we are all tall around here and we need them long to actually use them.  So....this one may go.


Details:
  • Started with 6 inch squares that were then cut on diagonal. The squares then finished at 5 inches each.
  • Previous post here including quilt pattern design info.
  • Yellow print for binding found in my stash
  • Backing also from my stash.
  • Finished size: approx. 63 inches square.

Thursday, February 4, 2016

Gearing up for Laundry Room Transformation

After living in this new-to-us house for about 10 months now there are some things that I would like to adjust to better accommodate the way we live.

Right now the most bothersome area for me is the front entryway, which is the dumping ground for everything.  You know how that is, right!?  Drives me bananas.  There are just too many of us to not have some place really set up nice and organized for all our shoes, coats, backpacks, and general stuff.
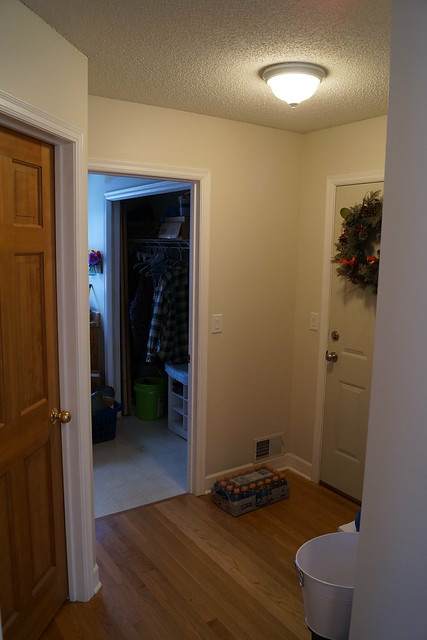


So to alleviate the mess in the entry, we are going to make some adjustments to the garage entrance area/landing and the laundry room. (Excuse the case of Gatorade--put it there so I wouldn't forget to take it to the swim meet the day I took these pics.)
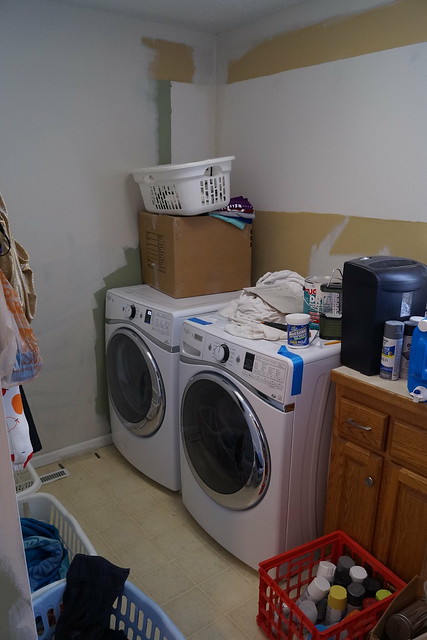


Shortly after moving in I took down the cabinets above the washer and dryer with a couple of my kids.  Until about a month ago there were just sitting in the garage.  But now Hubby has hung them up out there for his shop area.

I started painting over the green and brown (awesome combo, don't you think--blech!) but lost interest.  The plan is to stack the washer and dryer and then Hubby will build some shelving to the left of it for all the laundry baskets to get them off the floor.  Hallelujah!  This has been the plan from almost the beginning of our move in.  And yet, here we still are.
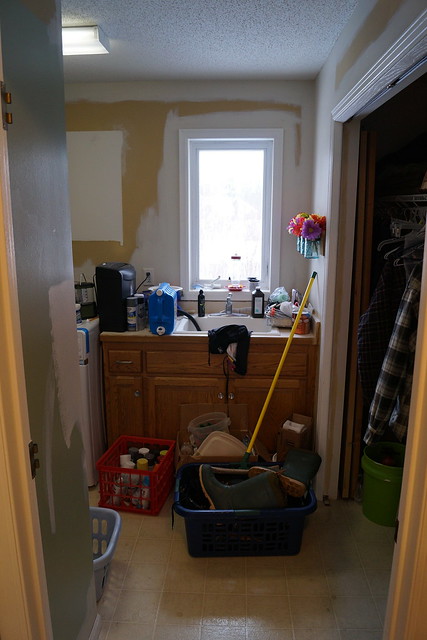


There is a little sink area and closet to the right of the washer and dryer when you walk into this area.  Excuse the mess.  I was rearranging things in the closet to get an idea of what I'd like to do.  This is another area that has sort of been a dumping ground for stuff we can't figure out what else to do with it.  I hate that.
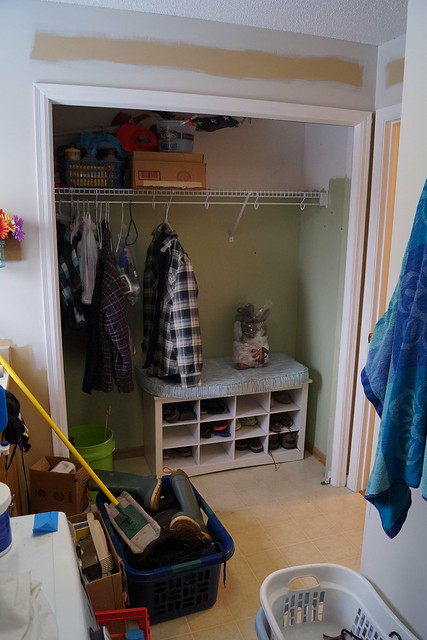


And the closet with the bi-fold doors off (and one wouldn't even stay closed).  I moved the bench from the front entry to here so that no one could pile up their things right when they walked in. it isn't the right size, but just to get an idea.  I also removed the door to the entrance so I could get a feel for how that might be.  It was rarely closed anyway.  I'd like to remove everything and take that closet completely out--clear up to the ceiling and back closer to the sink, and probably even flush with the right side too.
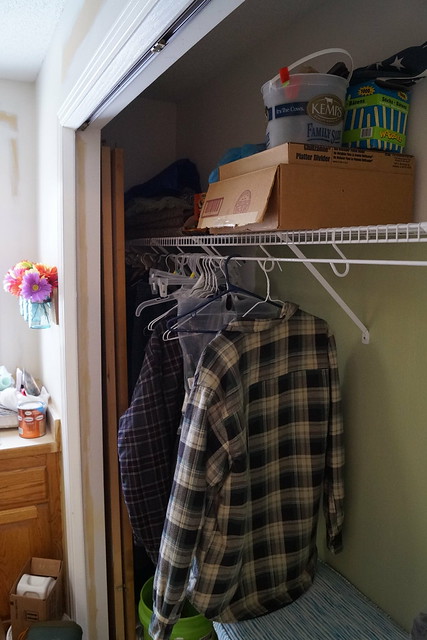


One thing I am still working thru is what to do with this deep section of closet by the sink.  It goes back 33 inches deep.  It is like the black hole abyss.  Still thinking about that part.

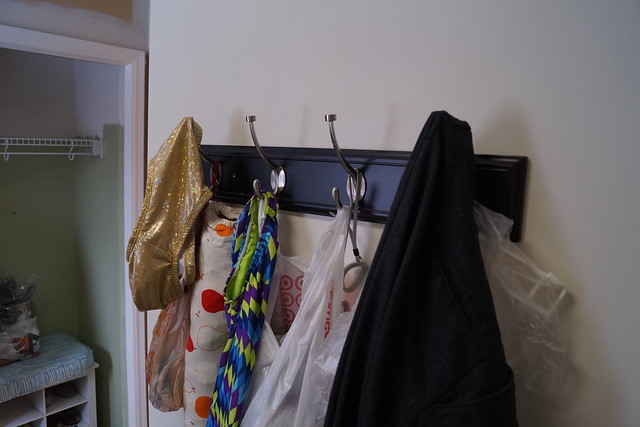
Other than my washer and dryer about the only other things I like about this room are the hooks that I put up for the wet stuff to hang so they won't mold and smell in the baskets.  (yes, that is a gold sequin Speedo--don't ask)


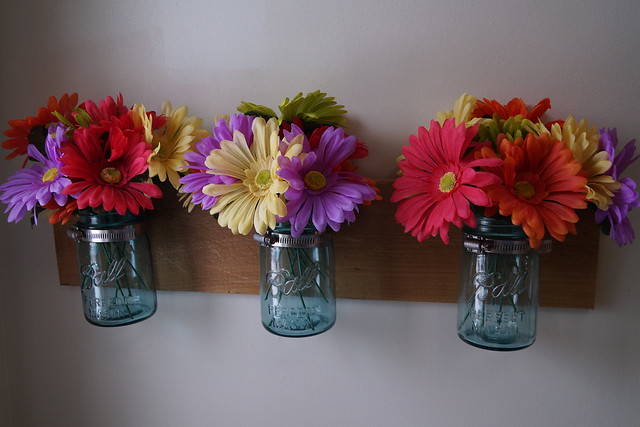
And the little flower holders I made. I needed something happy to look at in this room.


This will be a work in progress while Hubby and I try and get on the same page about what should occur here.  He already said he will build a bench for the area, so that's a plus.  He just doesn't agree with some of my other ideas.....yet.

I'll keep you posted.
Monday, February 1, 2016

Small bench redo


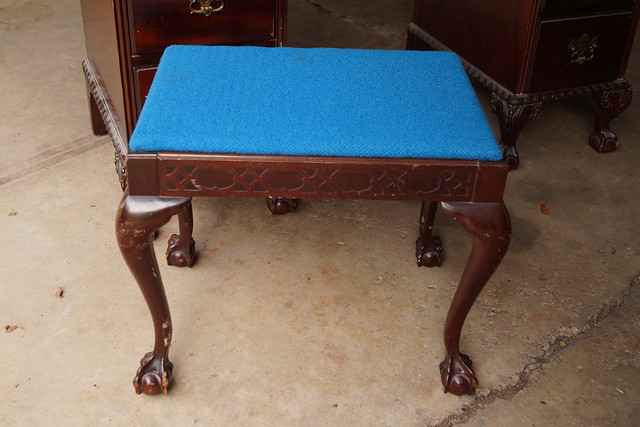
If you'll remember, WAAAY back, I found this little bench along with it's pretty desk at the thrift store. Daughter #2 was going to have the desk in her room, changed her mind once we moved, and so now the desk is in the office room and the bench became an orphan.


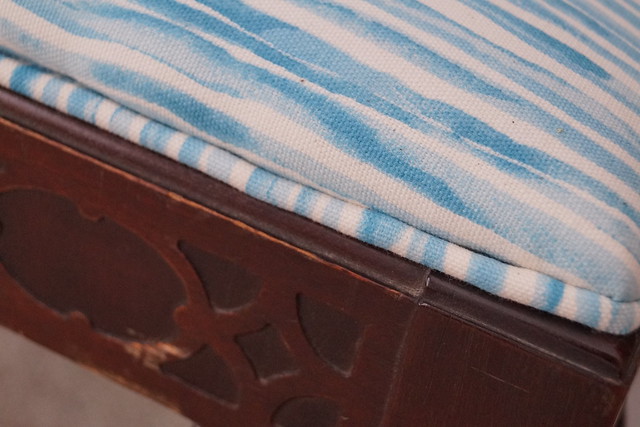
Hubby and I needed a little seat or something in our bedroom and so I recovered the bench, once I finally found my staple gun. Love that tool!  I also had to order another staple puller (below) because I have yet been able to find that tool since our move.  Though I have seen it once in this house, I just can't remember where I put it.  Oh well.....Taking off old upholstery is an absolute pain in the backside without this tool. FYI.


I made some piping too and stapled that on once I had the new batting and fabric attached.


I think I found this fabric piece at the thrift store.  I love the watercolor looking stripes.

Thursday, January 28, 2016

Massive Framed Mirror

Before we moved last year, some friends of ours were also in the process of moving and in so doing were gutting their master bath.  They had this 3 ft. by 7 ft. mirror that they were giving away to anyone who wanted it.

Although I didn't know what house I would be moving to, and if I would even have a place for this big 'ole beast, I went and got it from them.  Big mirrors aren't cheap!  So a free one, PLEASE! I had to take it.

We stored it in our pod while we were trying to sell, and have been storing it down in the basement since we moved last March.

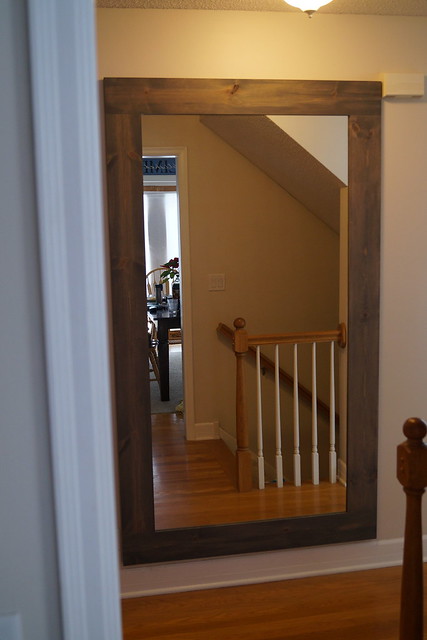
FINALLY...it is done and hung up. (it took me some time to figure out exactly where I wanted it to go)

The first thing we had to do was to cut off about a foot of the length.

Where it is hanging is only an 8 ft. ceiling and since I wanted it framed it wasn't going to work at that length. I bought a glass cutting kit at Home Depot for about $13.  I practiced a couple times on some scrap mirror until I figured out how best to do it for myself.  And then hubby helped me on this big piece. It was a thicker mirror than my practice pieces.

Hubby cut the 1 x's so that the mirror would inset a little.
We then attached a backing to keep the mirror in place.
Sorry, but I didn't take any pics of that.

We made two wood cleats to hang the mirror. One piece goes on the wall and the other on the mirror. We did this on both the top and bottom of the mirror since it was so large and heavy.  We also didn't want it to bang back and forth if someone touched. Check out this video to get the idea of how to make the cleats.


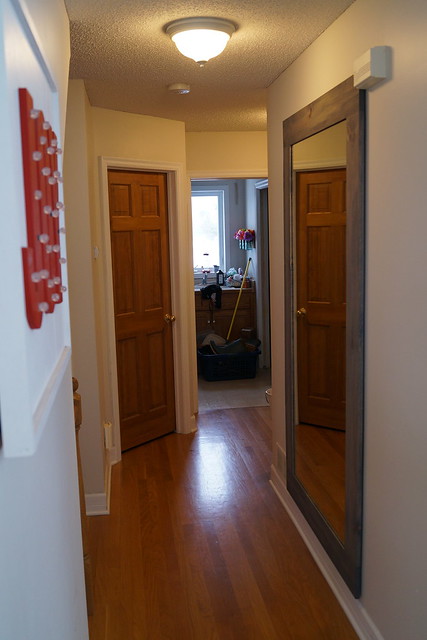
It now hangs in our foyer by the front door.


I really like it here.
Though it definitely is massive.
Easy way to check your present-ability on the way out the door.


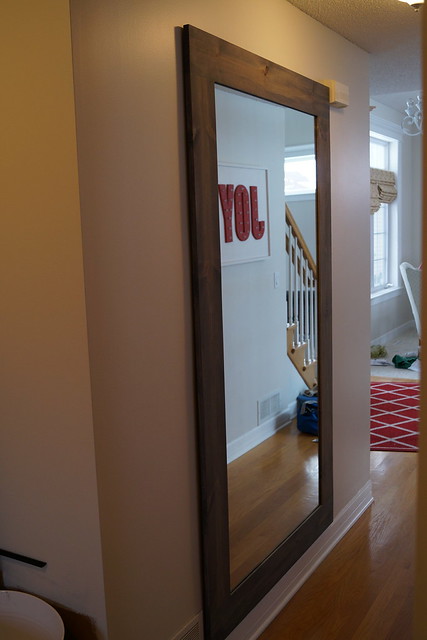
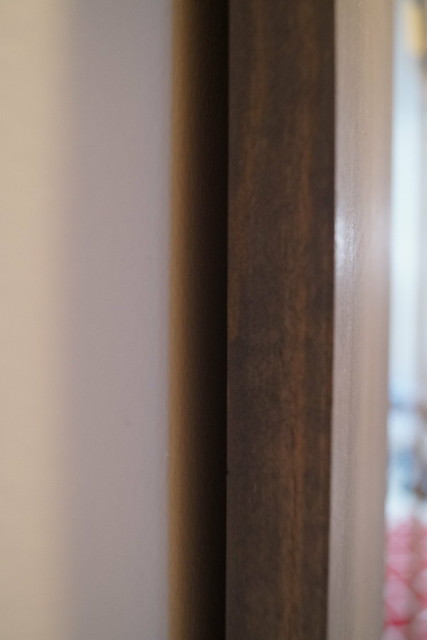
This is to show how far it is off the wall.  The wood is only 7/8 inch thick.


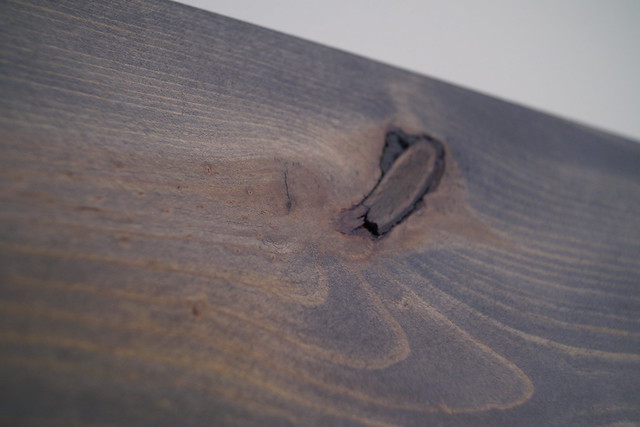
I used pine boards and a gray stain because I like the knotty look and this makes it appear somewhat distressed without having to actually do anything to get it that way.

Details:
  • RF Supply Glass Cutting Tool Kit at Home Depot
  • 2 - 1 x 6 boards 10 ft length. (or enough for your needed size)
  • OSB 3/8" board for backing--cut to size
  • Scrap board to make the hanging cleat
  • Minwax Wood Stain in Classic Gray.  Same stain I used for the boys' headboards.

LinkWithin

Related Posts Plugin for WordPress, Blogger...