Showing posts with label Easy. Show all posts

Monday, January 2, 2017

Easy Knit Hat for the New Year

Daughter #2 and her friends all wanted "matching" hats.  Which translated into a chunky knit hat that folded up at the brim and double pom poms attached. My daughter chose black for her hat.  Why, you might ask?  Because she is into neutrals and she knew that no one else would want that color.  (And believe me when I say there was a LOT of drama involving the color choice picks--aren't 13 yr. old girls awesome?)  She isn't a pink girl at all. 

So between me and another of the mom's we got them all done.

Here is my daughter in hers.


Details:

Monday, November 7, 2016

Just messing around this evening....

Decided to test out some of the settings on my camera tonight for a little comparison.
I took these all within just a few minutes time of each other.
I only changed the Picture Effect settings on my camera.


Monday, July 11, 2016

Painted the porch swing

 Last week I spray painted the porch swing.
It looks brand new and is so much fun.

I really wanted to paint the swing like this:

I so wanted to do this to our swing but the back slats are vertical not horizontal.  Rats!:

But alas my swing slats didn't go that direction.


I was slightly lazy about painting and probably should have taken the entire thing apart so that I didn't get any of the hardware painted.  That seemed like too much effort.  Besides, by keeping it hanging up I could just flip it over and spray the bottom without having to prop it up against anything else.  And the day I painted it was so warm that it dried super quick.

Instead of taking the swing apart I broke out the Glad Press 'n Seal Wrap and put it over the chain parts near where I was spraying and any of the bolts that I could get to. 

It felt pretty genius on my part.
Once it all dried I just pulled it off and threw it in the trash.


What our view looks like as you sit in the swing.
Lovely!

Details:

Wednesday, June 22, 2016

Recycled drawstring backpack

Our youngest daughter headed off to girls camp this week.
She said she needed a backpack to carry stuff around in so she wouldn't have to put it in her pocket of carry it by hand.
This is what we came up with using no pattern and fabric that we already had in the stash.
\
You can get an idea of how big it is based on my wingback chair.
I forget to measure it before my daughter left.


A little topstitching detail

 I opted to just tie the end off into a knot and add some fray check to the ends.
I also sewed the straps down near the loop so that they would stay in place more.
I also did this at the top of the strap, when the bag was completely open to stabilize again.

It held a good amount once she loaded it up for camp.
Not sure what all she put in there, but it was full.


Peace out people!
See you at the end of the week.

She commented to me, "I'm going to have the cutest backpack at camp!"

I think I would have to agree.

Details:
  • Denim base used from cut off jean legs (that we bought to turn into shorts) and squared off.
  • Red fabric is from my stash.
  • I did line this completely, but forgot a picture.
  • Pinterest has all sorts of tutorials if you need some help making one.


Monday, June 20, 2016

Chalkboard Frame

We've been working on daughter #2's bedroom and here is one of the accessories we added to her room.


She wanted a chalkboard frame to write herself notes.

And yes this is her handwriting--freehand.
She can print in font--it is amazing!

I love the details on this frame.
It's plastic, but after spray painting it I don't think anyone would know it.


Details:

This is the window side of her basement bedroom.  We FINALLY got the orange-ish walls (check the first pic to see the previous color--sort of) painted a nice white which makes a huge difference.  I still need to get rid of the dark brown wood blinds, but I haven't figured out what other window treatment to do.  So for the moment we've added the tissue paper flowers to try and "disguise" the window a little.  It was cheap and easy until we know what we are going to do permanently.

Monday, April 18, 2016

Dumpster Chair Rescue

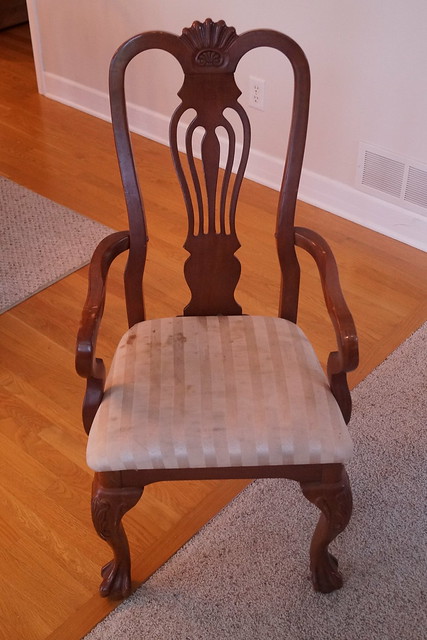
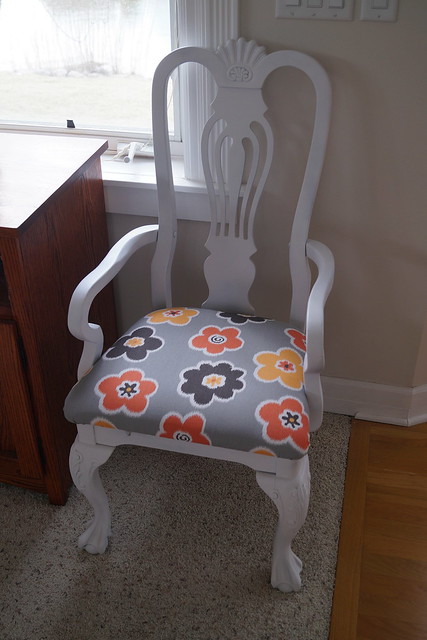
I first saw this chair with its pretty claw feet sticking out of a dumpster in front of someone's house about a year and a half ago Fall.  I was hoping there was a pair of chairs but I could only find one.  Rats!!  It made the cut during our move last Spring and I finally decided to tackle this chair after I found a cute remnant piece of fabric at the thrift store.


Here it is before--on the backside there are actually pieces of plastic sticking out where there was once plastic covering the entire seat.


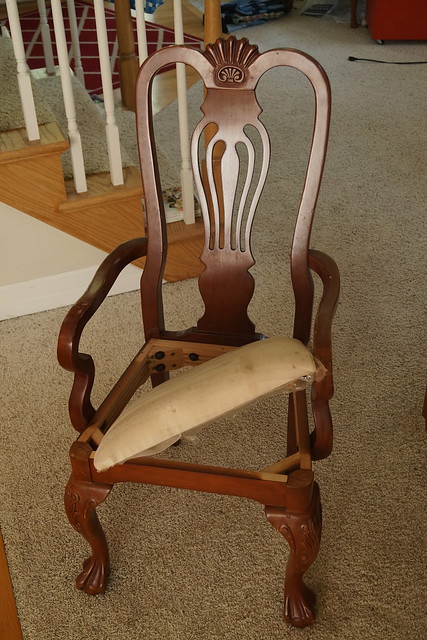
I took it apart, which just meant unscrewing the attached seat from underneath the chair.
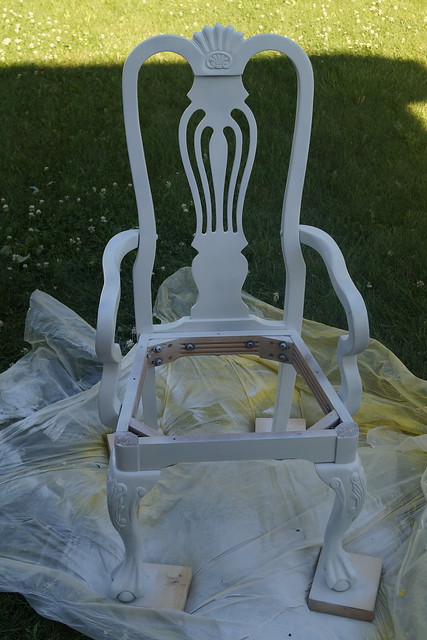
Gave the chair a good cleaning.  Some of the wood was yucky.

And then headed outside and painted the chair (in August of 2015).


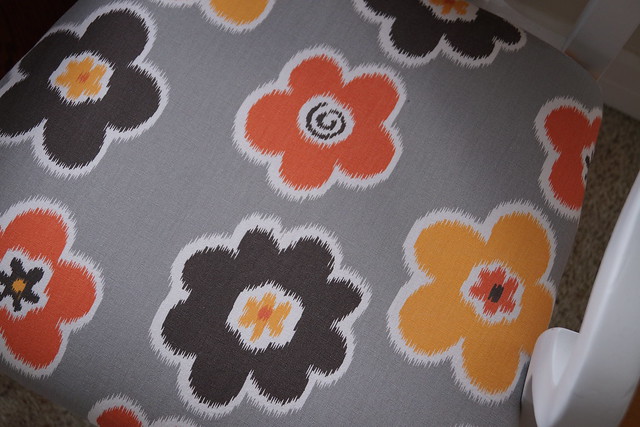
It sat some more while I tried to find the staple gun in our stuff, post move.  Once I found it I ripped off the old fabric and stapled back on the new piece and reattached the seat.  It looks real pretty sitting in our living room.


Details:

Friday, April 1, 2016

Makeover for Grover

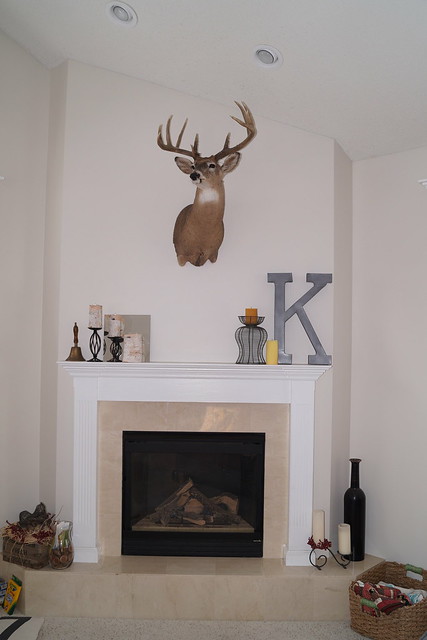
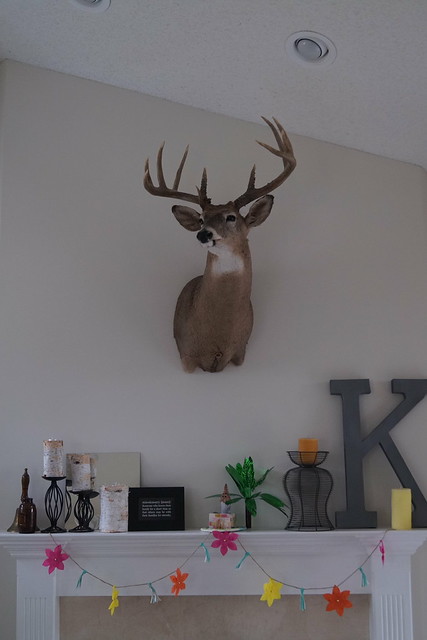
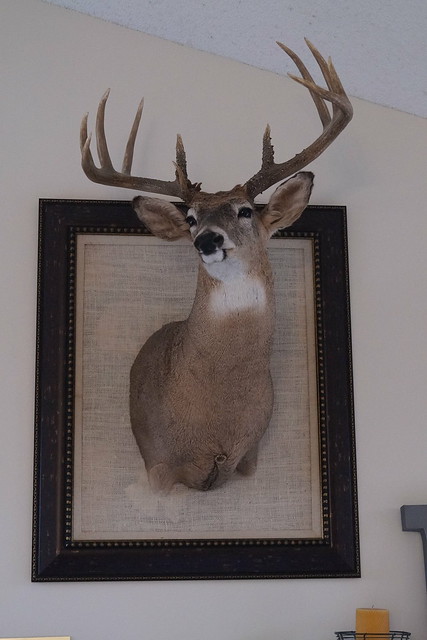
Meet Grover.

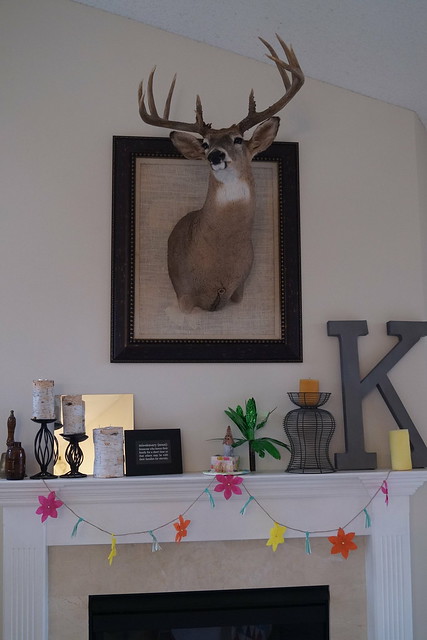
He resides over our fireplace mantel.
Unfortunately he had a fatal accident with an automobile in the Fall of 2014 in the city of Maple Grove, MN (hence his name).  Hubby was on a call list for road kill, yes, I know it's a bit Redneck, but once we saw him we decided to give him a second chance to strut his stuff.


This is how he has been displayed for the past year or so in our living room.
I hadn't completely figured out what I wanted to do with this room, but I do like Grover right there greeting us as we come in the front door.


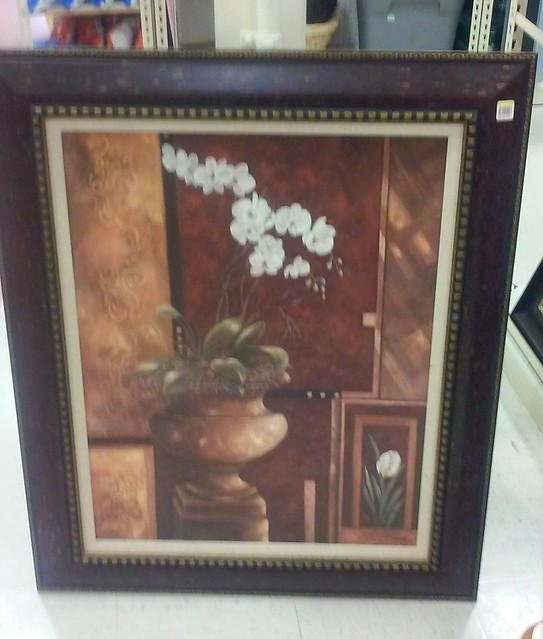
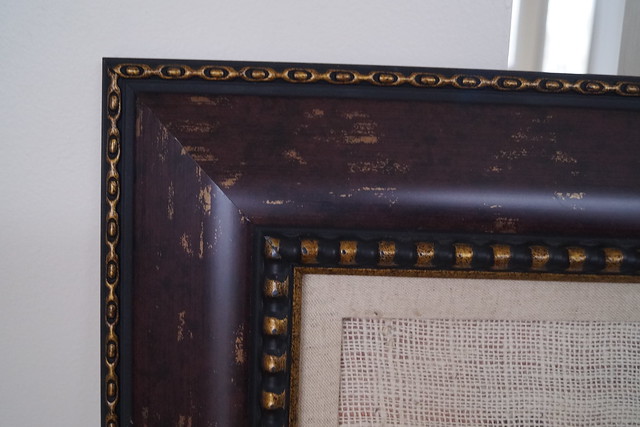
I finally decided that I wanted to frame Grover out and give him a more substantial place over the mantel.  I found this frame below that I felt would work.


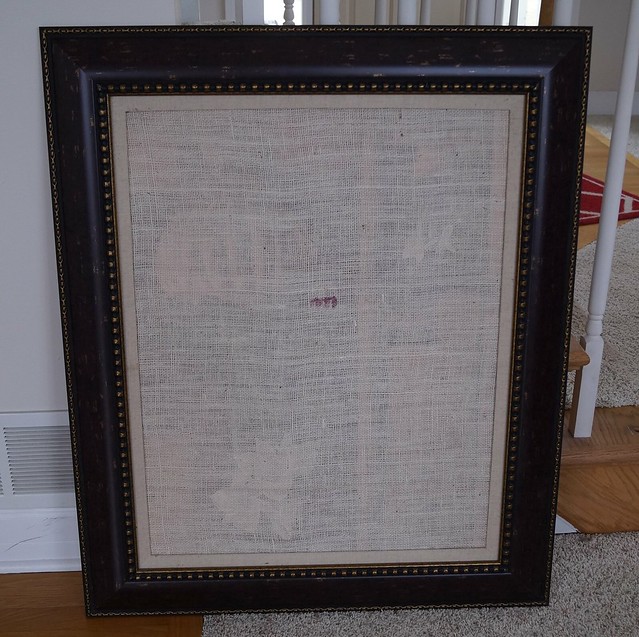
I bought a piece of burlap fabric the width I needed and then cut it down to size and used spray adhesive to put it right over top of the picture that was in this frame.  (A somewhat ugly floral print)


With lipstick on the back hook of Grover I positioned him on the frame so that I would know where I wanted him to sit.

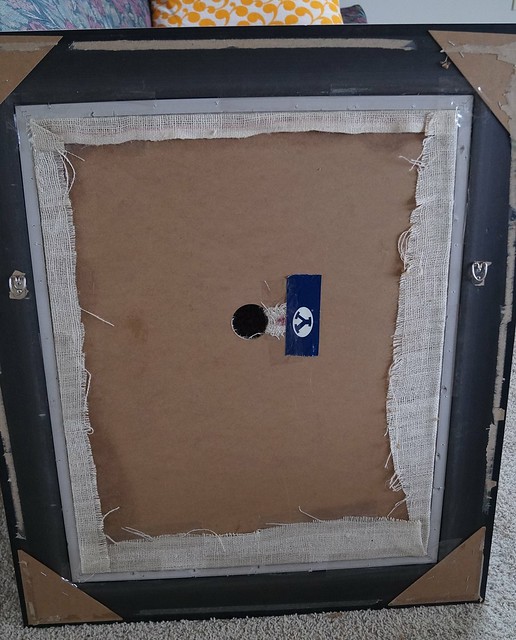
Then I took a large Forstner bit from my hubby's shop and attached it to the drill and drilled out a hole for the spot where Grove already hung from the wall.


Positioning the frame over the hook I found the spots to hang the frame and attached it then placed Grover over top of the frame on his previous spot.


As you can see the picture underneath sort of shows through.  I need to take it all down, and either flip the picture of spray paint over it so that the lighter flower outlines don't show through.  It's not super annoying....just slightly.  UPDATE: I did just that and now you can't tell there is anything underneath.  Just flipped the picture to the back.


Details:

Monday, February 1, 2016

Small bench redo


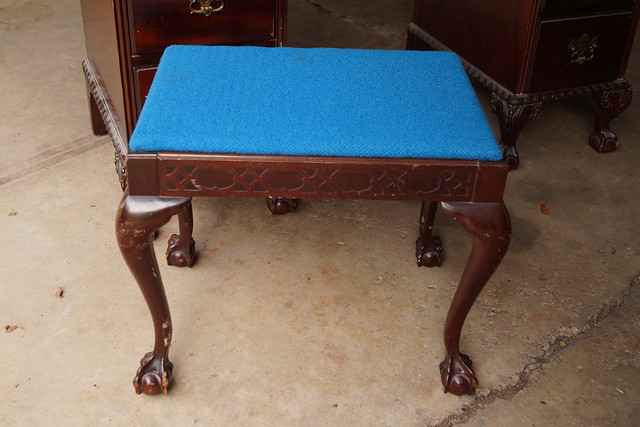
If you'll remember, WAAAY back, I found this little bench along with it's pretty desk at the thrift store. Daughter #2 was going to have the desk in her room, changed her mind once we moved, and so now the desk is in the office room and the bench became an orphan.


Hubby and I needed a little seat or something in our bedroom and so I recovered the bench, once I finally found my staple gun. Love that tool!  I also had to order another staple puller (below) because I have yet been able to find that tool since our move.  Though I have seen it once in this house, I just can't remember where I put it.  Oh well.....Taking off old upholstery is an absolute pain in the backside without this tool. FYI.


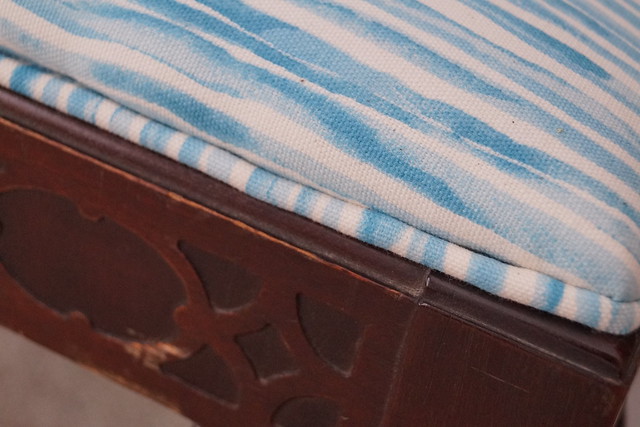
I made some piping too and stapled that on once I had the new batting and fabric attached.


I think I found this fabric piece at the thrift store.  I love the watercolor looking stripes.

Thursday, July 9, 2015

Changing the screen on your screen door (or window)

One of the fun things about this house is the screened in porch off the deck.
This has already been the sight of a birthday party, relaxing in the hammock, quilt photo shoots, and just plain getting outside without being bothered by bugs.

However, it does need some work.
I have some ideas for what I would like to do, including some paint, a drop leaf table/serving area.

Earlier in the week I cleaned up the ceiling fan, changed bulbs, added long enough pull chains.

The one big project on my list for the porch was to replace the screen on the door.
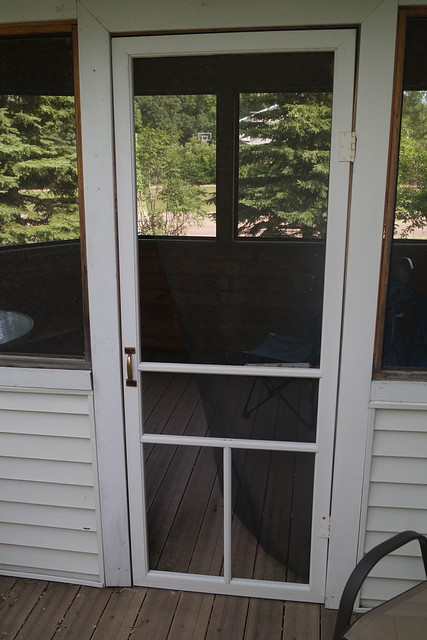


It is torn out in a couple places and since we've been here it has come off more.
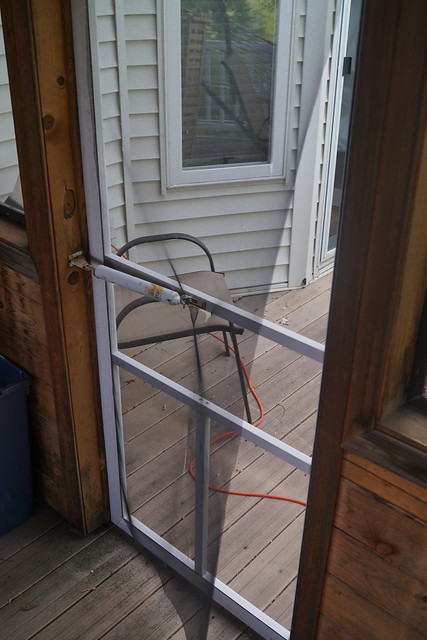


If you haven't ever re-screened a door or a window it is really an easy process if you have the ONE right tool.  I re-screened a couple windows in our previous house before we sold it.  (Yes, children a fork will make holes in the aluminum screen.)  You will save yourself a bunch of money if you do it yourself.  I called my local Ace Hardware just this morning and they said to re-screen a full length porch door would cost around $45.  This probably cost me around $10 to do it myself and in about a half hour or less.  Seriously, you can do it yourself.  My 12 year old daughter even helped me.  It is that easy.

I started by removing the hardware.
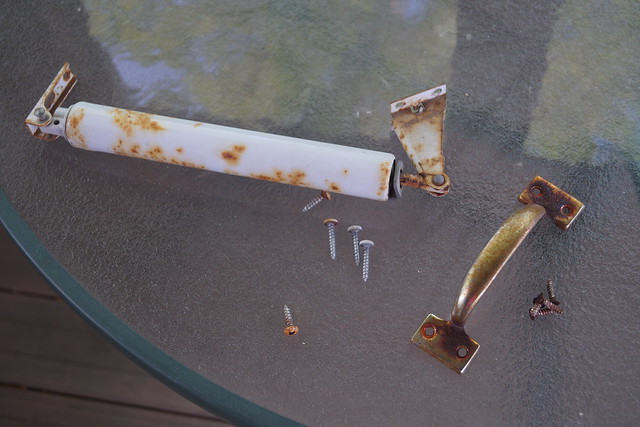


Then you start at a corner and pull out the spline (that is the tube like thing that holds the screen in place.)
Pull it all off and then pull off the screen.

If you wanted you could reuse the spline, I've done that before, but this time around I bought new.
Trash the screen unless you have a smaller screen project that you could reuse part of it.
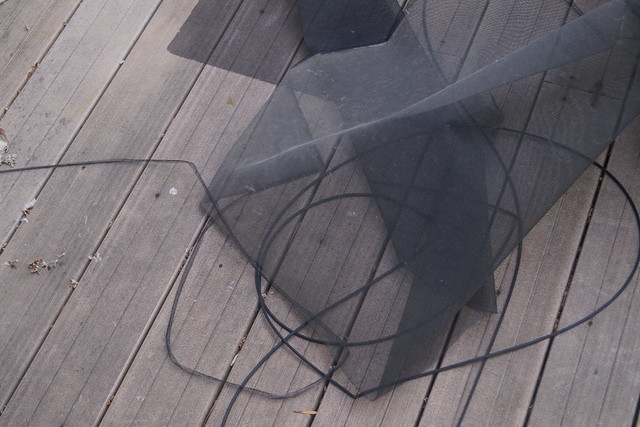

Next I took the door off the hinges, cleaned it up and brought it inside to do the screen.  I find it easier to lay it out flat somewhere.
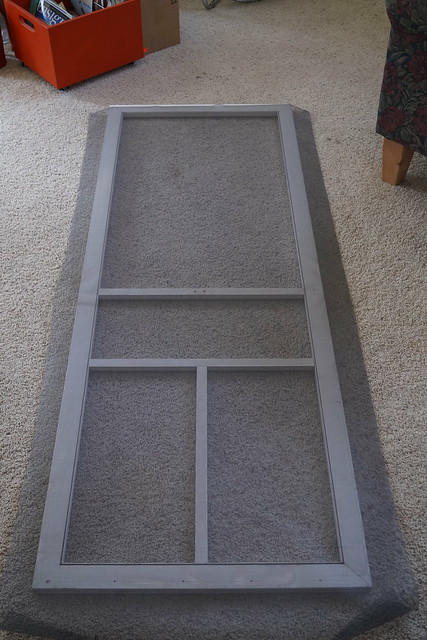

This is the door with the entire roll of screen laid out on top of it.
Extra is good.  Gives you more maneuver room.

Next you need that ONE special tool.
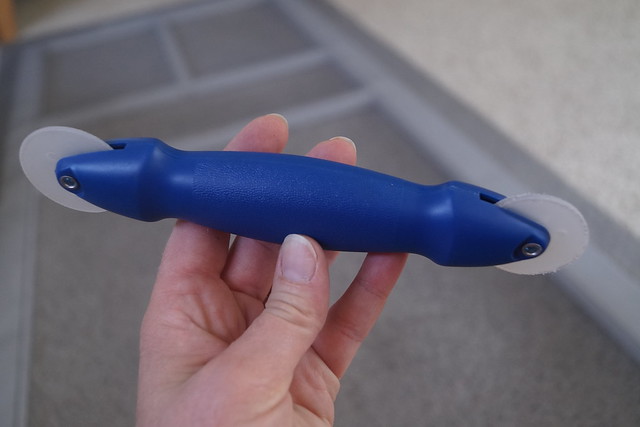

One end pushes the screen down into the groove of the door.
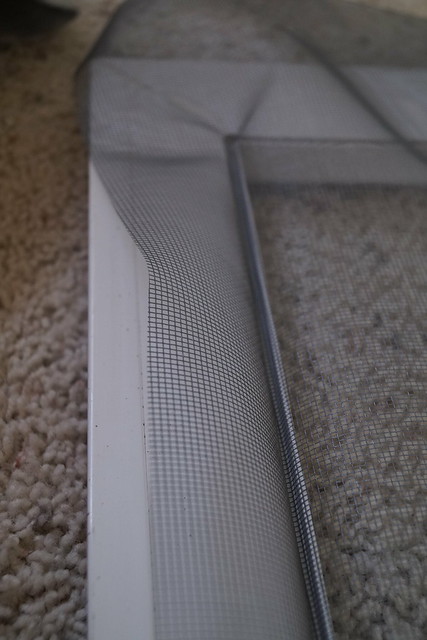

And the other has a concave edge that rolls along the spline to insert it down in the door groove and keep the screen in place.
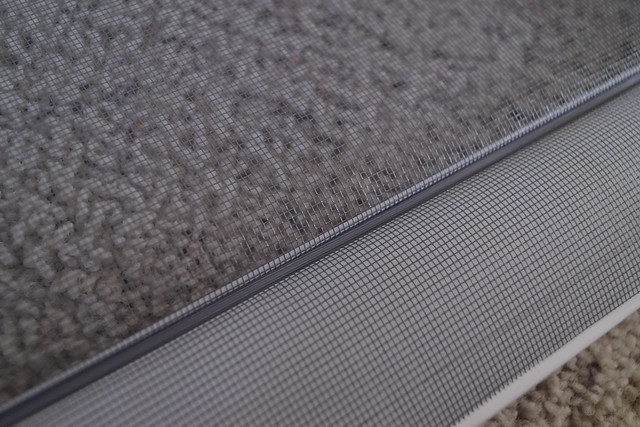
 
I started at the top and then worked my way down one side, across the bottom, back up the other side and finished it off.  You just cut the spline off at the length you need once you get to the end.
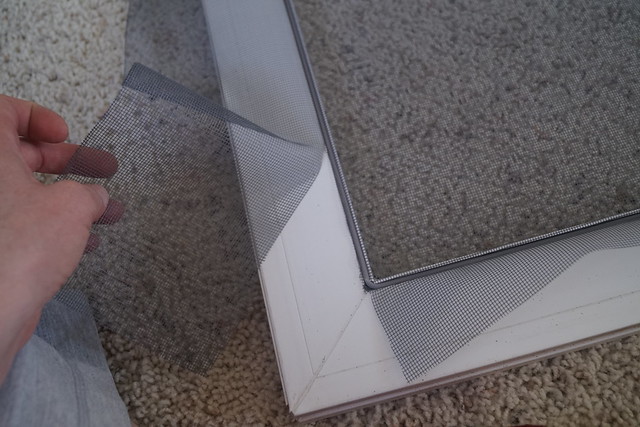


Then you are ready to cut off the extra screen.  I just used a pair of scissors.  I also went back over the spline with my tool to make sure it was in tight.  Sometimes it gets moved a bit as you are cutting the excess.
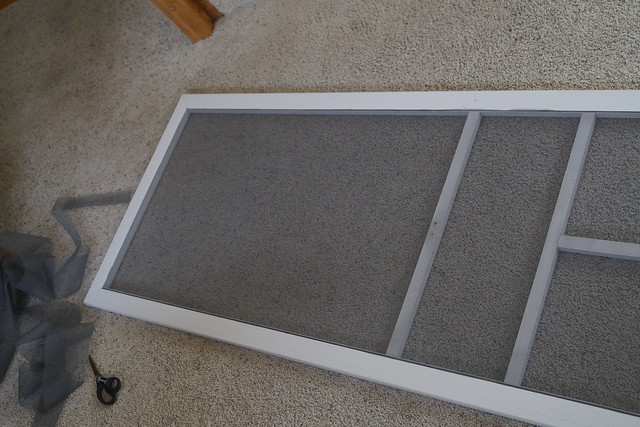


You are now ready to hang the door back up and reattach any hardware.
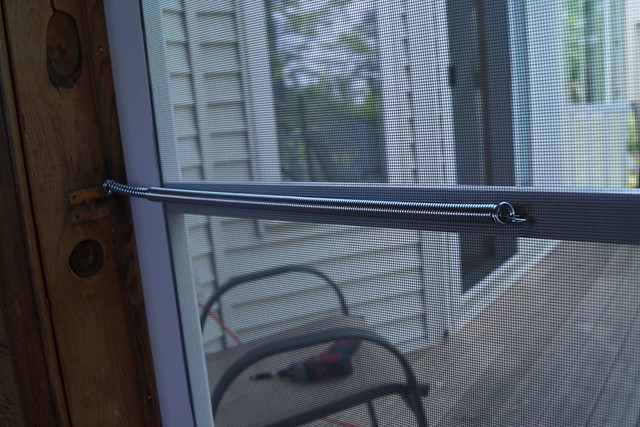

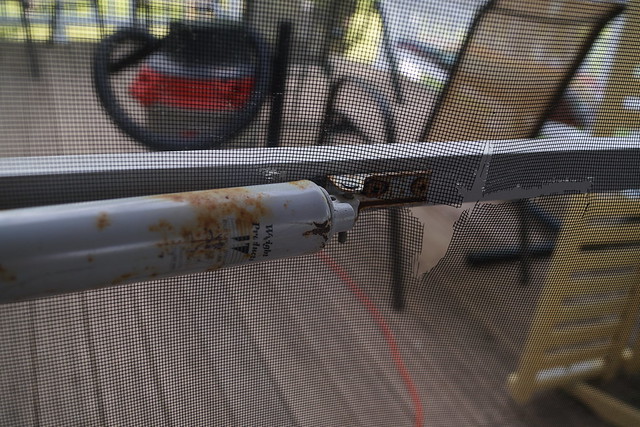
I replaced the spring with one that was more suited for this type of door. That previous spring was WAY more than this door needed.
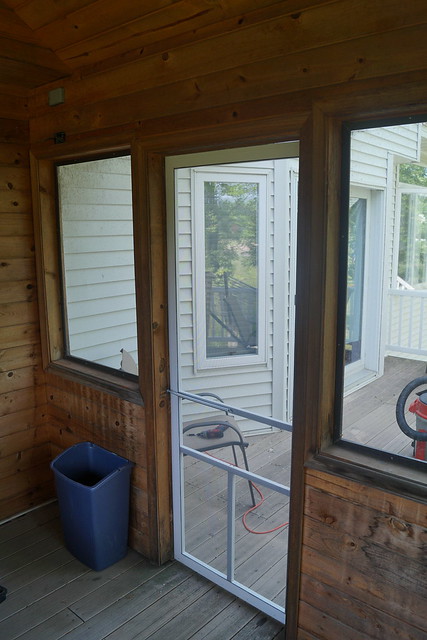
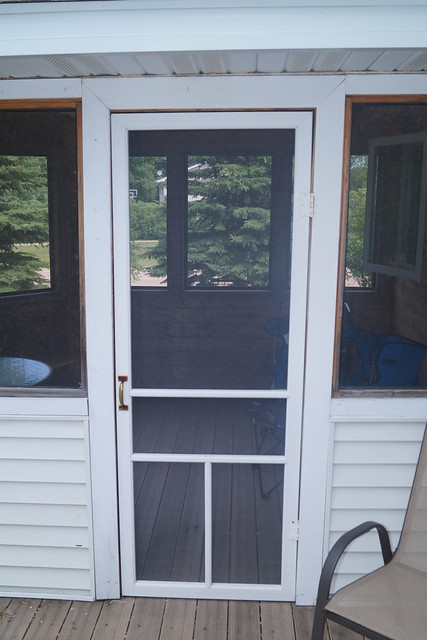


All done.
No more cottonwood tree fuzzies accumulating in the corners of the screen room.
Yuck!

Last thing I'll do on this door is to repaint the handle.
I didn't have the paint at the time I did everything else so that will be next week.

I'm so so happy this is all done!

Details:
  • Adjustable door spring--$2.98 at Home Depot.  They had 2 different sizes available.  I needed the shorter one which adjusted from 13" to 15 1/2".  The larger one was 16 1/2" long, not adjustable.
  • Roll of screen--I bought a 36" x 84" roll in Silver Grey for about $5.
  • Screening spline--I used .125" x 25' length in gray. It costs around $5 and I did not use the entire roll for the one door. 
  • Screen Spline tool for under $3. WELL worth the money!!
  • You can buy the whole kit: screen, screening spline and roller tool together, if you don't already own the tool for around $11. (Much better than $45)

LinkWithin

Related Posts Plugin for WordPress, Blogger...