This has already been the sight of a birthday party, relaxing in the hammock, quilt photo shoots, and just plain getting outside without being bothered by bugs.
However, it does need some work.
I have some ideas for what I would like to do, including some paint, a drop leaf table/serving area.
Earlier in the week I cleaned up the ceiling fan, changed bulbs, added long enough pull chains.
The one big project on my list for the porch was to replace the screen on the door.
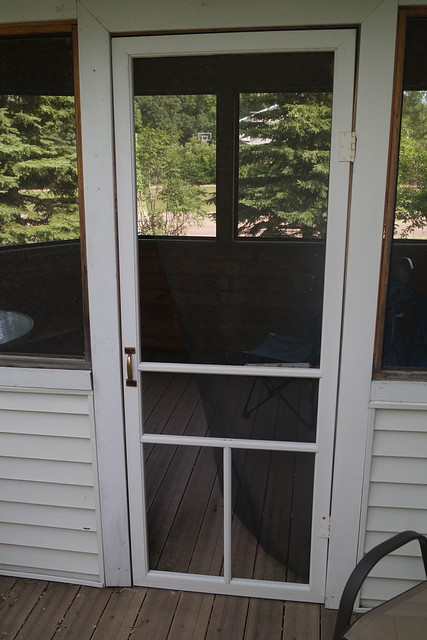
It is torn out in a couple places and since we've been here it has come off more.
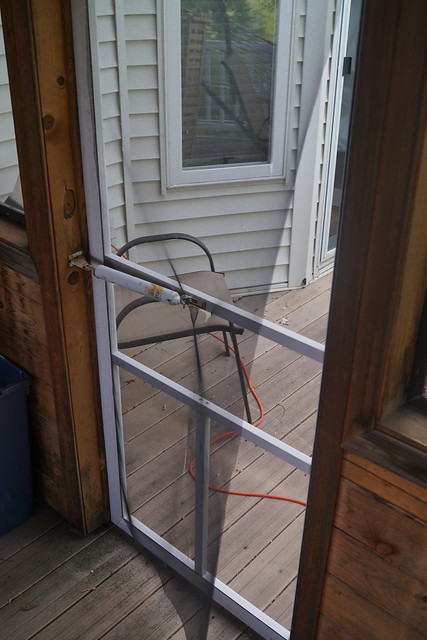
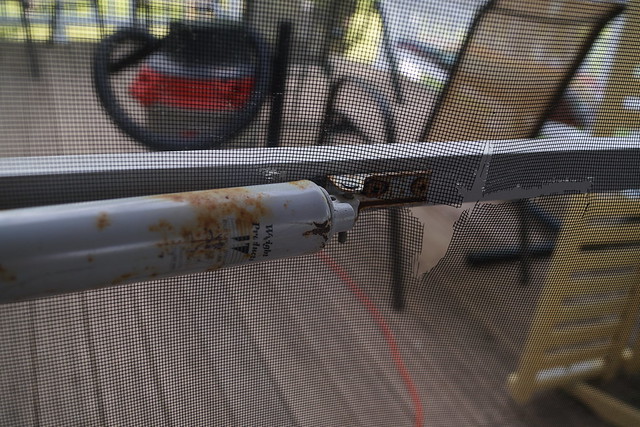
If you haven't ever re-screened a door or a window it is really an easy process if you have the ONE right tool. I re-screened a couple windows in our previous house before we sold it. (Yes, children a fork will make holes in the aluminum screen.) You will save yourself a bunch of money if you do it yourself. I called my local Ace Hardware just this morning and they said to re-screen a full length porch door would cost around $45. This probably cost me around $10 to do it myself and in about a half hour or less. Seriously, you can do it yourself. My 12 year old daughter even helped me. It is that easy.
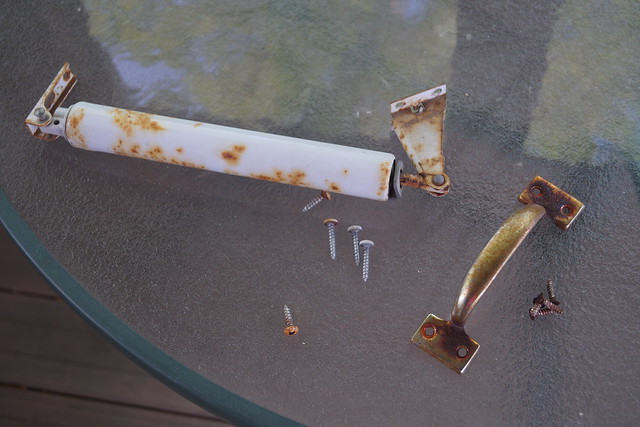
I started by removing the hardware.

Then you start at a corner and pull out the spline (that is the tube like thing that holds the screen in place.)
Pull it all off and then pull off the screen.
If you wanted you could reuse the spline, I've done that before, but this time around I bought new.
Trash the screen unless you have a smaller screen project that you could reuse part of it.
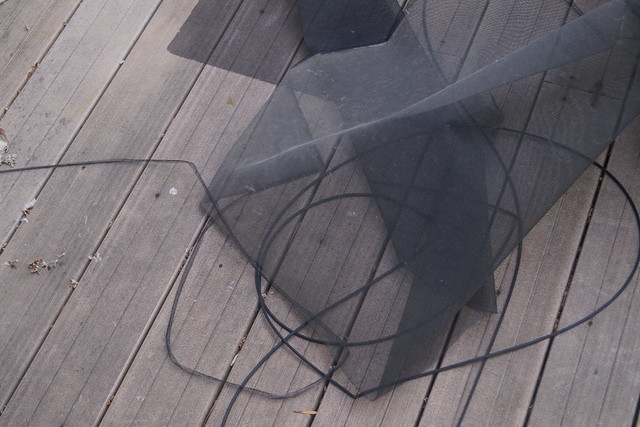
Next I took the door off the hinges, cleaned it up and brought it inside to do the screen. I find it easier to lay it out flat somewhere.
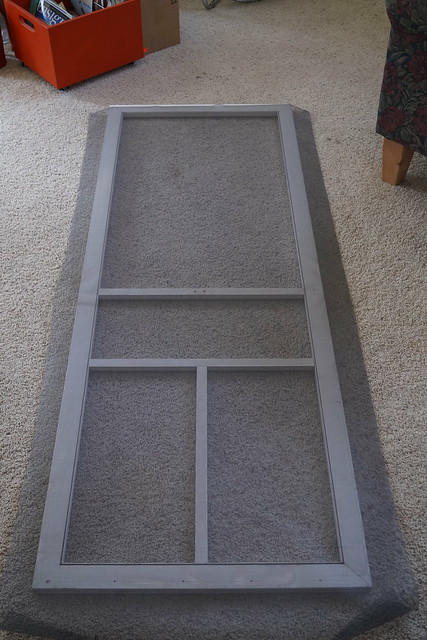
This is the door with the entire roll of screen laid out on top of it.
Extra is good. Gives you more maneuver room.
Next you need that ONE special tool.
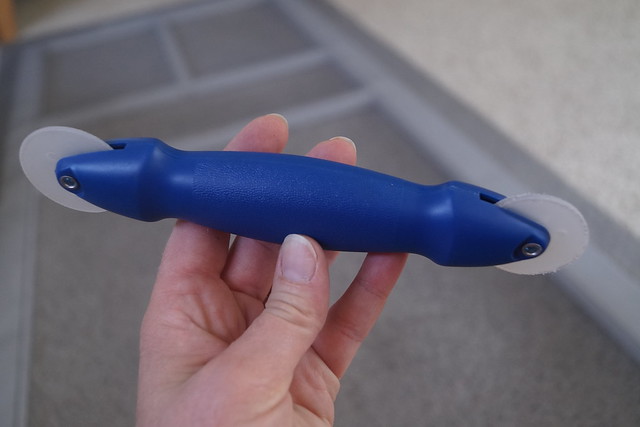
One end pushes the screen down into the groove of the door.
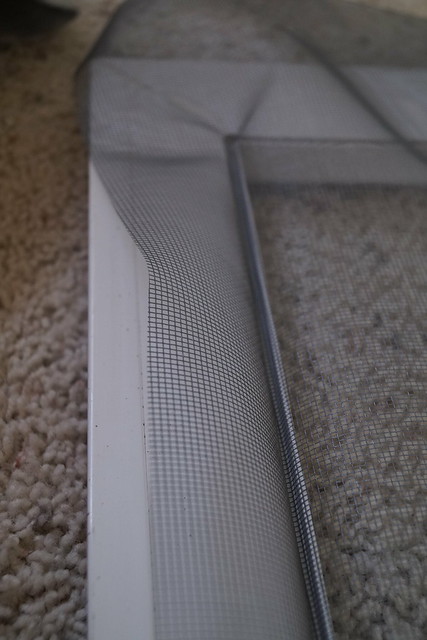
And the other has a concave edge that rolls along the spline to insert it down in the door groove and keep the screen in place.
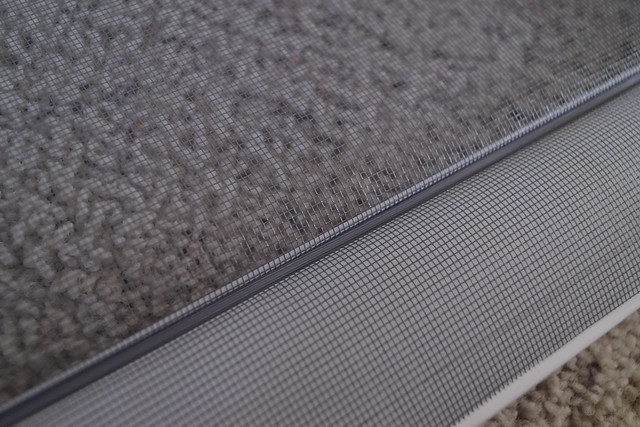
I started at the top and then worked my way down one side, across the bottom, back up the other side and finished it off. You just cut the spline off at the length you need once you get to the end.
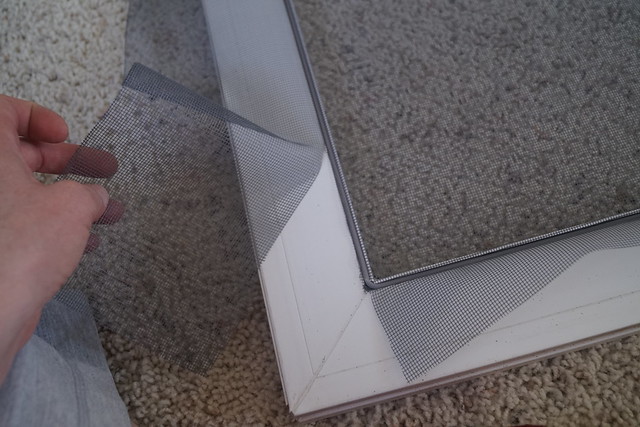
Then you are ready to cut off the extra screen. I just used a pair of scissors. I also went back over the spline with my tool to make sure it was in tight. Sometimes it gets moved a bit as you are cutting the excess.
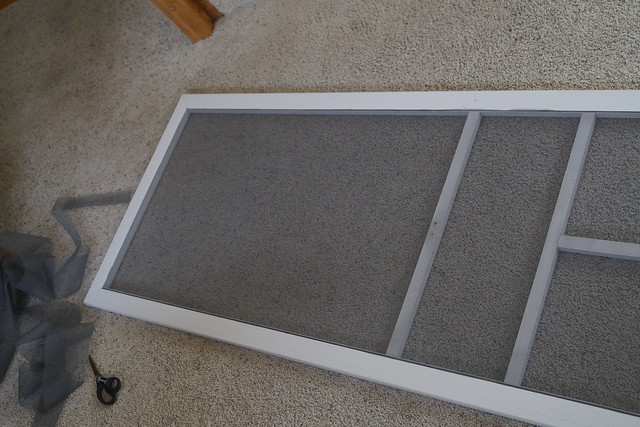
You are now ready to hang the door back up and reattach any hardware.
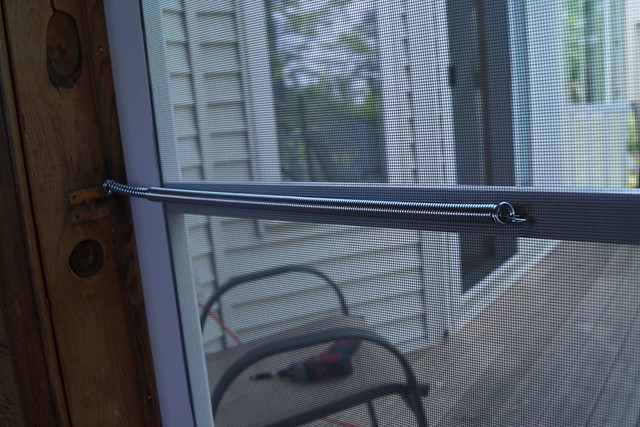
I replaced the spring with one that was more suited for this type of door. That previous spring was WAY more than this door needed.
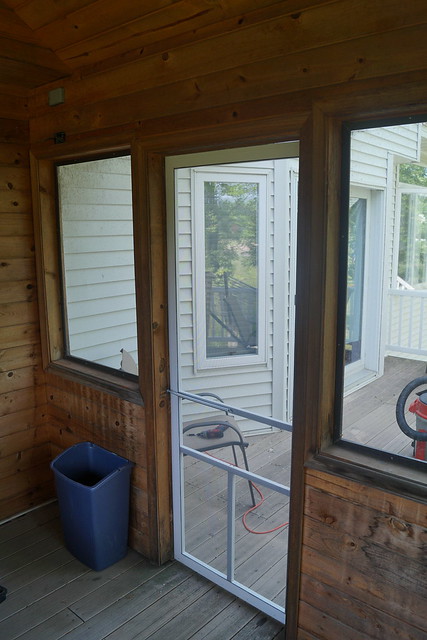
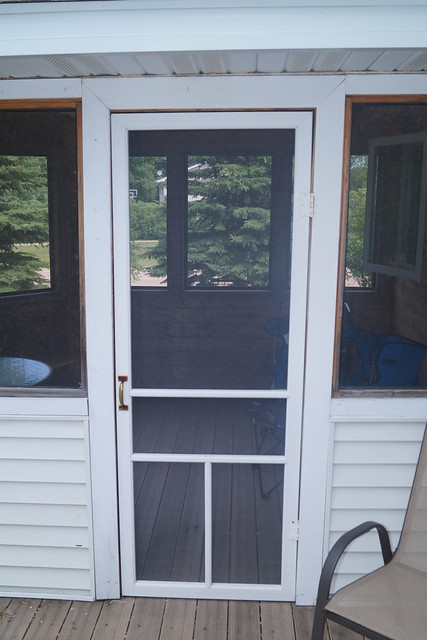
All done.
No more cottonwood tree fuzzies accumulating in the corners of the screen room.
Yuck!
Last thing I'll do on this door is to repaint the handle.
I didn't have the paint at the time I did everything else so that will be next week.
I'm so so happy this is all done!
Details:
- Adjustable door spring--$2.98 at Home Depot. They had 2 different sizes available. I needed the shorter one which adjusted from 13" to 15 1/2". The larger one was 16 1/2" long, not adjustable.
- Roll of screen--I bought a 36" x 84" roll in Silver Grey for about $5.
- Screening spline--I used .125" x 25' length in gray. It costs around $5 and I did not use the entire roll for the one door.
- Screen Spline tool for under $3. WELL worth the money!!
- You can buy the whole kit: screen, screening spline and roller tool together, if you don't already own the tool for around $11. (Much better than $45)
This comment has been removed by a blog administrator.
ReplyDeleteNice job! Great tutorial.
ReplyDeleteFantastic post - Great explainations and thinking.I'm looking forward to what you have for us next..!
ReplyDeleteDealnity