These are the 2 pins I found that most resembled the kind of headboards I wanted for their room.

Source

Source
I don't have detailed instructions for what we did, because we made them to match the bed frames we had already made, but hopefully you can get the idea.
We attached the 1 x 6s to the 2 x 4s using clamps and screws.
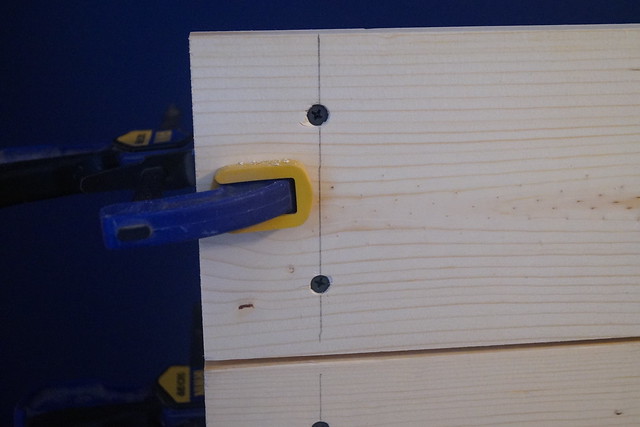
Hubby measured 1 1/2 inches from each side and about 2 inches from the edge of the board.

We decided to space the boards apart slightly and just put in a jointer biscuit between each to give it just a small gap.
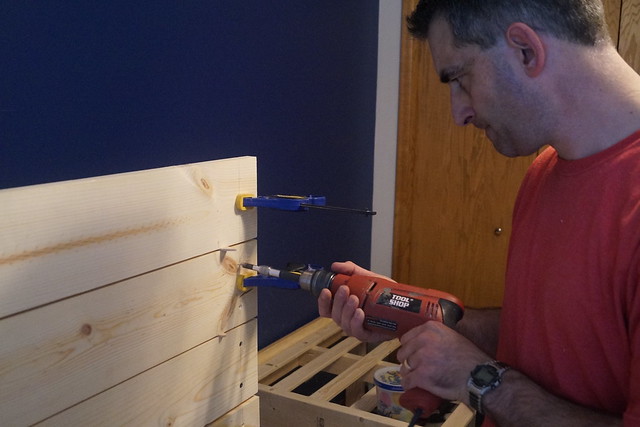
Pre-drill your holes and countersink slightly so that when you attach the screws they will be flush or deeper than the board.
Sand off your markings and smooth it up a bit.
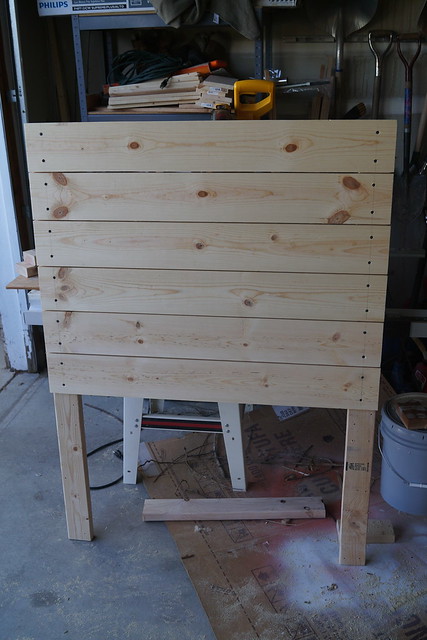
Then you're ready for stain.
I wanted it to look weathered and imperfect. (The boys didn't care)
I tried to pick out the boards with some interesting knots and cuts in order to add to the look.
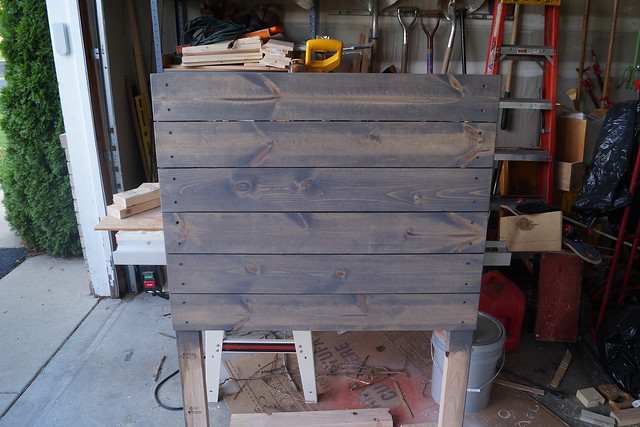
Pine is interesting to stain. If you want an even stain you will need to apply some conditioning agent beforehand. I wasn't interested in perfect so I just stained right onto the raw wood.
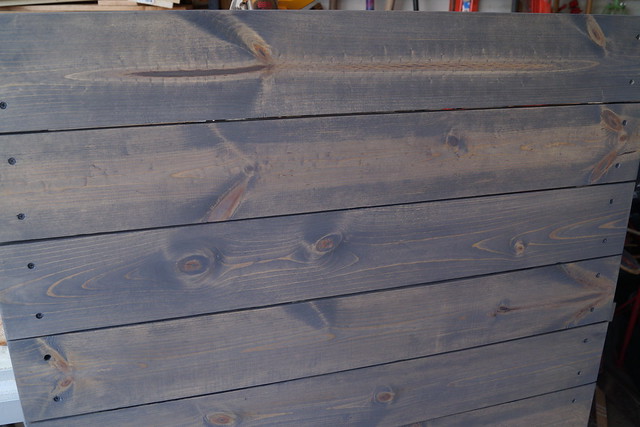
I am happy with how this turned out.
Details:
- Headboard based on this Pinterest headboard.
- Bought 6 - 8 foot long pine 1 x 6s and cut them to length (about 42 inches) of the width of the boys' beds.
- Attached with pine 2 x 4s cut to length (ours were about 53" tall--measuring from the floor to just shy of the top board of the headboard.)
- Cost around $25 for materials for the two headboards (not including stain)
- Minwax Wood Stain in Classic Gray. We bought the larger size can since we were working on 2 headboards. I think we could've gotten away with the small can if we had just been making one twin headboard.
- After stain we used Rustoleum UltraCover 2X Clear Spray matte to protect it a bit.

No comments:
Post a Comment