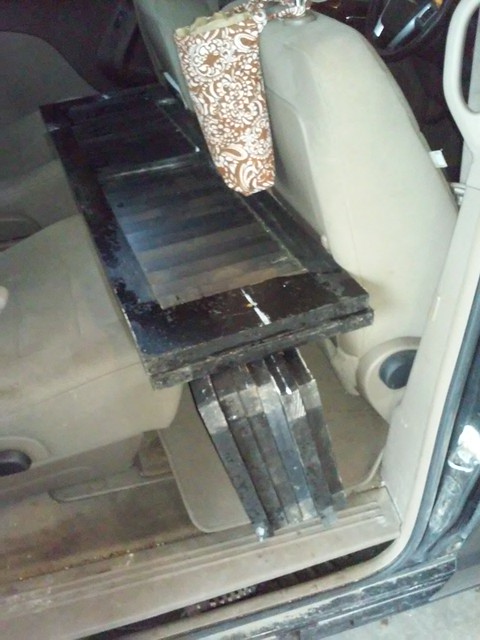
Remember this fun find?
Once I saw them I knew immediately that I'd be making a headboard for my daughter's room.
She was just as excited as I was about it.
Lucky for us the shutters were wood, already painted black, and in fairly good shape.
So we determined that we wanted a slightly stacked look of the headboard and laid it all out.
4 shutters was too narrow for her Queen bed and 5 too wide. However, we decided that the too wide (by about 5 inches on each side) looked better than the too narrow option. Plus I kind of have this thing about odd numbers being a little more pleasing to look at than an even amount of items.
I wiped the shutters all down.
Then took out my orbital sander and went to town.

This shows the sanded shutters on either side and the not-yet-sanded ones in the middle.

A little better close-up of how I roughed it up.
Once I was done sanding I wiped it all down again with some tack cloth to get rid of all the dust and residue.
We laid out the arrangement and then I used a Kreg Jig to drill holes in the back of the shutters to attach with screws to each other.


All assembled and ready move downstairs to her bedroom.
We debated on a staggered vs. straight across look for the shutters and ultimately she liked the staggered look best. I think I do too.
We ended up adding some cabinet door pads to the corners of the headboard.
We had JUST painted her room white and didn't want any dings on the walls.
This also helped eliminate any movement getting in and out of bed.
I'm proud to say that the only thing hubby helped me do on this was to actually attach it to the metal bed frame. We needed 3 people--2 to hold it in place while the one attached the screws. He really didn't want anything to do with this project, which was completely fine.
This may be the one and only time her bed stays made, but we're working on that.
Daughter #2 is very happy with how it turned out.
So am I, and even happier that it was free.
We have a few more details to show in her room that we'll post later on.
And I have 3 shutters left to do something else.
Details:
- Free curbside shutters (see Friday Finds here)
- Pinterest inspiration here and here. This is what we were thinking before I found the curbside shutters.
- We used 5 - 14" wide shutters for her queen size bed. (4 wasn't wide enough)
- Orbital sander to distress the shutters.
- Kreg Jig for screw attachment.
- Cabinet door pads


No comments:
Post a Comment