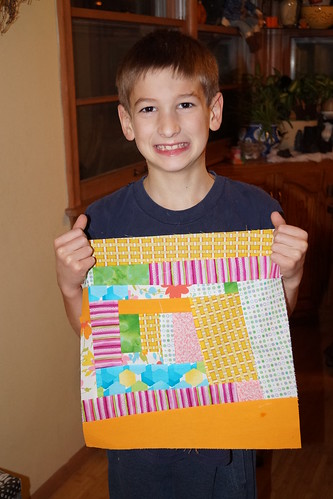
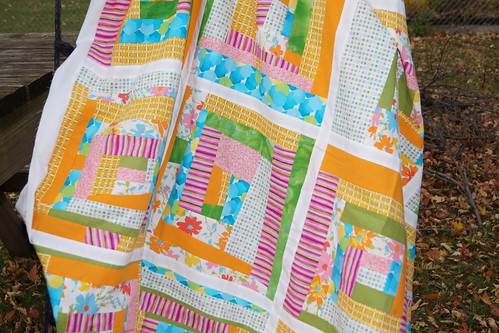
This is my year again for class quilts. I try and do them every other year, as doing them every year would probably put me over the edge. And I just don't want to do it every year either. Plain and simple.
My youngest daughter is a 5th grader this year, last yr. of elementary school, so she was begging me to do this with her class.
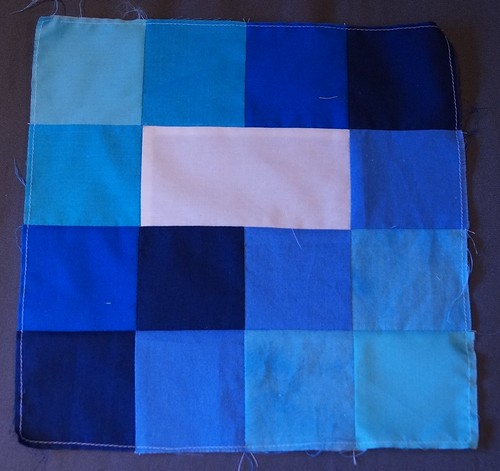
I picked a little different block design than I've done in the past. I felt the need to change it up a bit even though I am still trying to use my scraps. (I swear that they just don't end) I really like how it worked out. Below are a couple sample designs that I made and took with me to show the kids what they might do.
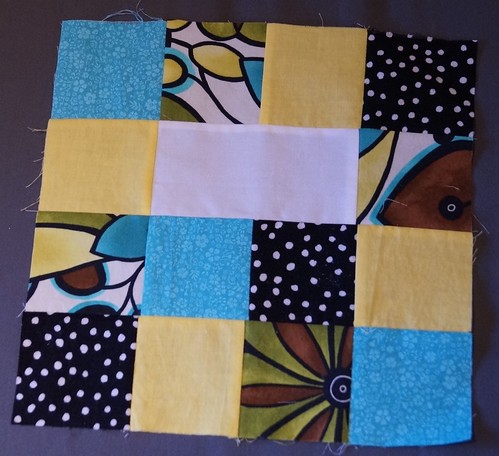
Cut 3 inch squares placed in a 4 by 4 design.
White piece for their name is 5 1/2 by 3
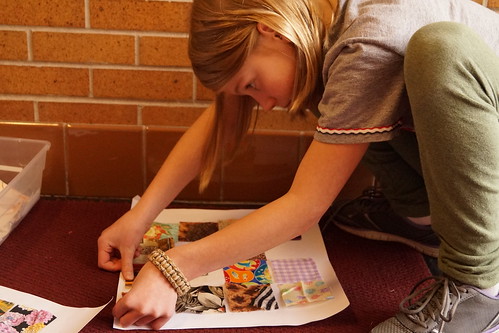
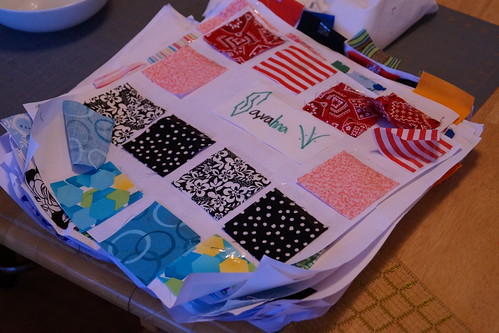
Yesterday I went and set up the station and then had the kids rotate through. As usual some of the boys were a little more obnoxious than others. Typical for 10 yr. olds. We survived, made a mess in the foyer outside their classroom, and now onto sewing the blocks together.
I had already visited my son's second grade class back in October and their blocks are complete. I am in the process of putting those all into a quilt top.
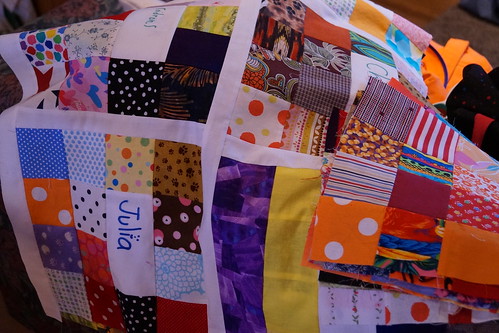
Since I don't have to actually have these 2 quilts completed until February I am doing well. My goal is to complete them by the time that school starts up again after Winter/Christmas break. Because I know that I will want to be doing something else by then.
Note:
Put your kids to work.
My kids love helping do the layout part.
We spread the blocks all out on the floor and then they move and arrange them to how they think looks good. Even the bigger kids give their 2 cents worth to the layout.
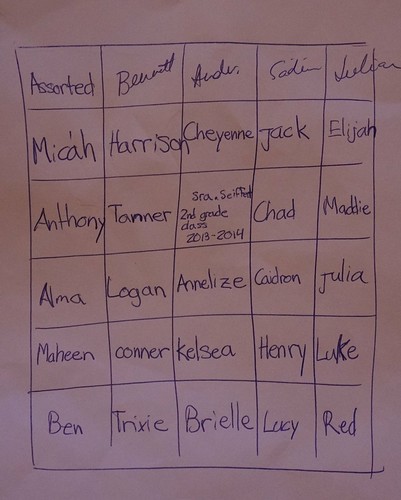
This is my daughter's note for the 2nd grade quilt once the layout was in place.
27 kids' blocks
One block for the teacher's name, class and year
2 blocks for opposing corners with all assorted squares--no name block.
5 x 6 configuration.
Tuesday, November 19, 2013
Friday, November 15, 2013
Thrifted Fall Wreath
I have this large mirror hanging just inside my front entry and I try to change it up with the seasons so that it has a little more character. I found it on the curb for free and have had plans to paint it, but so far haven't done it. Maybe I don't want it painted that bad.
Anyway, last year I just kept my Halloween wreath up thru Thanksgiving, before putting up the Christmas decorations.
However, I found this pretty wreath on Pinterest early this year and wanted to do something similar for my house.
I lucked out at my thrift store and found a cream-ish version of those berries for about $2.
Bought burlap ribbon from Jo-Ann's. $2.50/roll after 50% coupon.
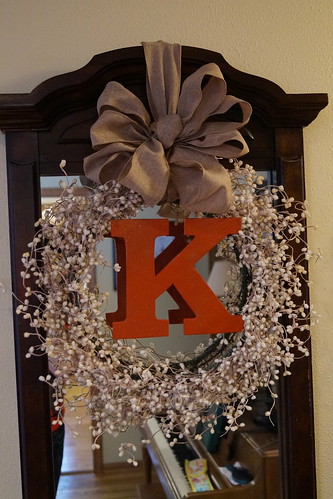
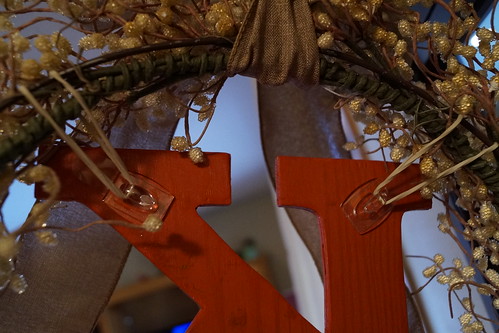
Cut out and painted my own initial from hubby's scrap wood and this is what I ended up with.
I may change to a cream/gold/sparkly "K" for Christmas and New Year's....because I can.
This is how I attached the letter.
3M reusable hooks and a couple rubber bands.
It was a small moment of genius for me.
My kids were thoroughly intrigued as to how that letter was just hanging there so perfectly.
I am enjoying the pretty wreath and the pop of color.
Rustoleum 2X Ultra Color Paint and Primer -- Satin finish in Fire Orange
Wednesday, November 13, 2013
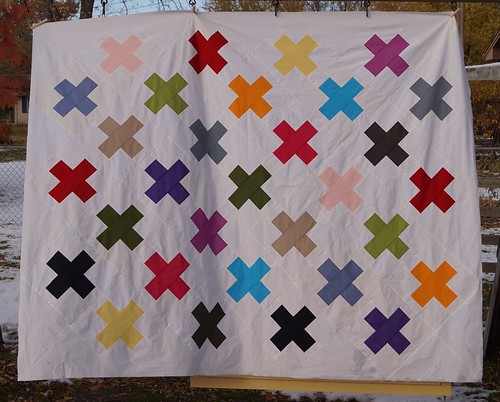
Modern Cross Stitch Quilt Top
This quilt top makes me happy.
Love the solids.
Love the size.
Easy to put together.
I think it would also be great using a bunch of prints too.
May have to make a second version.
Love the solids.
Love the size.
Easy to put together.
I think it would also be great using a bunch of prints too.
May have to make a second version.
Modern Basics II--14 Easy Patchwork Quilt Patterns, by Amy Ellis
Modern Cross Stitch Pattern
Amy's quilt pic from book
I like that the + is set on point and not straight up and down.
My version
I had to hang this quilt sideways as it was literally dragging the ground.
I had also originally planned to give this away, but hubby changed those plans. The intended person is going to receive something different now and this one will stay with us.
I've decided that with all the quilts we have at home that once my kids start leaving for college (which is in less than a year) they can pick a quilt or two to go with them. I think daughter #2 might have already put her dibs on this one.
Monday, November 11, 2013
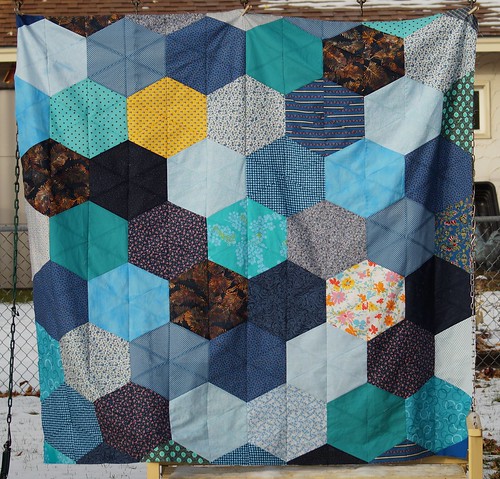
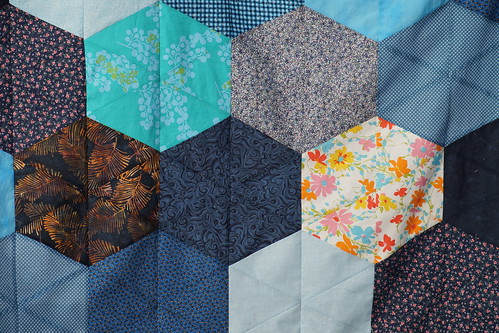
Scrappy Hexagons
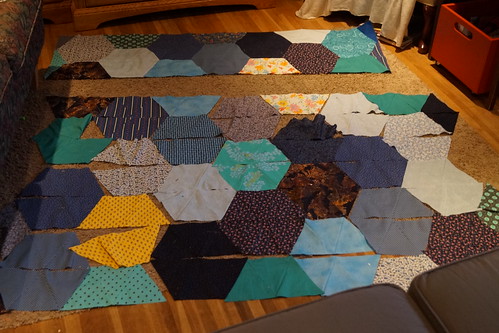
This quilt came about sort of by accident. I had planned out a different quilt based on the cover quilt of Urban Views by Cherri House but the scrappy prints weren't working for me in that configuration. Even my kids thought it was meh!
So then I shifted to scrappy hexagons since I had all these pieces cut out.
This was coming together better than the original plan.
Here we are completed....and hanging sideways because of the size.
I like it better.
I think once Lynn gets it all quilted for me I'll like it even better.
My blue loving oldest daughter thought it was awesome.
Sorry, this one isn't for you.
Thursday, November 7, 2013
Wonky Log Cabin blocks from the kiddos
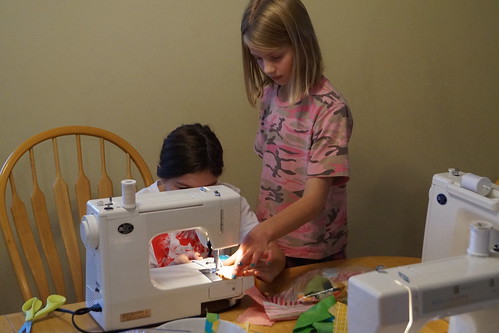
After sewing with the ladies, I still didn't have enough blocks for what I wanted to do for the quilt top. The next day two of my kids wanted to make a block and so I set them up and showed them the basic concept. They got to work while I was doing other things there near them.
During their sewing the neighbor girls showed up to play with daughter #3. She invited them in to watch her sew. How fun for them.....Not! Eventually I set up ANOTHER machine and got them going on a block each too.
I have to say that helping four newbie kid sewers at the same time is a bit much. I'd recommend only 2 at a time.
But we all survived, or I should say I did...with my sanity still intact at the end. However, I was so ready to take a shower and move on to something else.
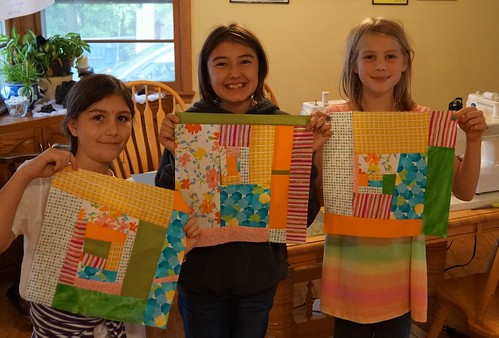
Here are their creations which I did put into the quilt top AFTER they ran down to their house and showed their mom what they had made.
Ages 9, 11, and 10 (#3 daughter on the right)
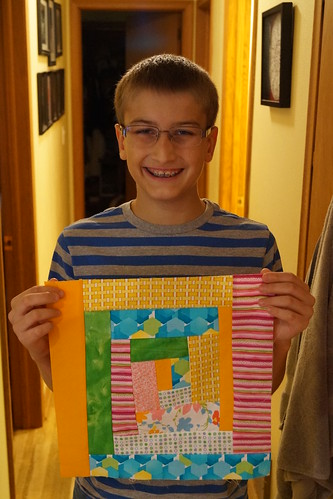
My #1 son, age 12
Then on a different day my youngest wanted to create a block too. I did the sewing, but he directed me as to the colors and sizes.
Littlest guy age 7
On a side note: the fake smiles my boys are giving are just killing me. They look like they are in pain or something. Why do they do that?
Wednesday, November 6, 2013
Sewing Group Project--Quilt #2
I finally was able to put together the quilt top from our second collaborative sewing night.
It felt like it went more smoothly than last time. Not sure if it was my planning, fabric choice, block choice, etc. or the ladies that were involved. Either way, I felt like everyone had a good time.
Thanks to Cindy, Cassie, Ann, Tana, Sue and Marci for their help.
Great job ladies!
Details:
It felt like it went more smoothly than last time. Not sure if it was my planning, fabric choice, block choice, etc. or the ladies that were involved. Either way, I felt like everyone had a good time.
Thanks to Cindy, Cassie, Ann, Tana, Sue and Marci for their help.
Great job ladies!
Details:
- Wonky Log Cabin pattern from Block Party--The Modern Quilting Bee.
- Blocks cut to 14"
- Finished 1" white sashing between blocks. Just to calm it down a bit.
- 2 inch white border all the way around.
- Sending off to Margaret's Hope Chest for her great charity work.